Chapter 1 (On black and white) This will be, when finished my very very last traditional tutorial...i want concentrate only on Video Tutorial because images explain and may teach much better then words
it is also the last time that i try to explain such simple and trivial concept...
do not undervalue what is simple there is the key to stunning levels of complexity#################################################################################################
We want create ...but even in the most ancient myth and religion not even God(s) create from nothing...He start always from something ,as clay, dirt, water...
So we will not attempt more..i will show you how to start from the few pixel of a little and simple image to create in few and highly instructive steps
the most intricate and complex artworks at wallpaper size ...and even much bigger then any reasonable screen size
so here the few pixels needed for start...i could even have used any other image containing some geometric shapes (i.e.concentric circles or polygons)
BUT i chose this because was difficult:
was in black and white and the absence of colors for me was challenging ..i show now the BW hoping you able to imagine possible extension of same concept to colored images
But we start in monastical simplicity :
to understand better we kept simple ruling out colors for the moment ...just to better focus on the essential, once done we may apply same principles on colored images
1 SOURCE IMAGE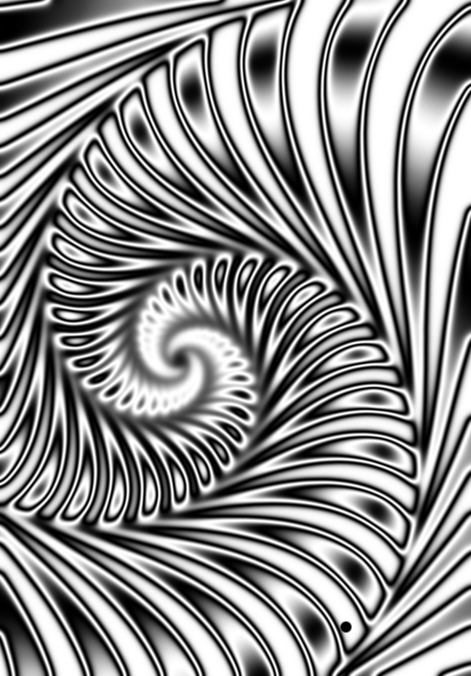
No bad but i want something more intricate and complex from that i want a good tile
2 SOURCE TILEhere it is
Did you see the difference? a lot of added complexity, but the trick is trivial
1 duplicate the layer 2 times
2 flip vertically the first dup (just above the BG layer ) and change layer mode to DIFFERENCE
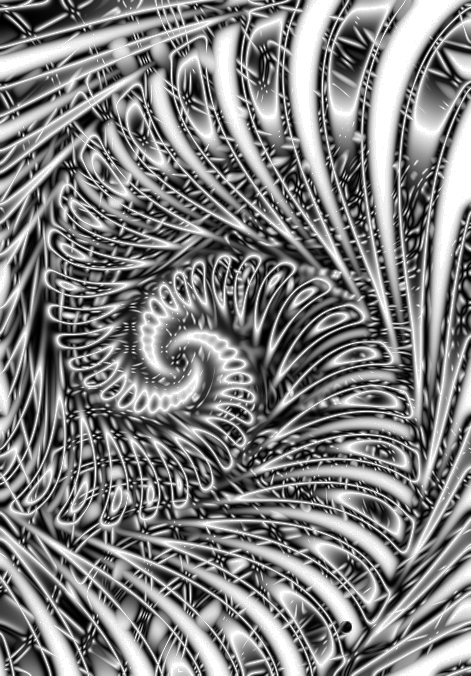
3 we need now to restore the highlight:
just change the mode of top layer in LIGHTEN ONLY
Almost good now..but a bit flat we need just to improve the greyscale
4) New layer from visible ( i do not like flat )
5) no reasons for complex adjustment of level or curves here
Just Colors/Auto/Equalize will do the trick
If any doubt check the my xcf http://www.box.net/shared/r1t5qbgi5p(toggle off visibility of top layer
and starting from the bg toggle on the visibility of the other layers )
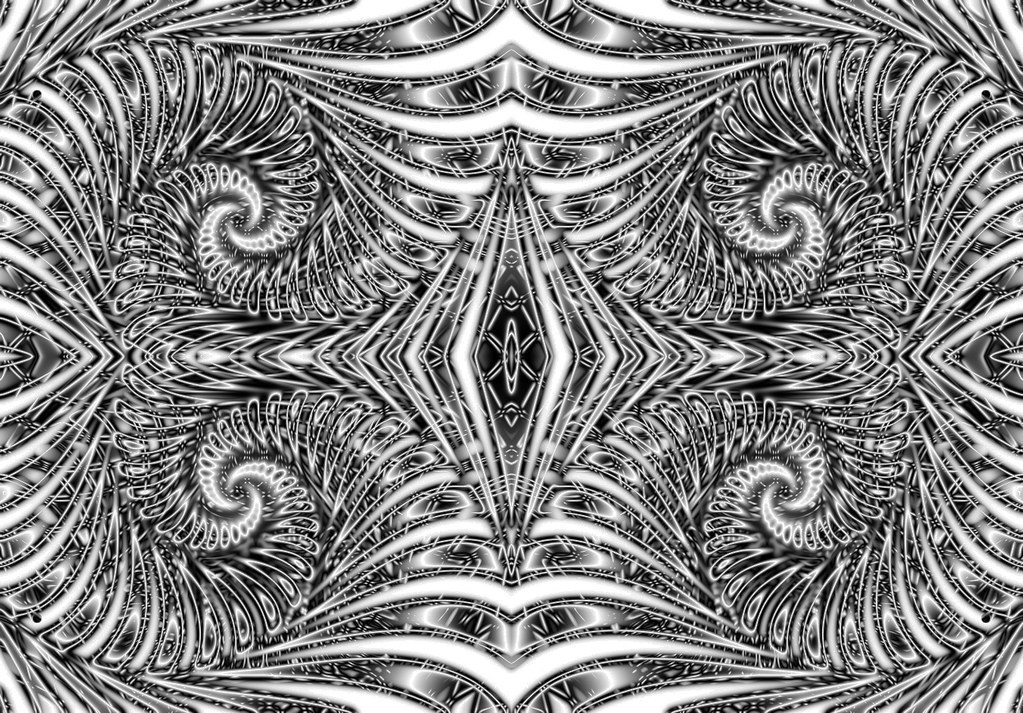
EXPAND YOUR UNIVERSENow you may use the Saulgoode Mirror-Dup script
http://gimpfx-foundry.sourceforge.net/b ... icates.scm( Or GMIC /Array/ Mirrored array..if you use gmic
check "expand size " option )
just run the script or the plugin for mirror in both direction...you should end in something as
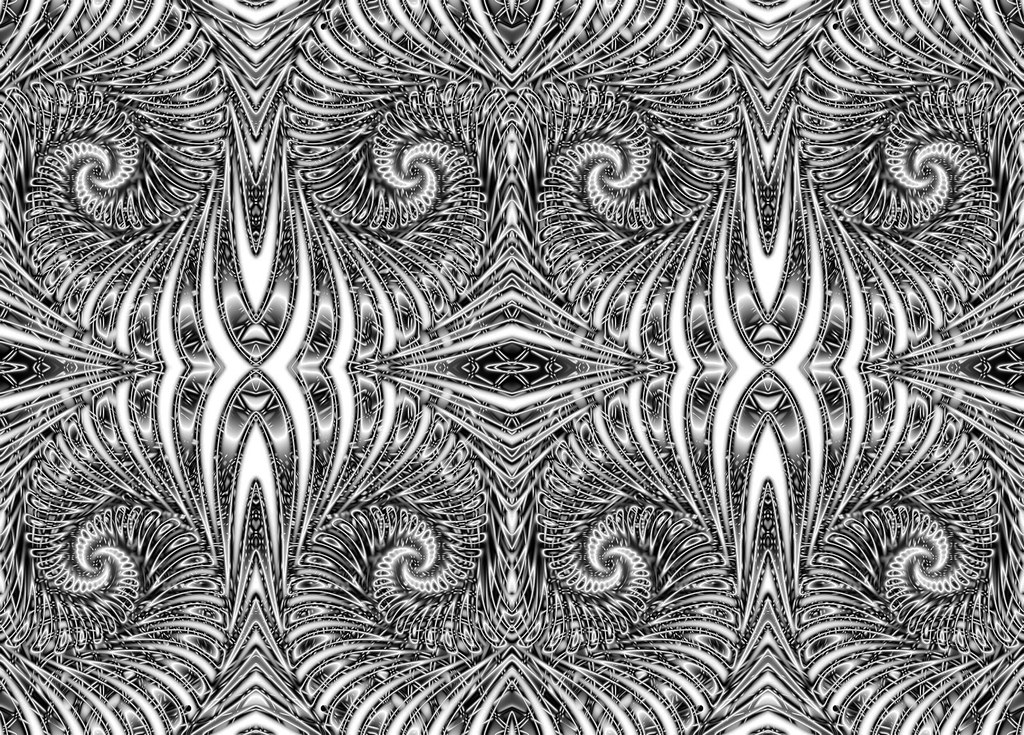
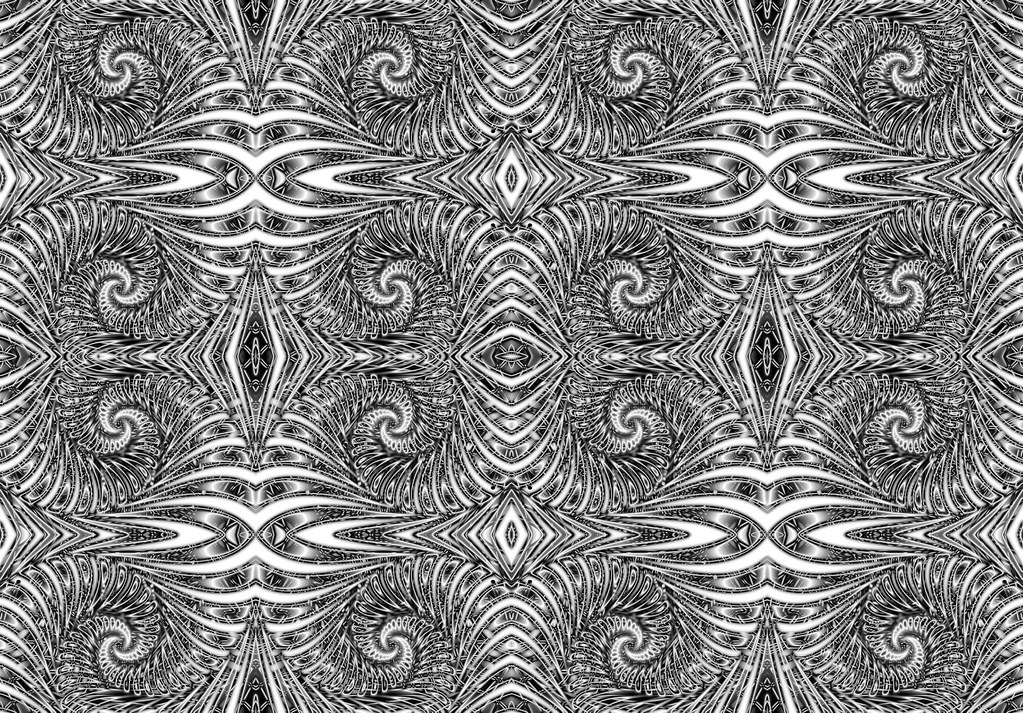
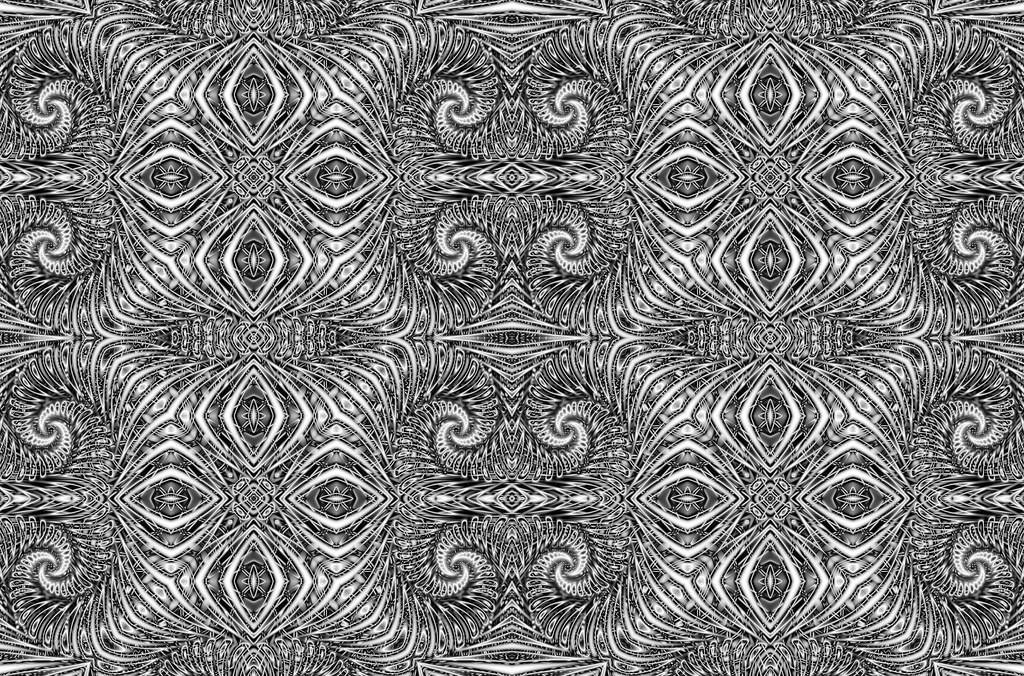
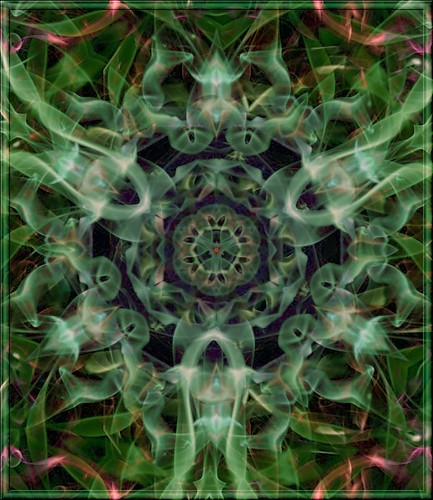
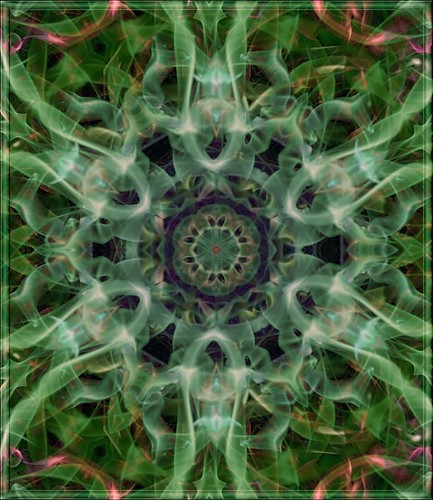
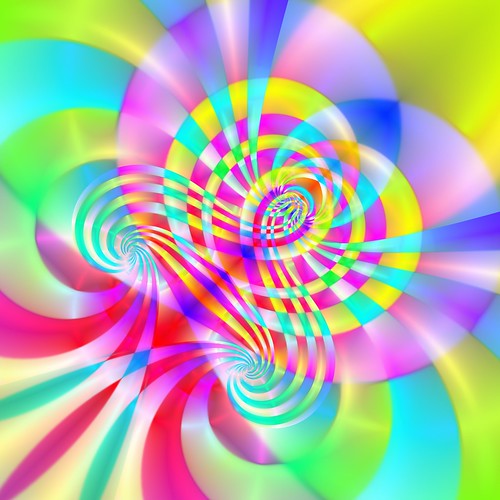
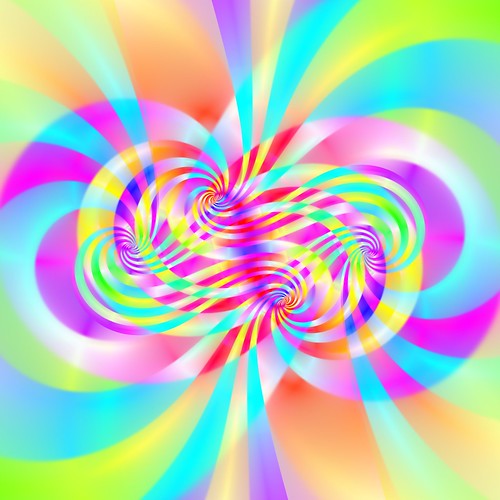
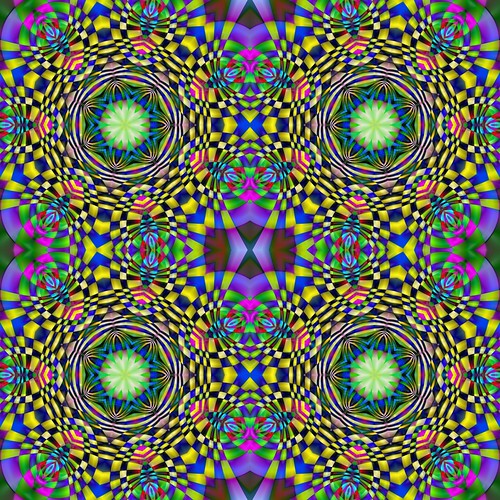
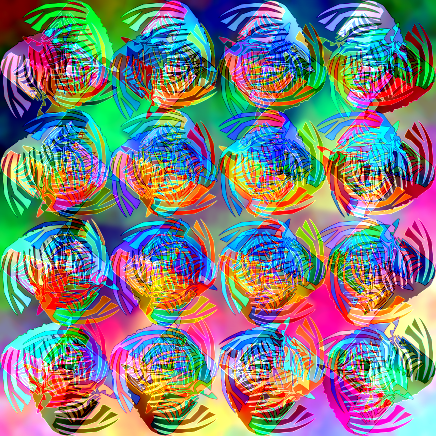
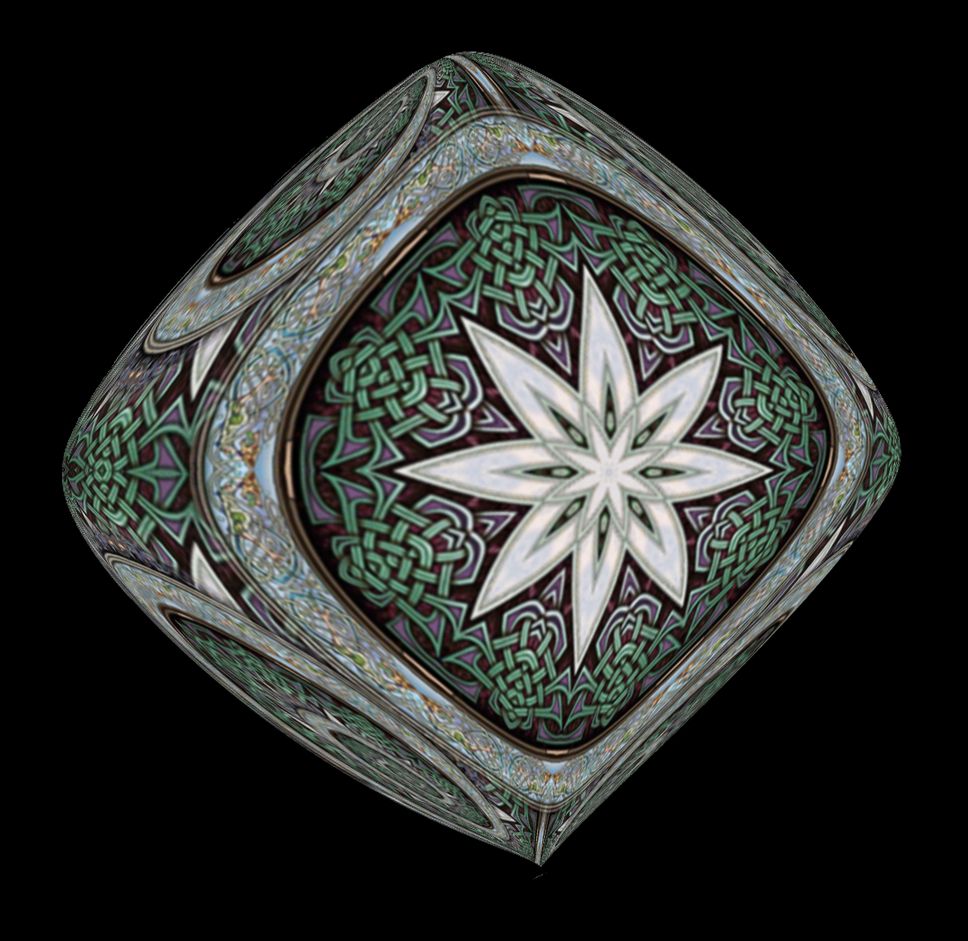
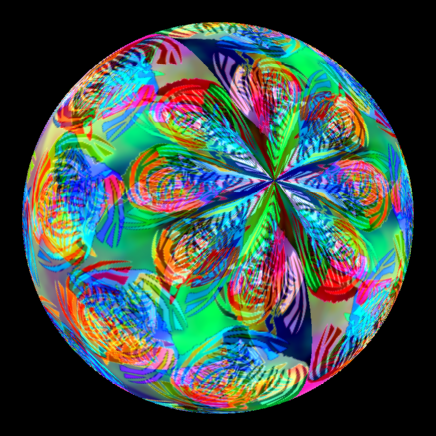
 GET LOST EXPLORING ENDLESS VARIATIONS
But that is just 1 of possible results,..now try before mirroring to flip and/or rotate your tile
and a endless flow of creation may start...
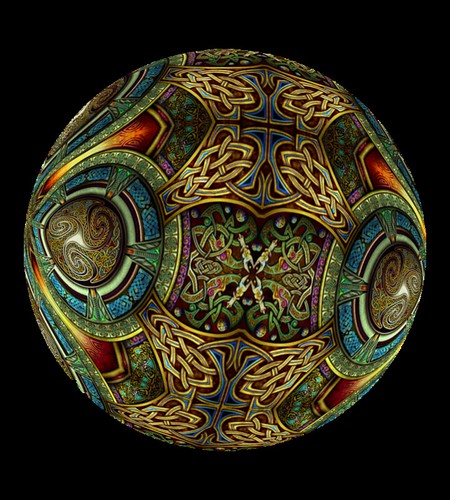
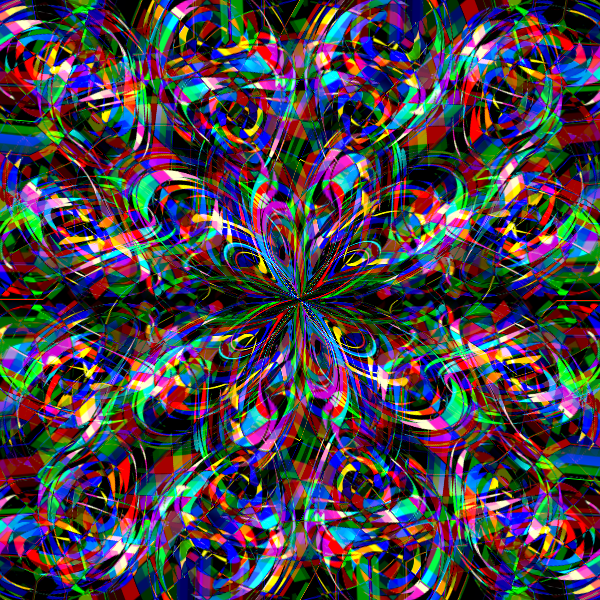
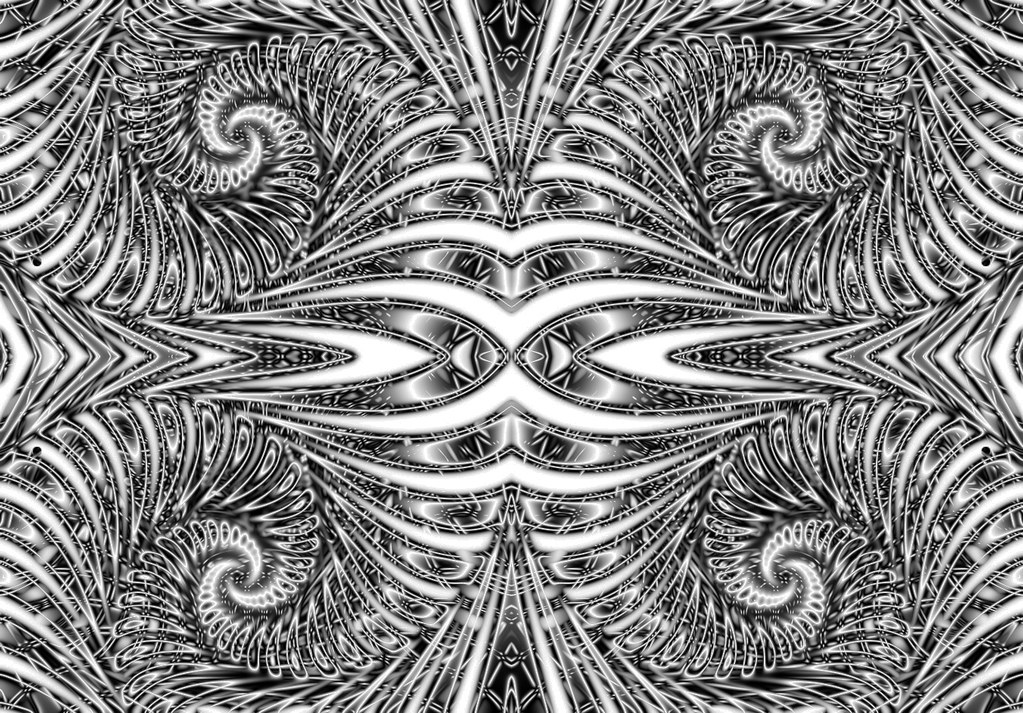 NOTE THAT NOT ONLY FLIP OR ROTATE BUT EVEN A SLIGHT CROP WILL CHANGE THE SEAMS CREATING NEW VARIANTS
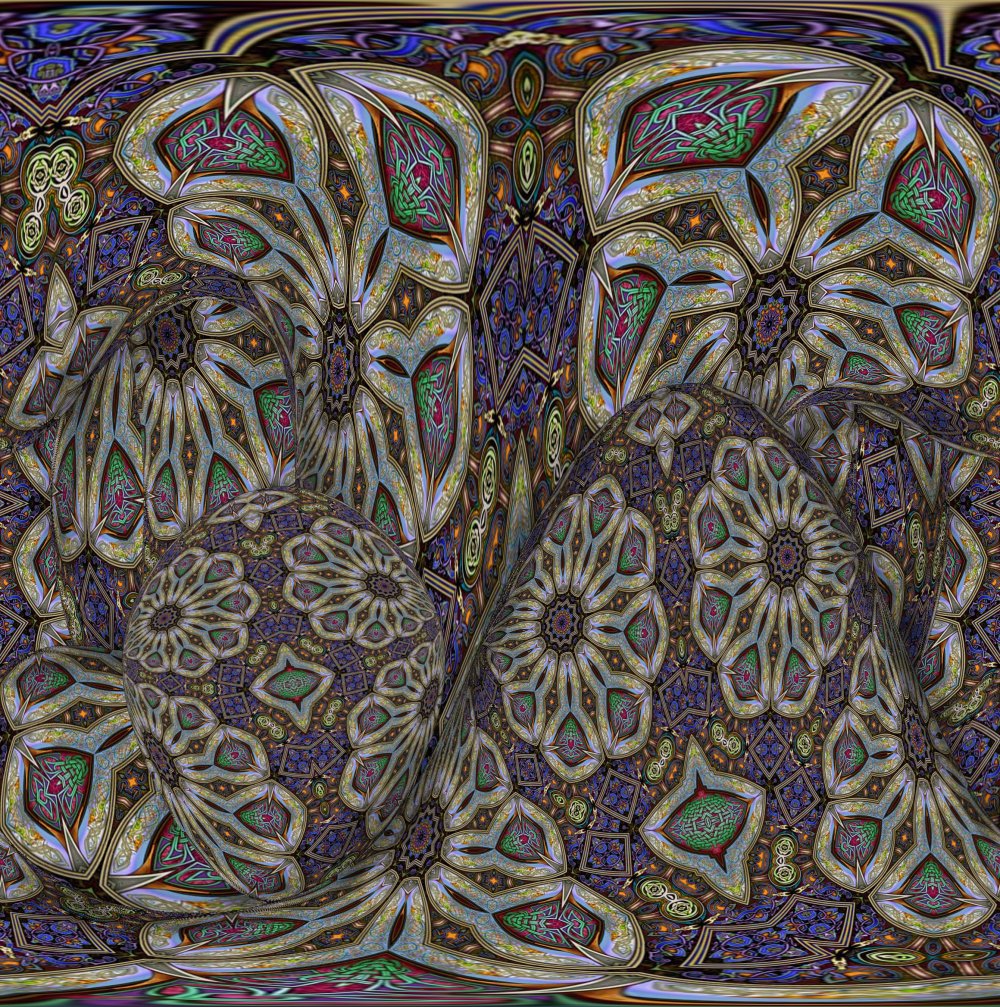
But i promise something at wallpaper size and more ...those are still to tiny well once again you may expand your universe with same method
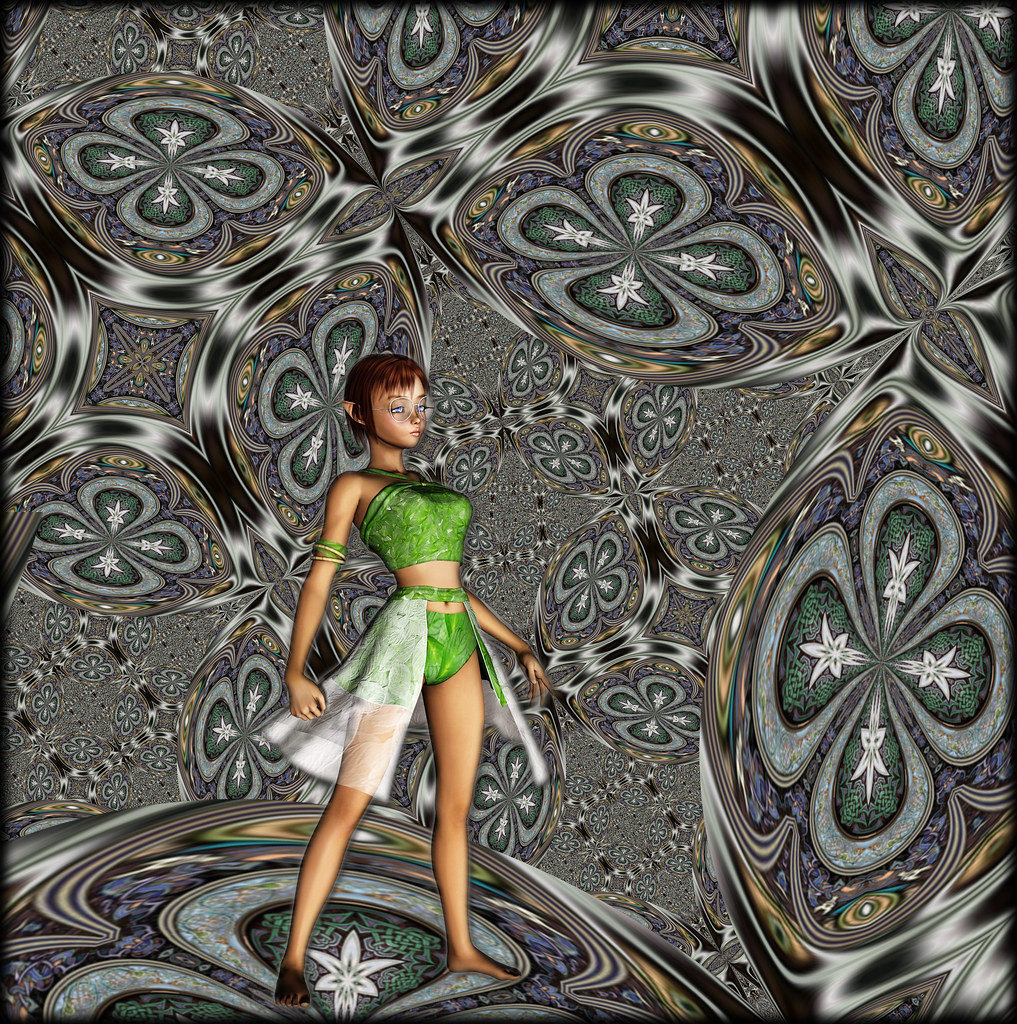
well to avoid to give problem also to broadband user i posted here below only examples dramatically scaled down (if somebody want see them at original size original..just post a reply )
 APPENDIX: MORE MAGIC
For the most here that use WIndows another step is at hand reach:
is not with gimp because for some reason there are tons of (sort of) kaleidoscope script and plugin (some even interesting as effects ) but the real thing is still missed
So you will need something as Irfanview or XNview (both free even if not OS ) and the excellent and free Kaleidoscope plugin from MEDHI
http://www.mehdiplugins.com/english/kaleidoscope.htm(yes in theory can be used directly in Gimp with PSPI..in practice will be not a good idea, Gimp screw up the plugin preview AND IS STRICTLY NEEDED A GOOD PREVIEW for this kind of manip ...so better use in XNview and copy and past the results )
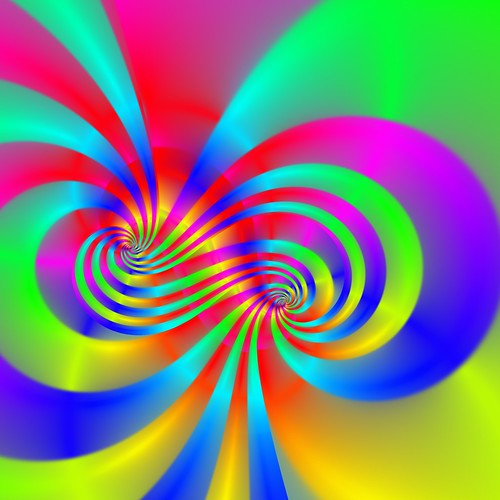
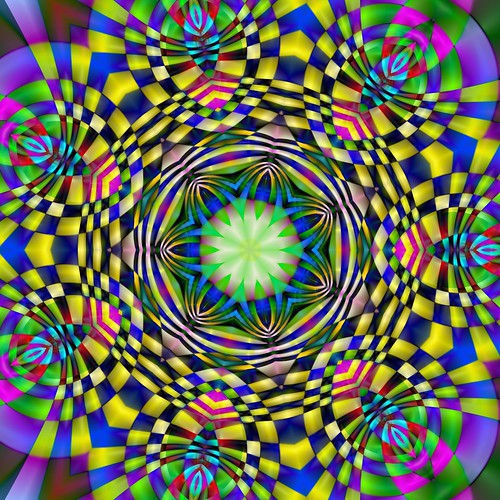
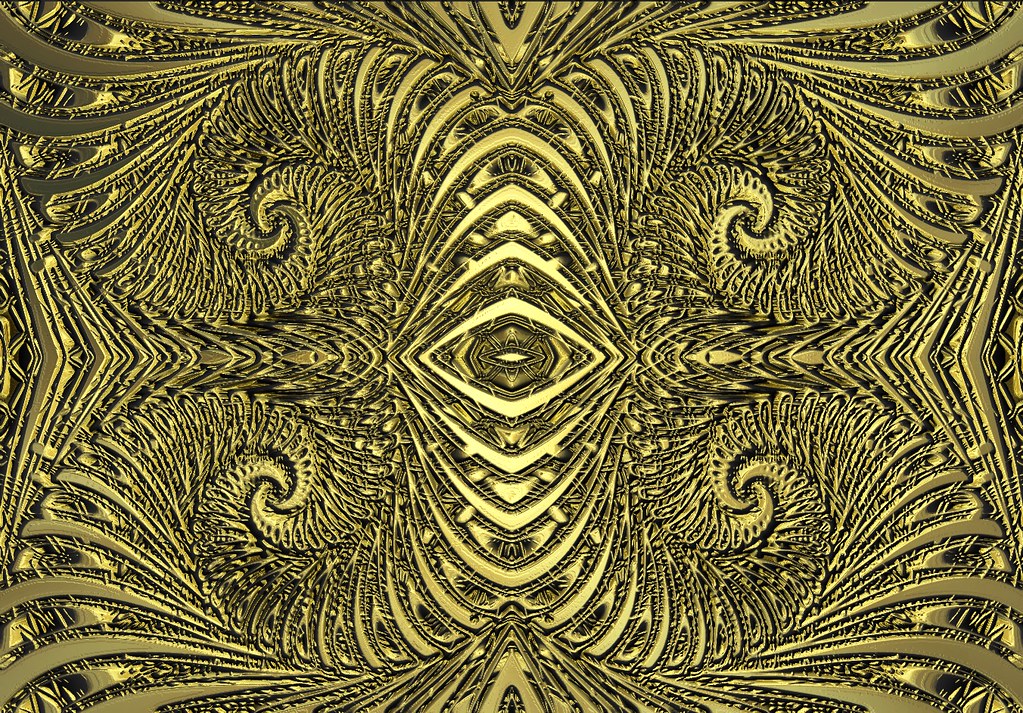
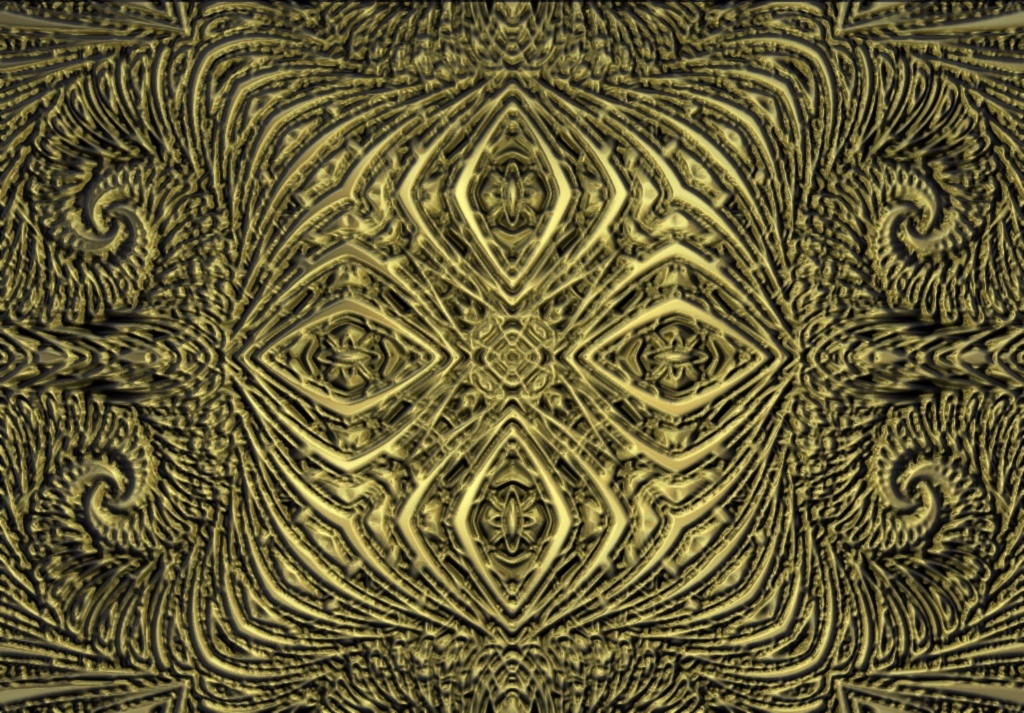
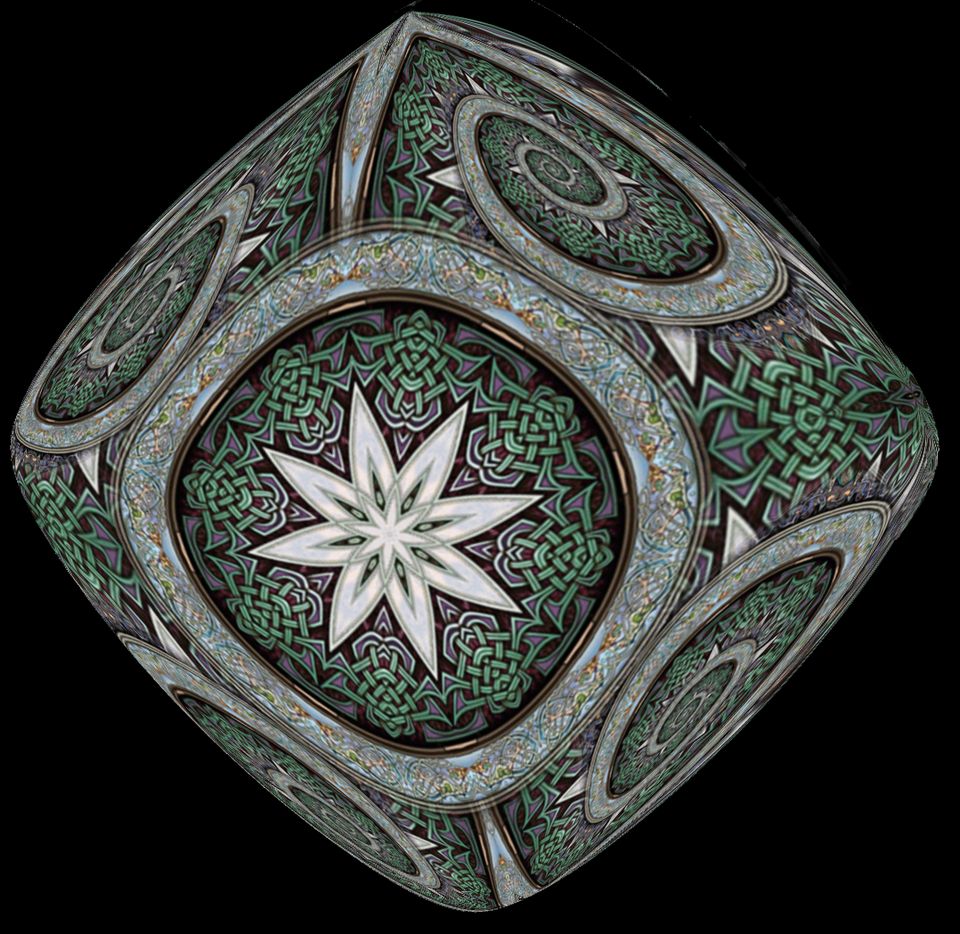
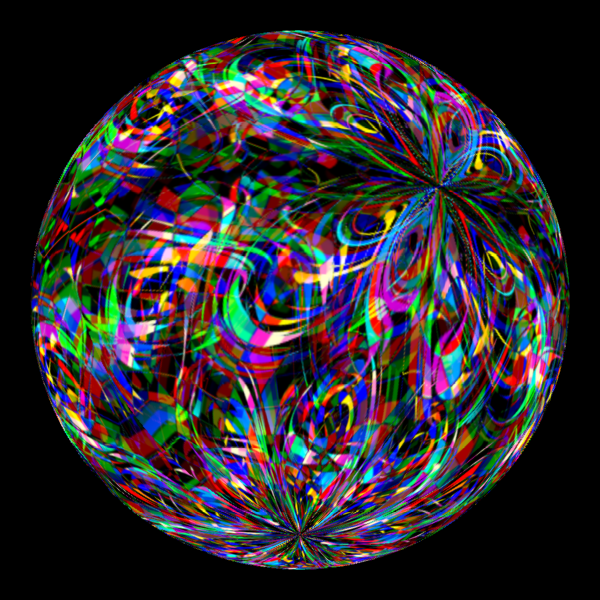
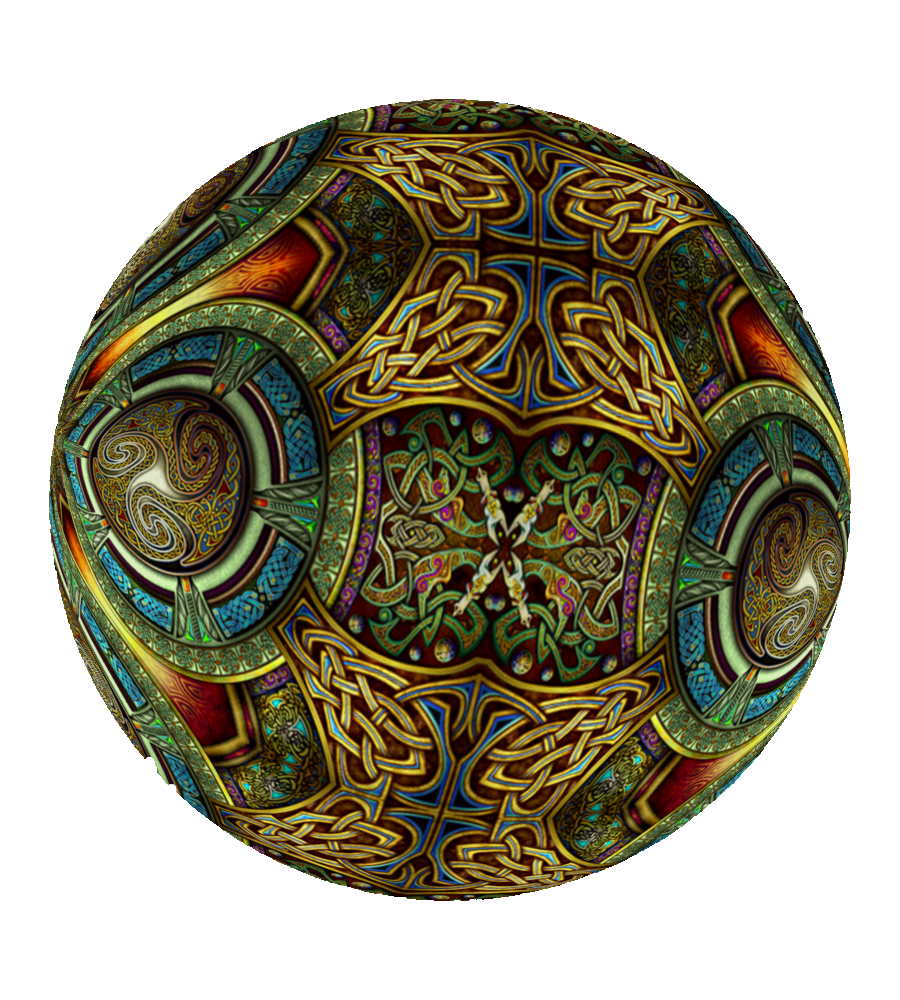
just to end this may be a NEW TILE 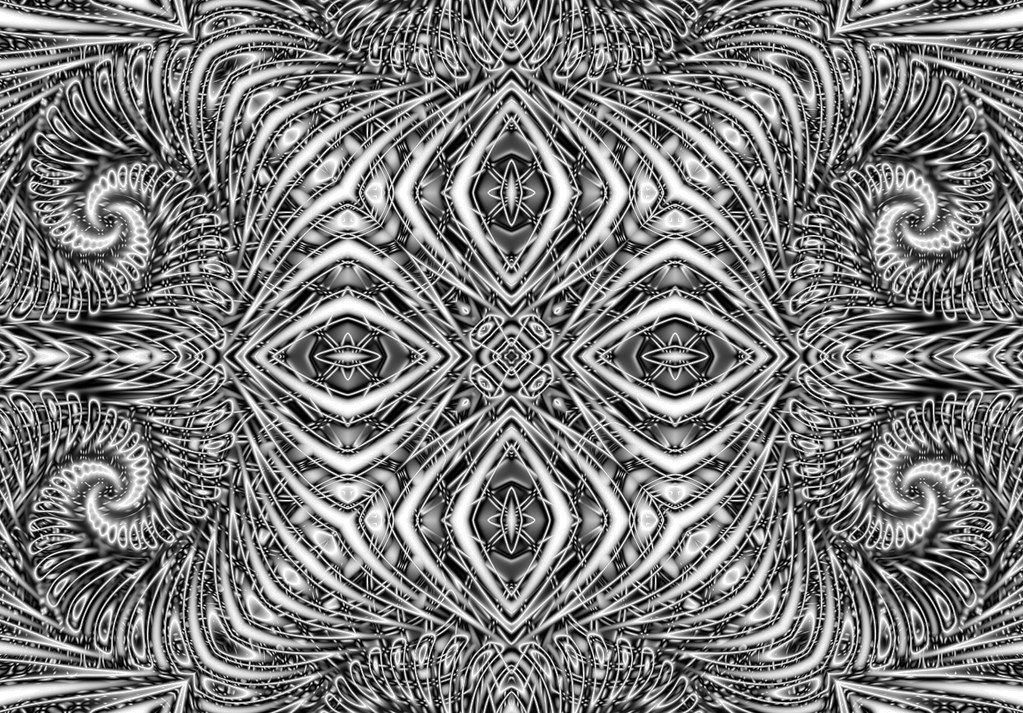
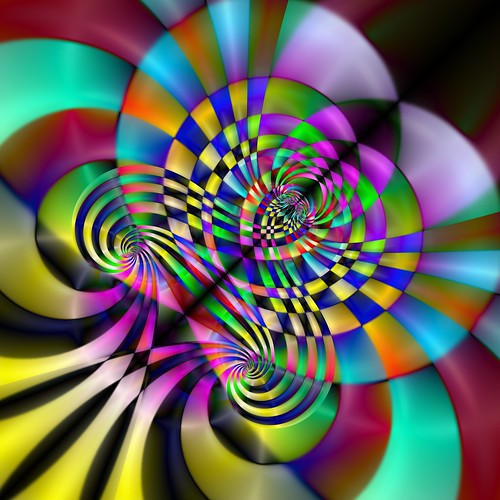
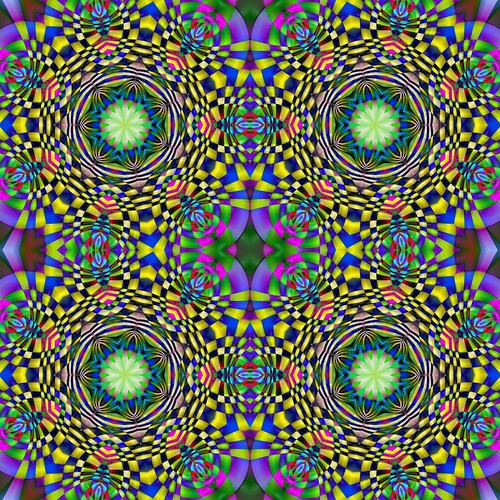
and resized this its mirrored version
 BUT PLEASE LOOK THIS LAST ALSO AT ORIGINAL SIZE
 HERE
http://farm3.static.flickr.com/2657/421 ... c959_o.jpg#################################################################


 but for this tut the images are essential and thumbs will kill the effect


