These directions are posted at the registry also under the galaxy filter page from sambrookjm.
I asked him to add a few features to the filter to create these effects.
Let's begin the tutorial -
Create a new document with 1920×1200 pixels (72 dpi) and fill canvas with color #000000
Make a new layer above the black one and fill it with pure white color (#ffffff).
We have now two layers: the black one and the white above it. For the layer with white color we change the Layer Blending Mode to Dissolve, layer opacity 1% (no more than this amount) and get something resembling space.
The next step is the critical one - this creates each dif new galaxy nebula cloud arm
Create a new transparent layer name it nebula - paint the strokes.

Then a whirl and pinch

rotate to your liking and apply motion blur

Then whirl and pinch again

Set the perspective

Time for some color-
Create three new layers - name them nebula-colors 1,2, and 3, and change the layer Blending Mode to Color.
Grab the paint brush tool - Set the opacity of the brush to 10.0, and the scale to your liking - use the circle fuzzy 17 brush - select the color - 5a78cc
Select your new nebula-colors layer1 and paint over the galaxy like this
first layer -

change color to #ff0000 to add red color
second layer - nebula 2

change color to #fff000 to add yellow color
third layer - nebula 3

of course the colors could be optional.
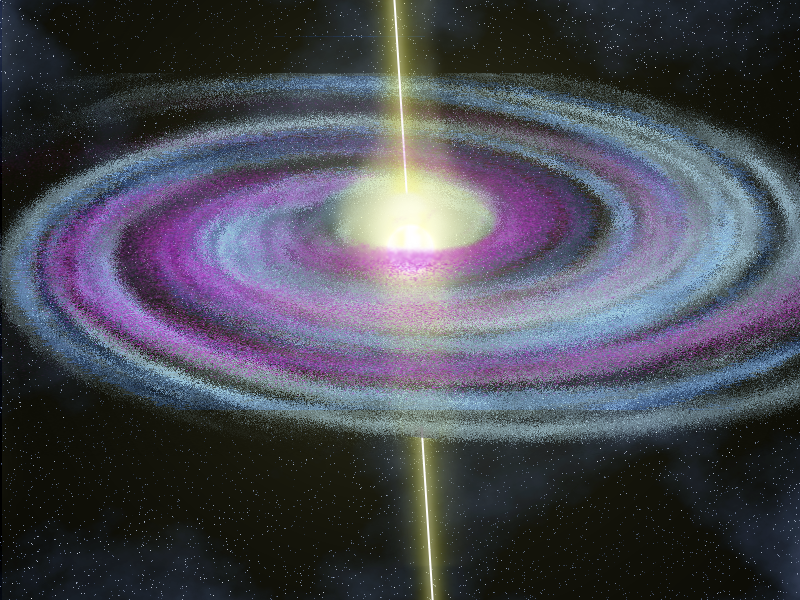
Now just add the center core or bright spot.

a white circle in a yellow one two layers
Blur and set opacity to each at your liking -

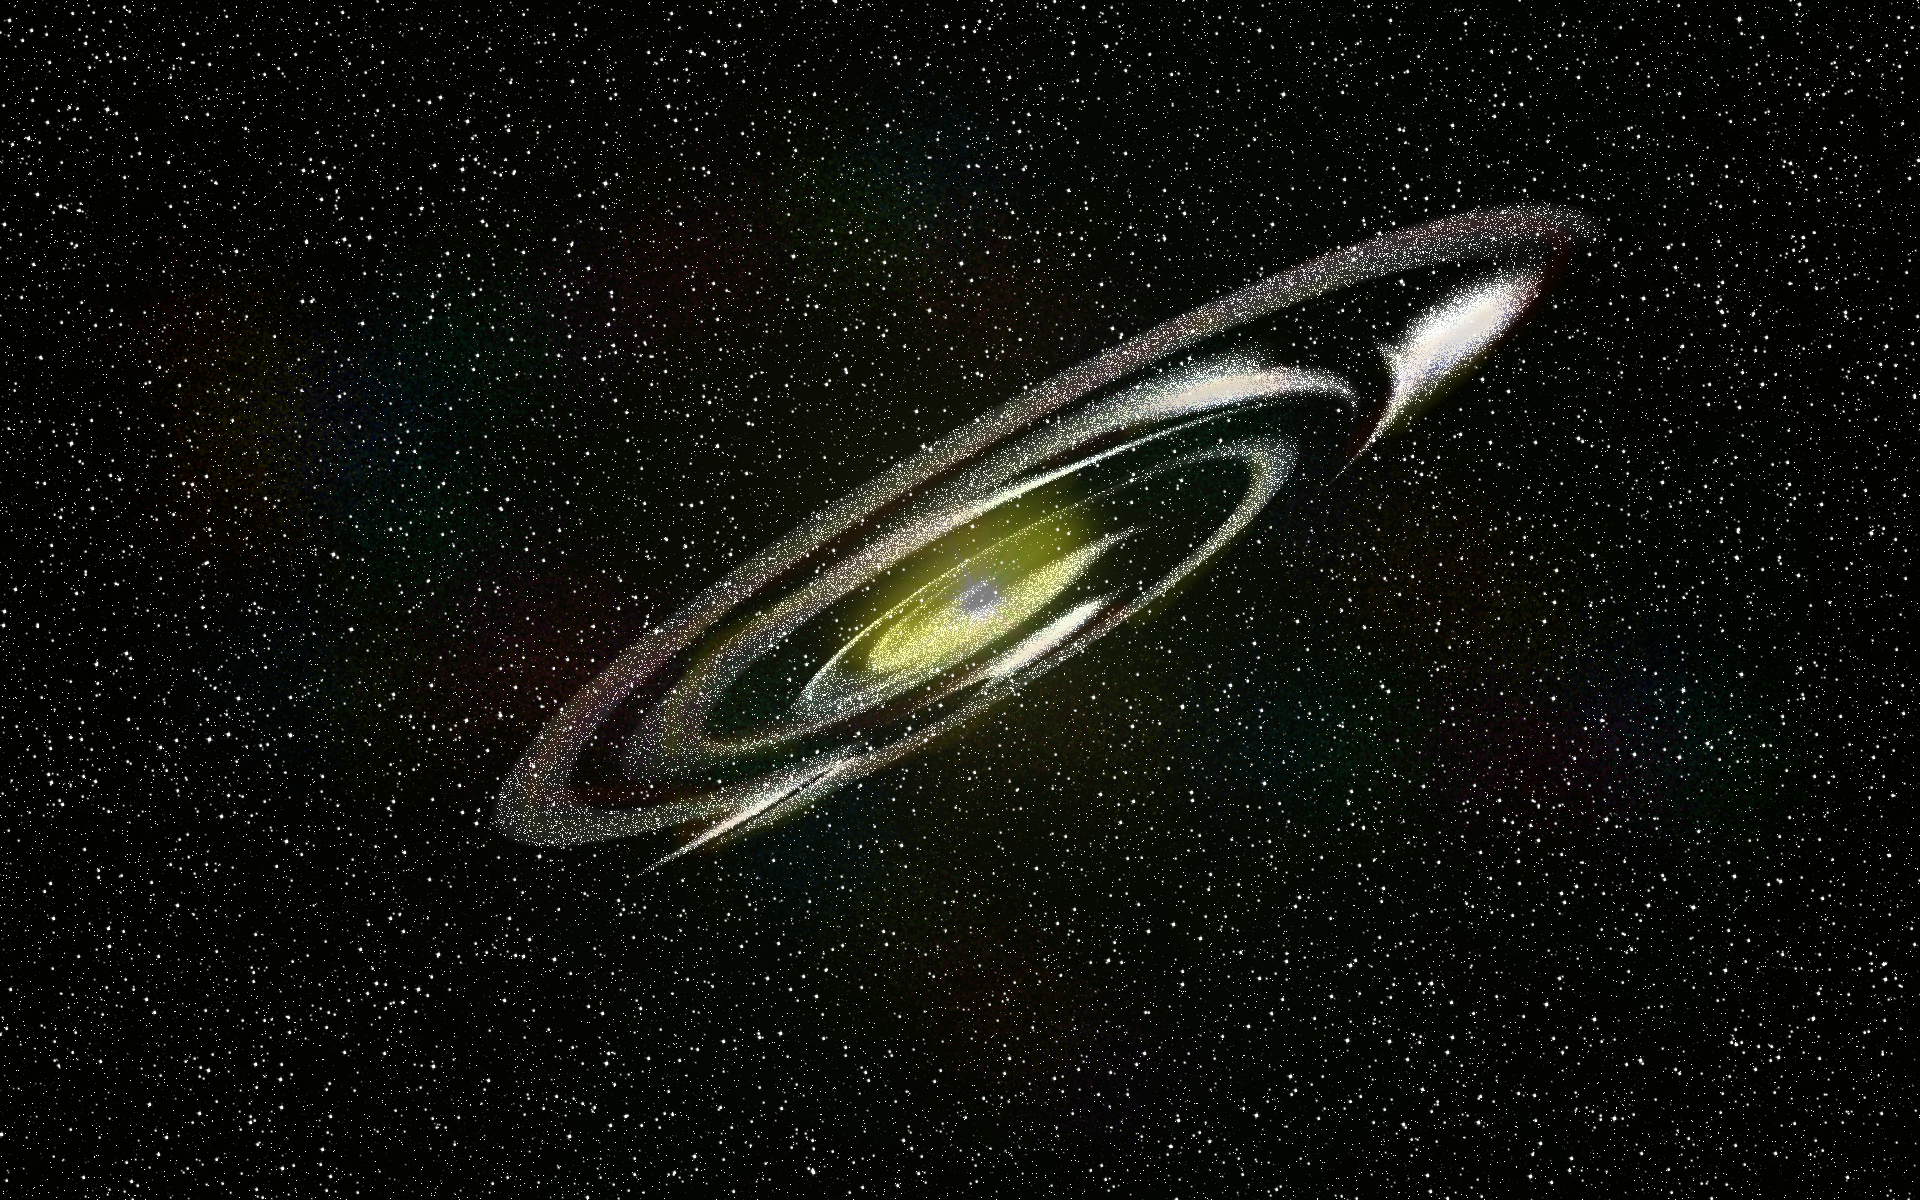
Here is one i just did with those exact directions except i added a dup layer of nebula clouds and set that duplicate layer to dissolve for a more intense ring feel.
You can of course then set that layers opacity to your liking.
Thanks for checking out the tutorial.