This tutorial will show you how to create an image map using Gimp and will take the headache out of calculating co-ordinates for each link section (or hotspot).
What is an image map?
An image map is one image that is divided into sections called hotspots. Each hotspot is allocated an action usually a link to another web page, either an internal page or one from an external website. Other functions such as javascripts can also be allocated to a hotspot, but for this tutorial we will be adding links. This tutorial is divided into easy to follow steps.
Step 1
Creating an image map
Launch Gimp and open the image you want to use by clicking on file> Open then navigate to where the file is located.
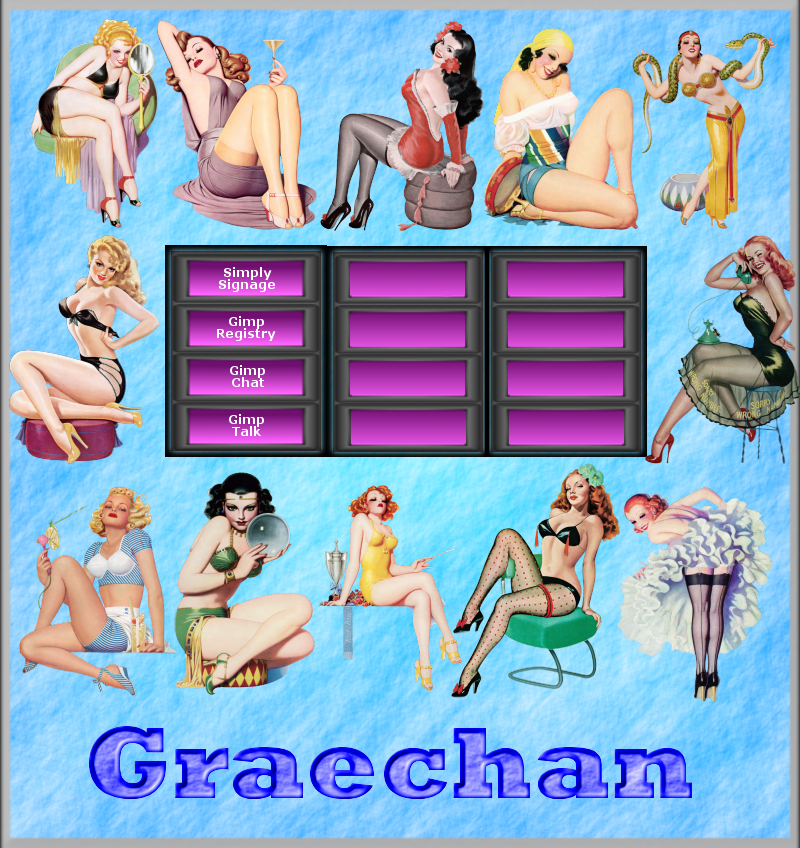
Here I am using an image with buttons (see above) which will open pages in a website. Each button will be given a hotspot and link.
Really useful for me! Thanks!
Step 2
Open the image Map window
In the image window click on Filters > Web > Image Map. Another window will open and it is in this window that the image map will be created.
To the left of the window are three blue shapes: a square, a circle and a polygon. These represent the choice of shapes available to create the hospot that will contain the link (see above image). For this exercise we are going to use the square.
Step 3
Define the first hotspot area
We are going to add a hotspot to the ‘Articles’ button. Click on the blue square to the left of the window. Hold down the left mouse button and drag the cursor over the ‘Articles’ button to form a rectangle. When you have the shape you want click the left mouse button. Another window will automatically open.
Step 4
Add the URL for the hotspot
In this window the URL for the link will be added. Simply paste the URL for the link in the top text area, and the alternative text in the lower text area then click the OK button.
The link has now been added to the ‘Articles’ button. Add a shape as in step 3 and a URL for each of the buttons.
Step 5
Completed Image Map window
The above image shows all the buttons with hotspots added as well as the links. Although the hotspots are visible here, they will not show once the image map has been added to the web page.
To save the image map, in the image map window click on File > Save As then give the file a name. It is important to remember to give the file an HTML extension, so your file name will look something like this:
MyImageMap.html
The Image map has now been created along with the co-ordinates for all the hotspots!
Step 6
Testing the image map
Now that the image map has been created Gimp can now be closed.
To see if all has gone well, navigate to the image map file on your hard drive. It will more than likely be displayed with the icon of your default browser (see image, left). Double click on the icon and the image map should open in your browser. Click on the buttons to see if the links work. Your browser should be able to open each of your links.
Step 7
Getting the HTML code for the image map
To get the HTML code for the image map, navigate back to the image map file. Hold the cursor over the file, right click and choose Open With > Wordpad. Wordpad will then open and contain text similar to the example above.
The section underlined in red shows where the URL for the image used for the image map will need to be placed. The image should be stored in the directory of your website.
The vertical red line to the left of some text highlights notes automatically generated in the creation of the HTML code. Although the text asks you not to delete these lines, since they are just notes they can in fact be edited or deleted if you choose.
:gimp
The process of creating an image map is quick and easy when using Gimp. There is no need to go to the trouble of manually calculating the precise co-ordinates for each hotspot because Gimp works all this out for you, saving a lot of time and trouble.
Good luck with lifestyle urban in Canada
https://highlandsvernon.com/ creating your own image maps, and feel free to let me know when you have added them to your website.
images above from Rods original tutorial