Vintage Lacy Picture Frame Tutorial.
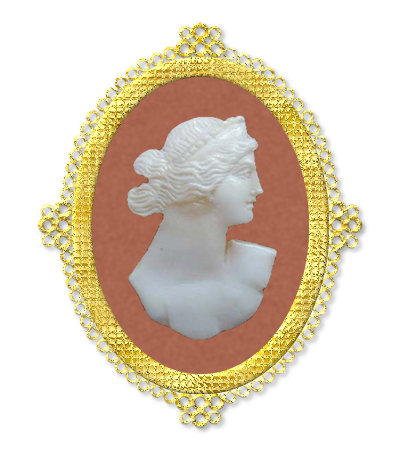
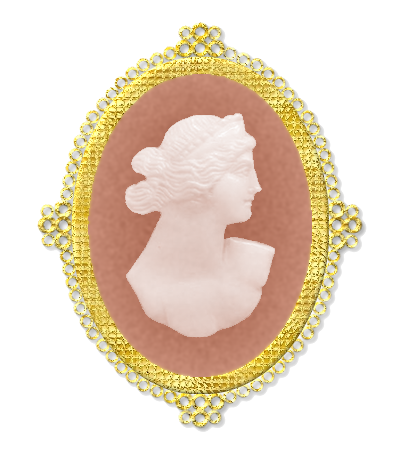
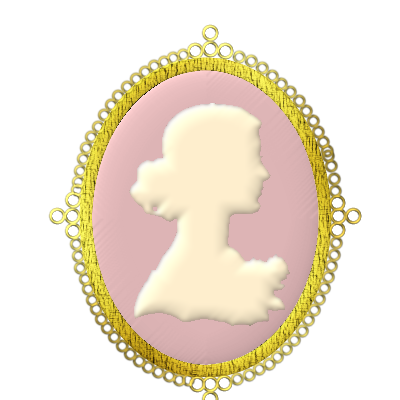
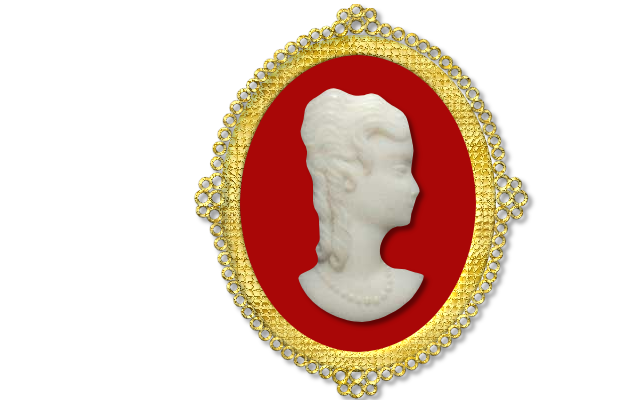
This is what you can do with this tutorial and you can use your own imagination however you want to fill it.
- new layer (fill with white) default size
- new transparent layer (name it frame)
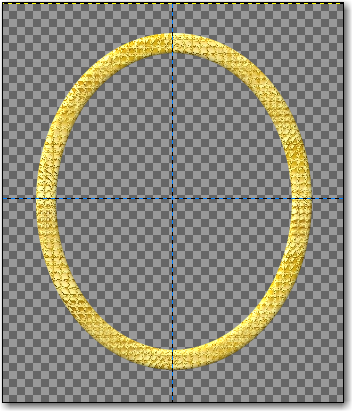
On the frame layer, select ellipse select tool
- Make an oval shape
- fill with pattern. I used (gold waffle) (see below for gold waffle pattern)
leave selected > select > shrink > 20 < cut > un-select
Decor > add bevel > 5 or whatever you choose, (un-click work on copy) > OK
New transparent layer (Name Lace)
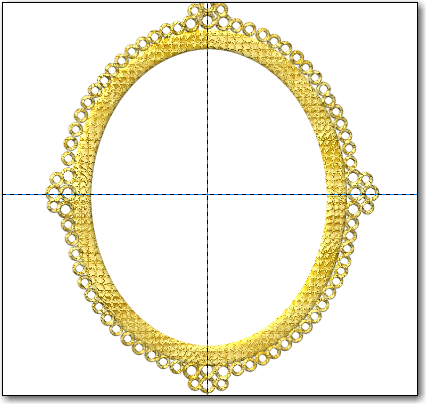
Use guides and place one horizontal and one vertical midway between both directions like the image above.
foreground color black
Get the
ring brushes Brushes > Circle ring brush #4 size .98
On your lace layer, make a circle at top of frame, bottom and one at each side on the guides, then place a circle at each side of the center one. like image below
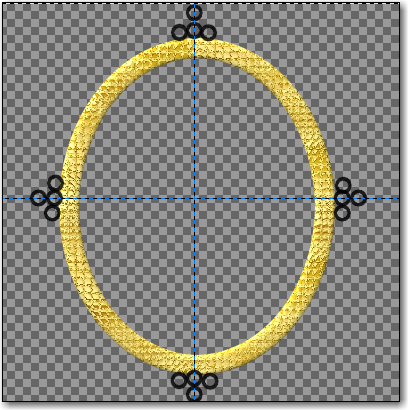
(There will be 3 circles on each side) Place another circle above each .98 circle which will be 4 size .98 circles on each side.
Change brush size to .78 and fill in evenly in between size .98 until it looks like this.
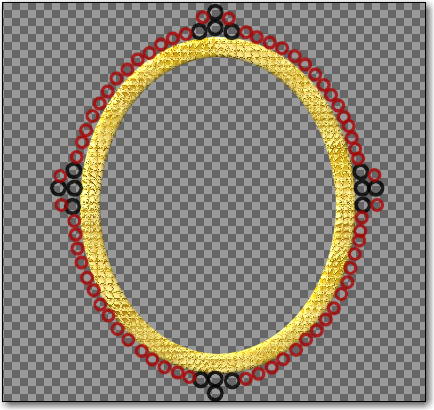
Note: I used red to show where all the size .78 circles go. You will be using black.
right click on lace layer > alpha to selection > bucket tool > click pattern fill > gold waffle > fill (Make sure you click the fill the whole selection in the pattern dialog.
leave selection on Decor > add bevel > 3 (or whatever you choose, > unclick work on copy > OK see image below.