
Attachment:
 Resources.zip [5.57 MiB]
Downloaded 29 times
Resources.zip [5.57 MiB]
Downloaded 29 times
I normally use 3D effects with Custom Font Faux 3D for adding a little depth to a custom font but recently have been adding more 3D to custom fonts with the option available in 3D Wordy.
This is a very easy way to add a 3d effect to a custom font but it will take a while to apply to an entire set of custom font characters especially when adding a large number of custom font layers.
Use the zipped GreenDale one in the resources folder to practise with if you need a custom font. This folder also contains a copy of the 3D Wordy plug-in. Add this to your user Plug-ins folder if you do not already have it.
Pdf copy of this guide:
Attachment:
Open your custom font in Gimp
To see how the font will look like take a copy a single letter.
Ctrl + C (Windows)
and paste it as a new image.
Ctrl + Shift + V

Select the path tool in Gimp.
Keystroke B
Add a simple vertical path by clicking in two places on the image.
Open the custom font 3d Wordy filter.
Custom Fonts>>3D Tools?>>Custom Font 3D Wordy v0.05…
Click on the ‘Apply perspective to custom font’ to set it to ‘Yes’ and set the ‘Maximum number of custom font layers’ option to the required value.
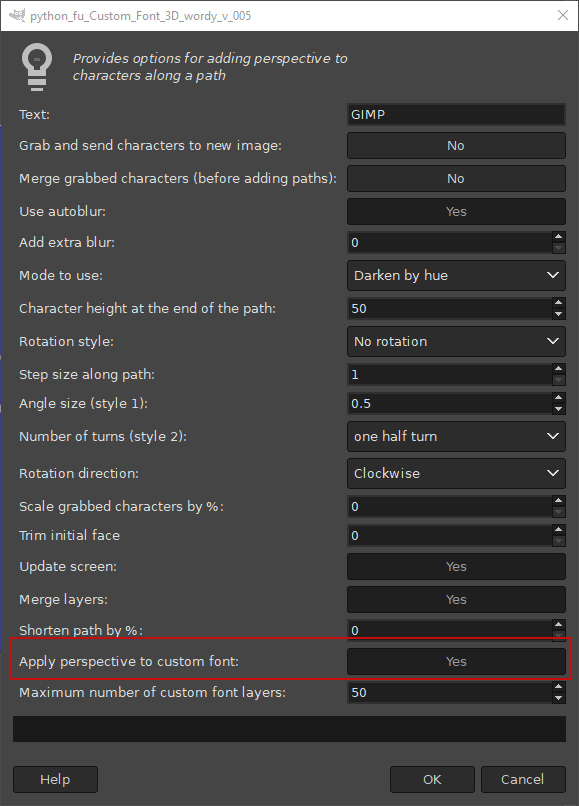
Click on ‘OK’.

If the 3d effect has a rather ‘stepped’ appearance you can adjust the blur level by setting the ‘Use autoblur’ option to ‘No’ and increasing the value of the ‘Add extra blur’ option.
My example used an extra blur value of 10.

When you are happy with the values and settings copy the path and paste it into the custom font image. Call up the filter again, hit ‘OK’ and go and make yourself a drink while the plug-in does its work.
Custom fonts with a plain fill outer edge (as in the example below) do not give the best results; use those that have variations of colour and/or shade in the characters edges or borders.

If the custom font file already contains kerning paths be aware that using a path that adds the 3d effect from right to left can produce spacing issues when using the custom font.
If your computer struggles with creating 3d effects (slow or smaller RAM size) you can always use the Splitter utility, also included in the Resources folder, to break up the custom font file into smaller parts before applying the filter to the part files. Then you can re-assemble the files with the Stitcher utility.
And that's it! Have fun.
_________________
"Let no one steal your dreams."
Paul Cookson
Latest plug-in update: Paragrapher v.1.4
Custom Font Links
Tools
Character Paths
White Bases