Animating a stickman
Results

Download and install this mattbat font below, extract the zip file and place font in your Windows Font folder. C:\WINDOWS\Fonts
Either refresh your fonts in Gimp (filters > script-Fu > Refresh scripts) OR reboot Gimp.
link:
Mattbat Font The stickmen are numbered from 1 - 0 as seen in image below

(Each number corresponds with the image above) #1 is the starting of your animation.
- open new layer > fill with white, (default will do). (You can delete it later.)
I will use size 70 font for this tutorial. (You can use whatever size you like)
Using the Mattbats Font,
Click first stickman which will be #1. This will open a new layer
You will now have your first layer for your animation.
Click background for new layer
click second stickman which will be #2

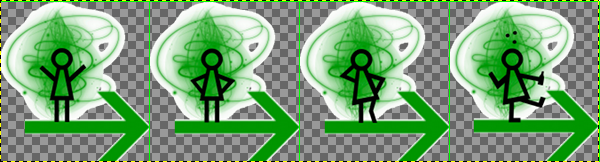
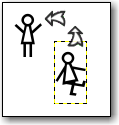
After you add your #2 layer, use your move tool to line up with your #1. (The best way I found is to line up the heads (circles). Don't worry about the bodies. They will be all different.
Carry on with this procedure until you get all 10 layers.
This is what the 10 layers look like.

After you have all the layers, use the new script written by FencePost This will be found at bottom under attachments.
This will layer to image all layers at the same time
Place your new script into your Gimp scripts folder, Go to filters > Script-Fu > Refresh scripts OR reboot your Gimp.
To find this script in Gimp > layer > All Layers to image size
DELETE WHITE BACKGROUND LAYER
When you are finished all 10 layers. go to filters > animation > settings > change the default from 100 to 130 and change keep to replace > ok.
Finished layers after you change the animation settings

Then go > Filters > animation > Playback. if all looks good go to save as stickmen.png
if you have the apng plug-ins installed. save as animation.
If you do
not have the apng. save as stickmen.gif > save as animation.....
Good luck and hope you enjoy my tutorial. If you have any problems, please post.....
sidenote:
Thanx for the great script Fencepost. Saves a lot of time.......


 That's fun, Rob.