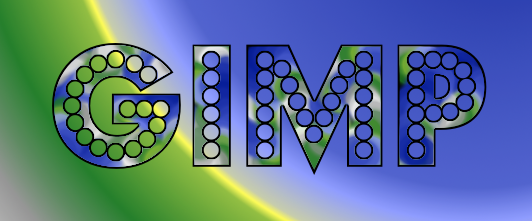
Painting with a gradient can make some very pretty effects in text and also in shapes.
Download the Display font from here. I used DisplayOTF.otf for the one in this tutorial, not the 3d one.
http://www.dafont.com/display-otf.fontThe Foggy Circle brush is attached below. Right-click the attachment and save it to your Gimp brushes folder.
You will need to refresh your fonts and brushes or close and reopen GIMP after installing them.
- Make a new image, 400x200, and fill it with white.
- Select the Text tool.
Display OTF font
Size 150
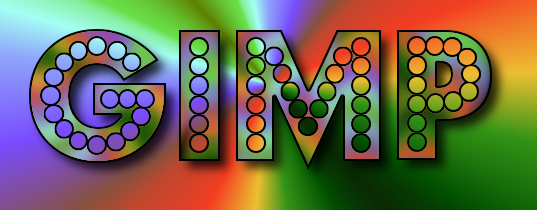
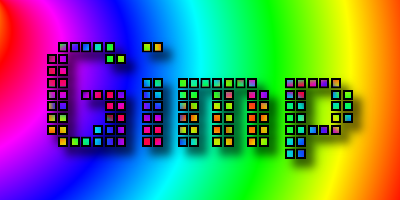
- Type Gimp.
Layer > Autocrop Layer.
Select the Alignment Tool and click in the text. Dots will show in the corners.
Click the Center and Middle buttons in the Alignment tool options.
- Right-click the Gimp (text) layer
Select Layer to Image size.
- Right-click the Gimp layer again.
Alpha to selection
Select > Shrink 2.
Select > To Path. (Saving it to a path is not totally necessary but if you should lose your selection you can get it back by Select > From Path.)
- Make a new transparent layer and name it, paint.
Make sure it is the layer selected.
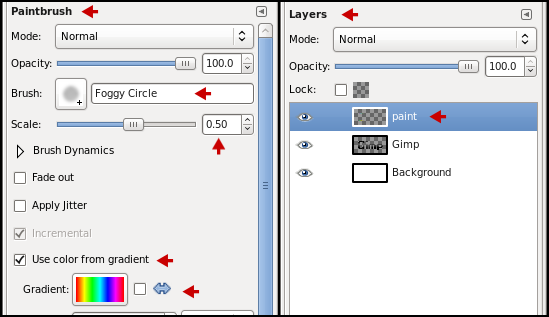
- Select the Paintbrush tool.
Foggy Circle brush
Size: 0.50. The smaller size gets more colors into your text.
Check Use color from gradient in the Paintbrush options.
Gradient: Full saturation spectrum CCW.
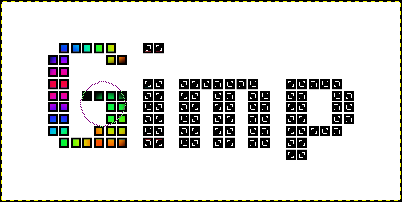
- Holding down the left mouse button, start painting the selection.
Move the brush around a lot, still holding the left mouse button down, all directions until satisfied with the colors.
As you paint, you will see how the colors go on and will get ideas of how you want it.
Different painting directions with the brush gives you different colors.
Paint all of the selected areas.
- When you are finished painting, Select > None.
- Select the white background layer.
Select the Blend tool.
In the Shape selections, choose Spiral (cw)
Check the Adaptive supersampling option
Paint diagonally from the upper left corner to the lower right corner.
- Select the Gimp layer.
Filters > Drop Shadow > use the default selections.
X & Y = 8
Blur radius 15
Opacity 80
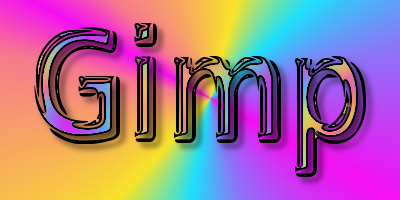
- You are finished. You can merge the layers and save your new image.
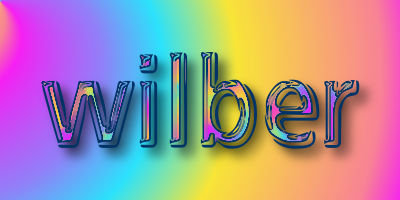
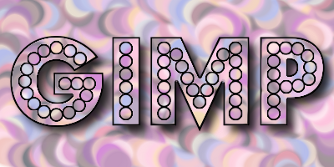
You can use the FG and BG colors for a pretty blend, too. This one I used 8b01ae for the FG color and e791fd for the BG color and painted with it. For the Background layer, in the Blend tool options in Shape, I used Shaped (spherical) and checked the reverse arrows.

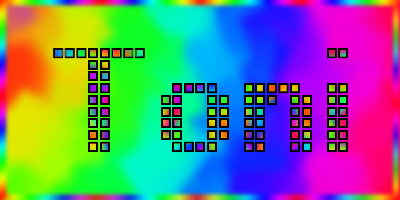
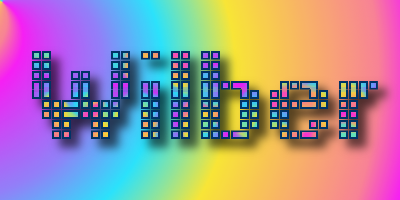
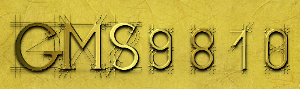
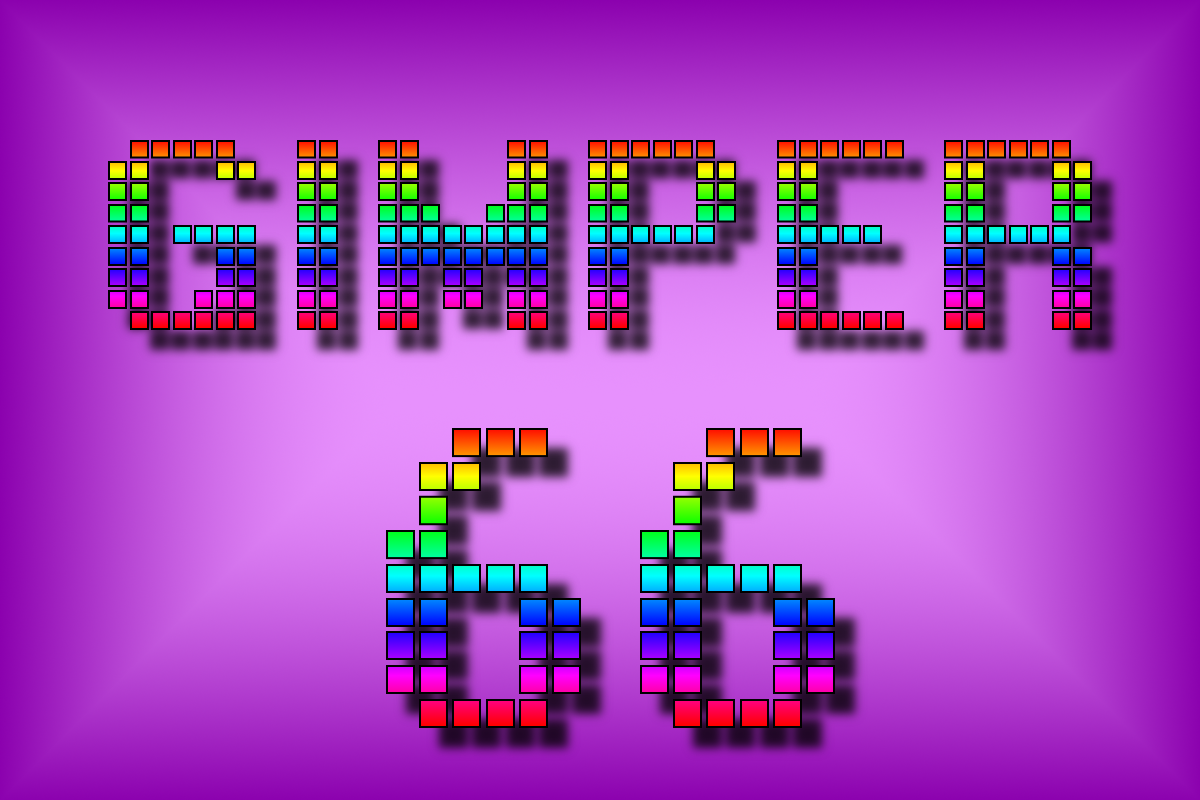
You needn't use only the Foggy Circle brush. Try some of the other brushes you have for interesting effects. Try other fonts, gradients and drop shadows.
Download a PDF of the tutorial.