Making a realistic looking gear in GIMP.
I saw this done in Photo-Shop by Designs By Mark, and decided to try it in GIMP. =)
Please be sure to name each layer what i tell you because it will matter later in the tutorial.
1) Open GIMP.I'm using 2.6.8 stable version.
2) Create a new file 450x450/with a white background.
Before we go on to step 3 we need to set up our grid at 25px/set it to view, and snap to.
3) Make a new transparent layer call it gear teeth.
4) Make a fixed rectangular selection 250 (height) x 30 (width).
5) center the selection horizontally and vertically in the image.Fill it with black.
6) select/none
7) Copy the gear teeth layer 5 times.
8) Select gear teeth copy and rotate the layer 30%
9) Select gear teeth copy#1 and rotate the layer 60%
10) Select gear teeth copy#2 and rotate the layer 90%
11) Select gear teeth copy#3 and rotate the layer 120%
12) Select gear teeth copy#4 and rotate the layer -30%
13) Make a new transparent layer name it gear center.
14) Create a circle fixed 200x200 snap it to center and fill with black.
15) Go to Edit/copy visible/Edit/Paste as new layer.Or if you have the script installed select
Edit/copy visible and paste as layer.Name the new layer Gear.
16) Select the Gear layer and go to colors/invert.You should now have a white gear on a black
background, and that's just what we need for the next step.
17) Select the Gear layer go to Filters/blur/Gaussian blur, and blur at 25.
18) Select the Gear layer again and go to colors/levels, and put in these settings for output.
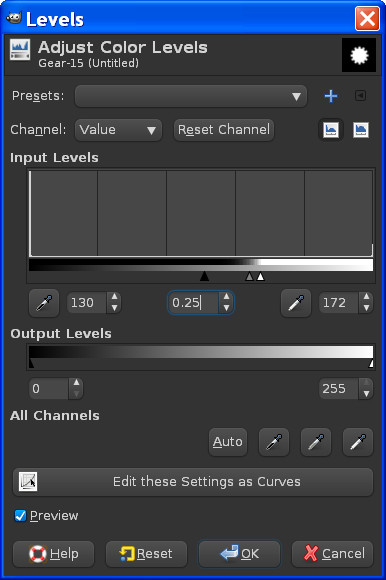
If all is well it should look like this now.

19) Turn off (make invisible) all the layers except Background layer and the top Gear layer.
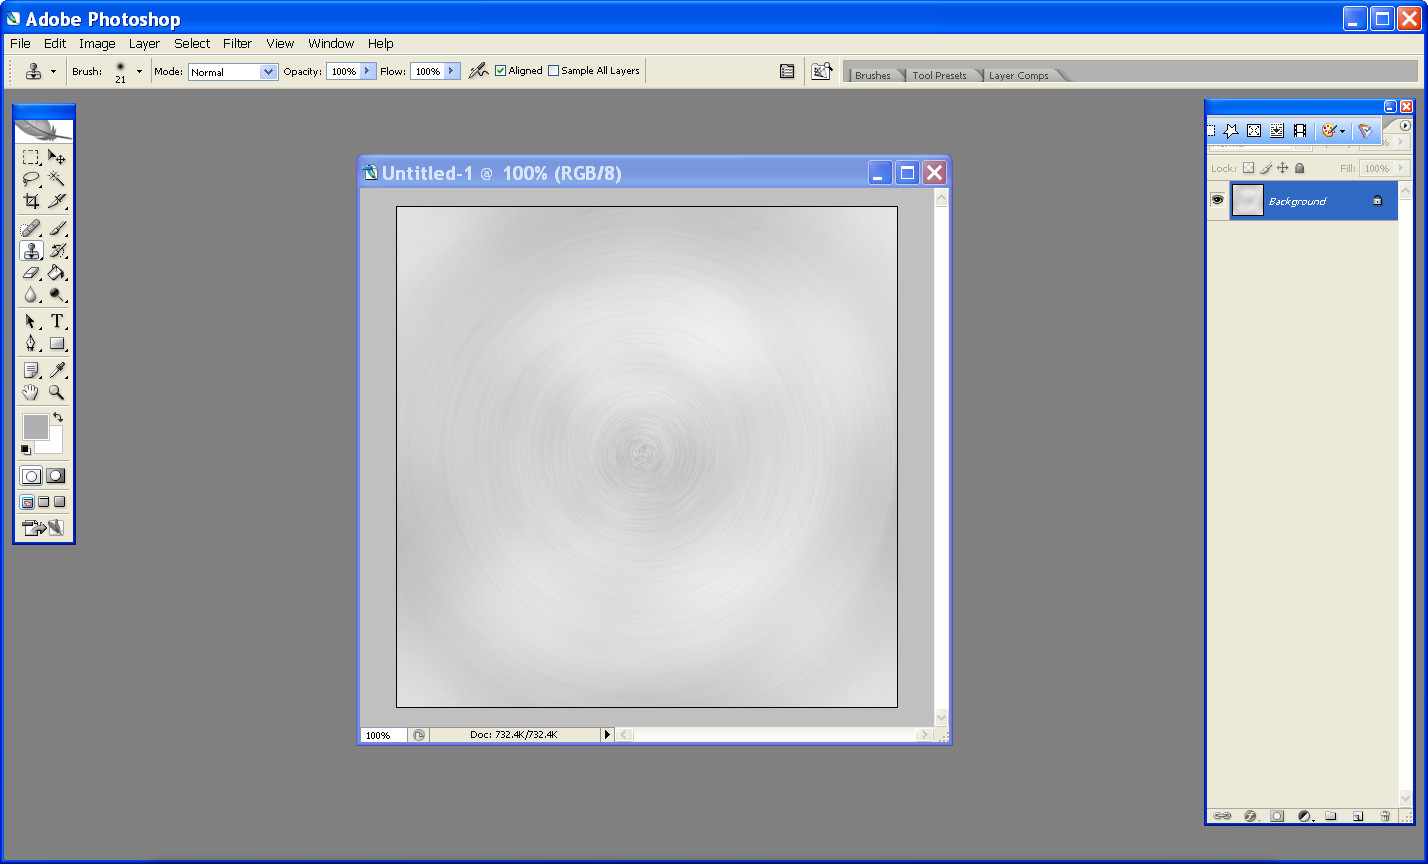
21) download my brushed steel pattern or create your own with dif clouds and noise and radial blur.
Trust me its easier to use the one i already have done...lol.
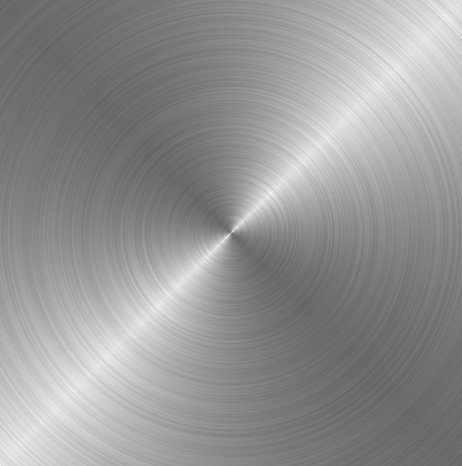
22) Open the pattern as an image go to select all/copy - open your gear xcf and edit/paste as new layer.
Make sure its now the top layer.Name it textured steel.
23) Select the textured steel layer and center it in the image exactly in the middle with the arrow keys
on your keyboard.
24) Now is a good time to save it as Gear.xcf if you haven't already.Remember to save often from here
on out.
25) Make a new layer name it outer rim.Create a circle selection fixed 200x200 and snap it to center.
Fill it with white.
26) Keep it selected and select your gradients tool and make sure its set to foreground to background.
White (FG) and Black (BG) as colors.Make a gradient from top to bottom of the circle selection.
27) NEW layer name it inner rim, create a 150x150 circle fixed snap to center fill with white, and do the
same gradient but this time bottom to top.Select/none.
28) Make a new circle fixed 50x50, select the inner rim layer.
center and hit delete, select outer rim layer hit delete, select textured steel layer hit delete.Select/none.
29) Make the inner, outer rim and textured steel layers invisible.
30) Now select the Gear layer, select fuzzy select tool and click on the black color.Select/grow by 4 px.
Select the textured steel layer (make it viable) and hit delete on your keyboard.Select/none.
31) Make the Gear layer invisible.Select the inner rim layer and merge it down with outer rim layer.
Select the textured steel layer/right click and select alpha to selection.Select the outer rim layer / select
invert /hit your delete key on your keyboard.Select/none.
32) Select the outer rim layer set that layer mode to Grain Extract.Merge the outer rim layer down with the
textured steel layer rename the layer Gear main Go to view/show grid, and turn off the grid.
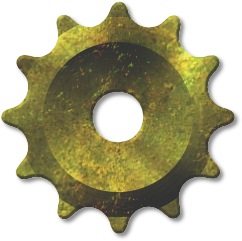
33) If all is well still it should look like this.
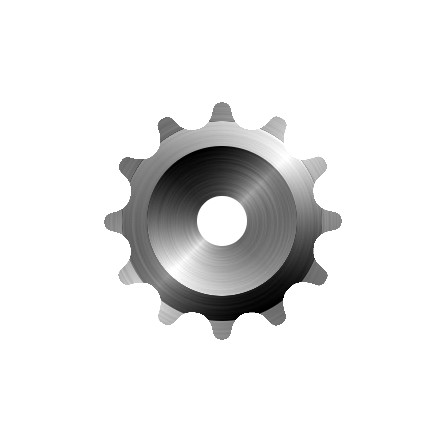
27) Now we can add some other effects like textures and a bevel to our gear, or it looks pretty good like it is.
We can however make it better.
28) Go to script-fu/layer effects/bevel and emboss, or if you use Python, go to layers/layer effects/bevel and emboss.put in
these settings.

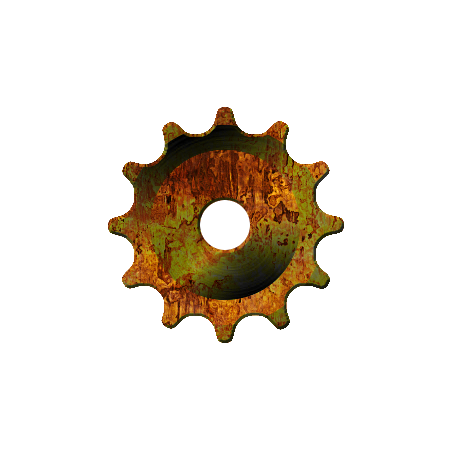
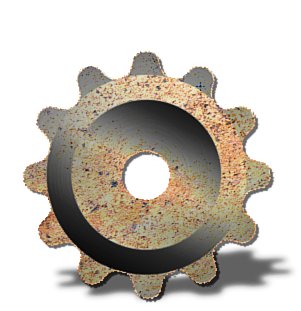
29) now download this rust pattern
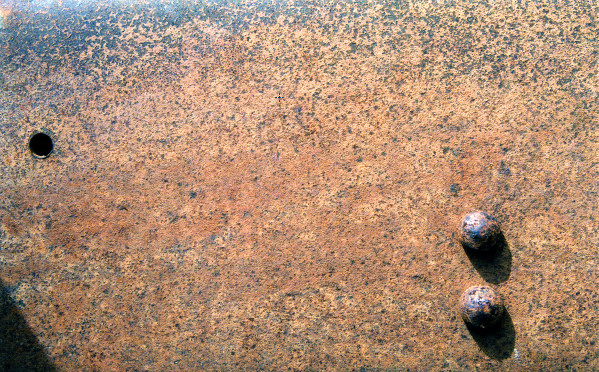
(or use your own), and open as a new image/ select all edit/copy
open gear.xcf and edit/paste as new layer.Center that layer of rust where you want it.
Just so long as it covers our gear. =)
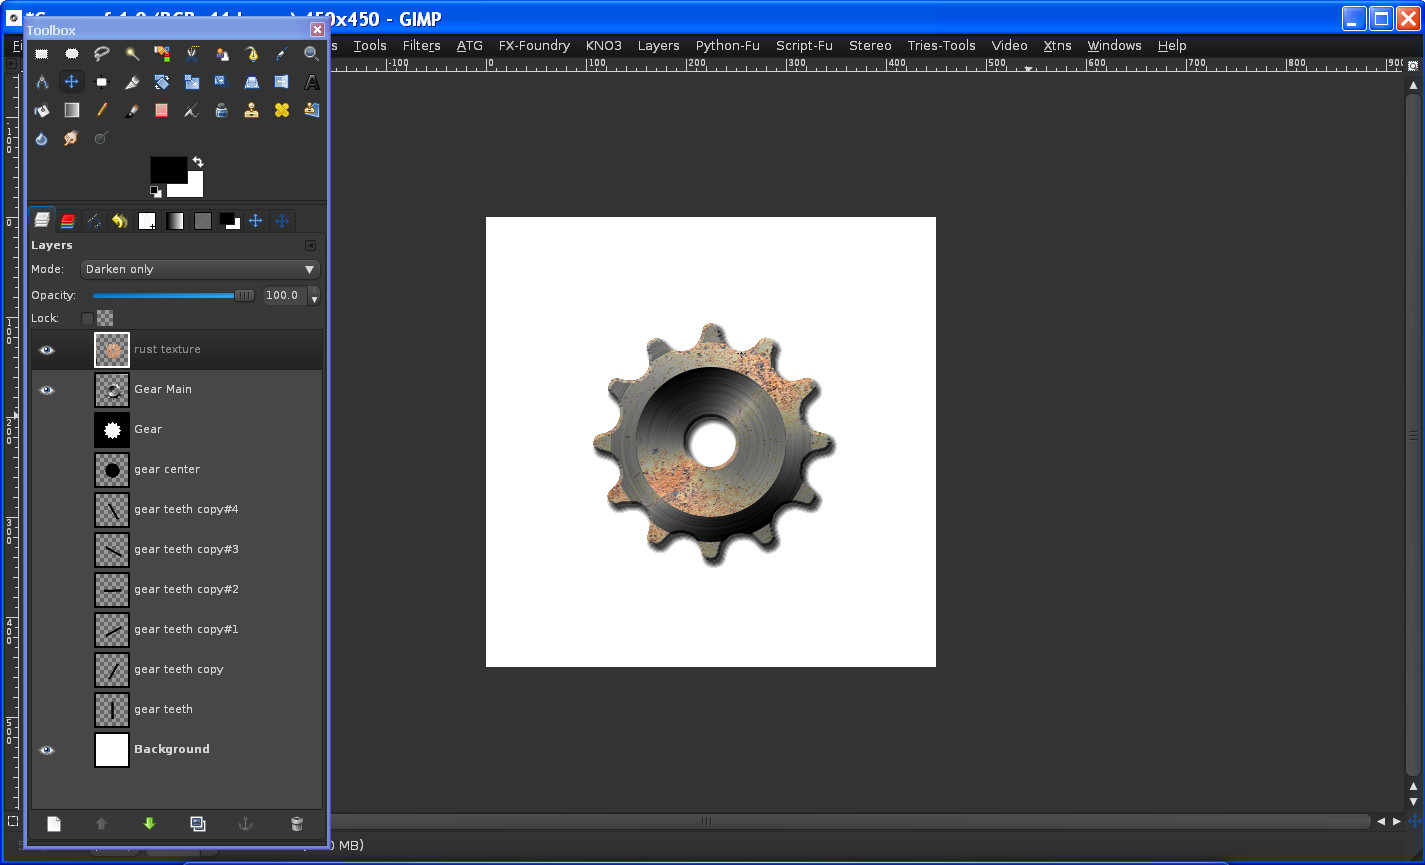
Now comes the magic! ... select our Gear Main layer, then right click/alpha to selection
Select our top rust layer, select/invert/hit the delete key on your keyboard.
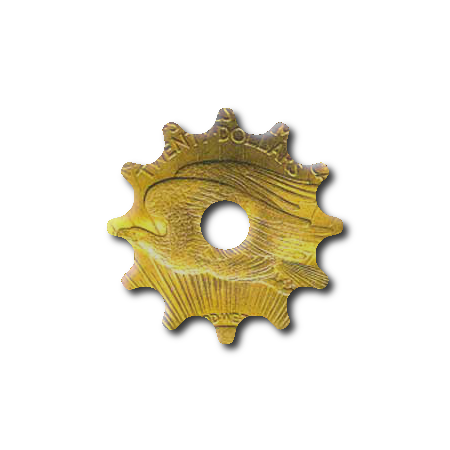
set the layer mode for our rust layer to darken only...voila A realistic gear made in GIMP! =)
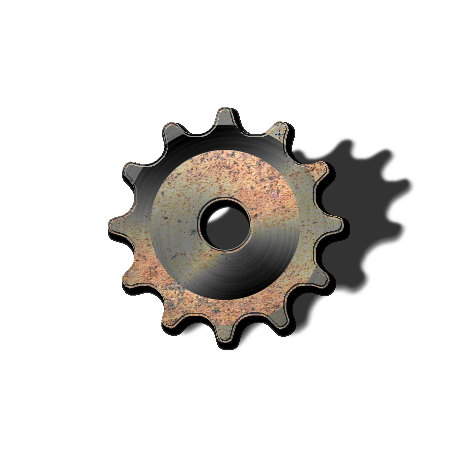
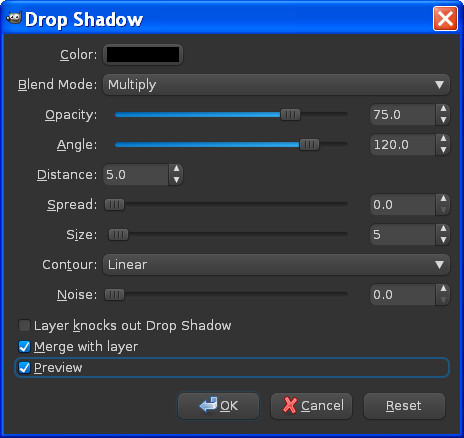
Now select the Gear main layer and add yourself a drop shadow of your liking.
I hope you enjoyed the tutorial.
finished image...
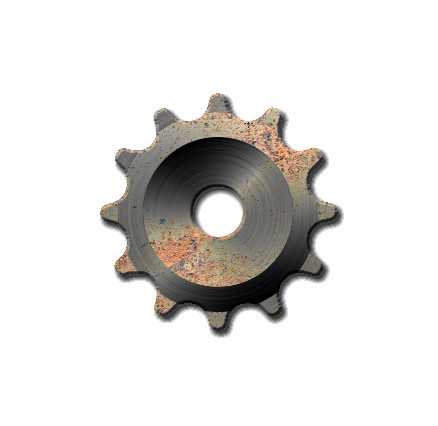
thanks for checking it out.
If you want the xcf just PM me