For lack of a better name i guess ... lol =)
1) open GIMP and create a 1020x1020 new document.Right click and select add alpha channel
2) color the layer black, name it roadbg, open at 65% size.
3) go to filters/noise/add HSV noise use these values
Holdness = 7
Hue = 7
Saturation = 150
Value = 100
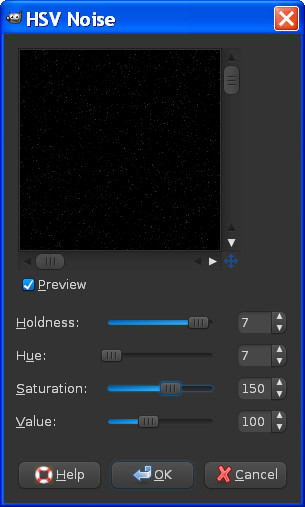
click ok
4) download this image
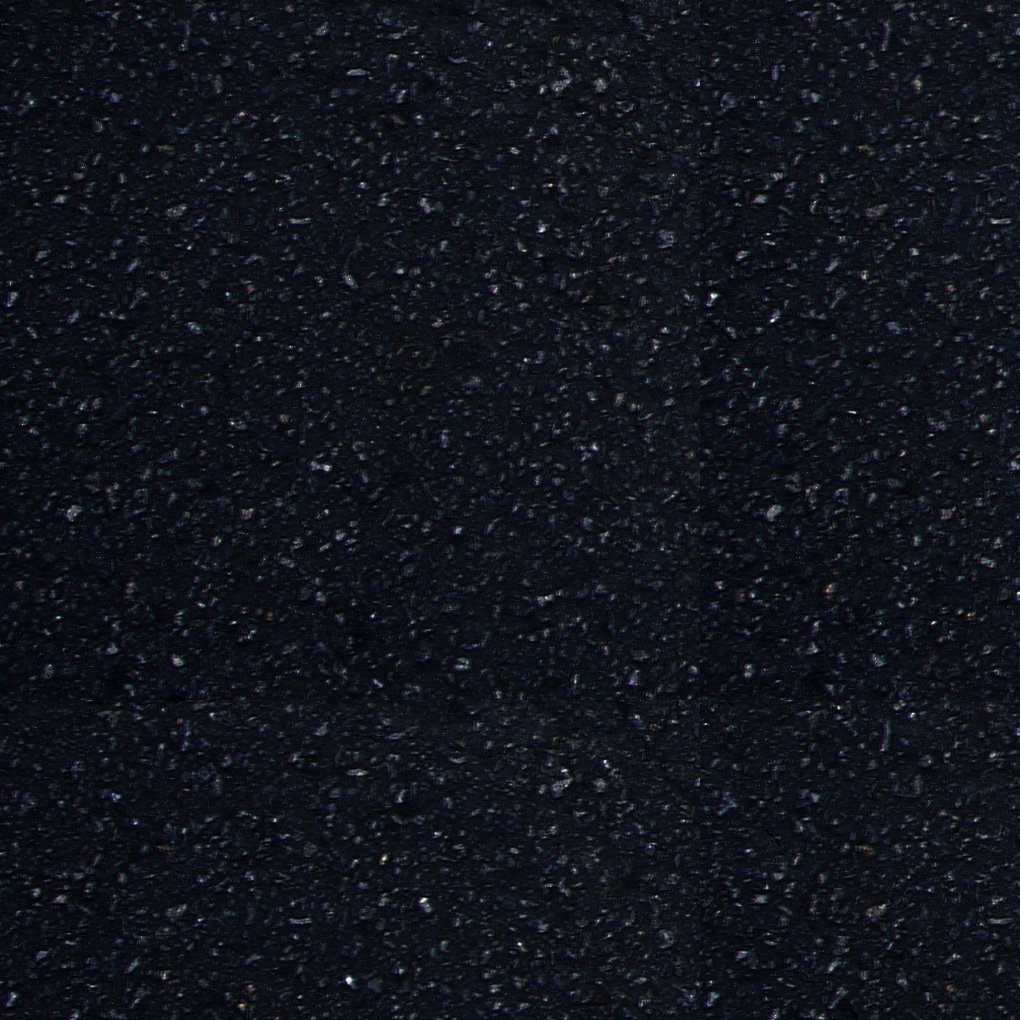
5) open the image in GIMP as a layer.Name it "asphalt top" Right click add alpha channel.
Make sure its above the roadbg layer.
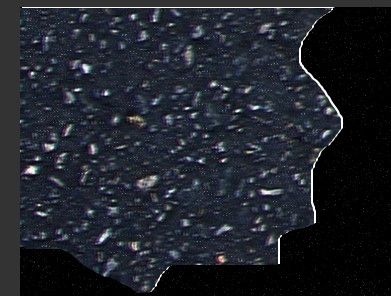
6) Using the free select tool cut the asphalt top layer into 6 pieces.
I used 6 pieces for this tutorial.
Create a new layer for each piece.Move the layers slightly apart to see the cracks.You can
also make each piece invisible as you create them if that is easier for you.Keep the pieces in
the same position you cut them from.You may have to move them back after you cut them out.
Name them something like, top left,top right,left bottom,center, right center,and bottom.
Organize them in your layer list accordingly.
Note:
you may have to move the layers up or down to be able to select each piece to move them.
Move the layers around until they look good to you.Remember to use your imagination.
You wont want to use all the cracks, overlap some of them.
7)Duplicate a few of the layers and right click each one and select alpha to selection
and fill those pieces with white.I used left top,right top, and left center.
Place them each below their original layers.Move the white layers slightly so the white shows
just a little.Use whichever pieces look good to you.
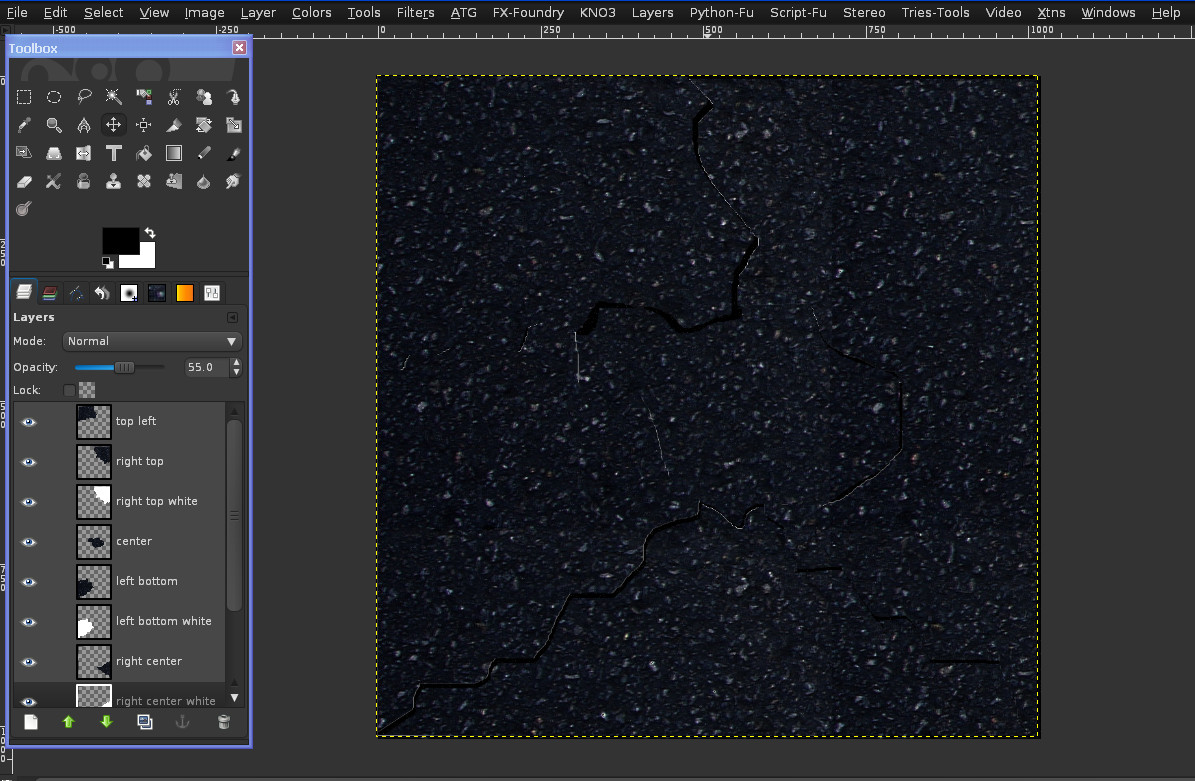
lower the opacity of all white layers to 3 different opacity's.
I used 35, 45, and 55.
If you have not yet saved your file save it now! asphalt.xcf
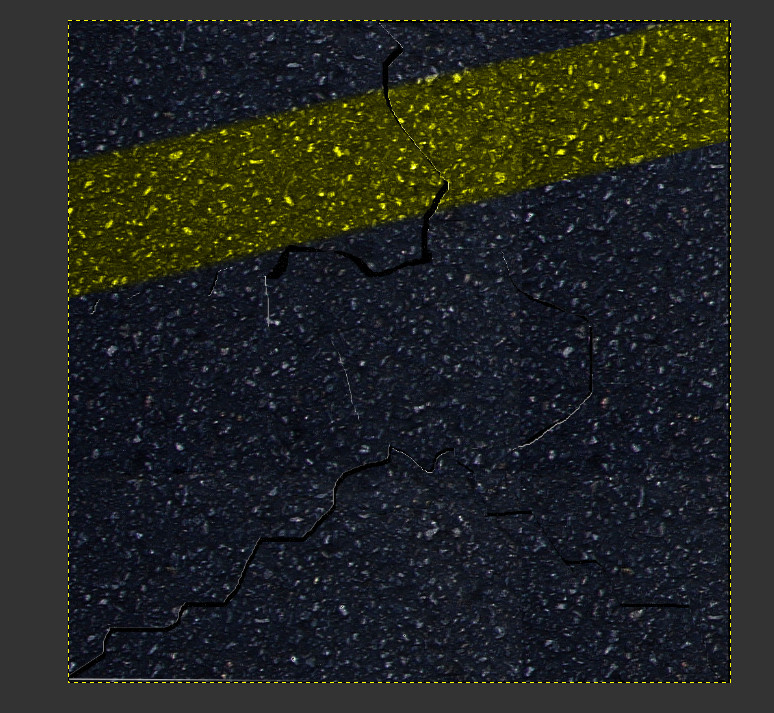
When your finished making each piece Your image should now look something like this.
8) Create a new layer filled with white, name it hue.Set the layer mode to overlay and opacity to 40.
You can set this to whatever you like or looks good to you however.This layer lightens or darkens
our road pieces.
9) Create a new transparent layer name it road line.
10)Use the free select tool and create a rectangle 1180x245 on a slight angle across the top of the
image fill it with yellow #ffff0b
It should now look like this.

11)Set that layers mode to color.
12)Using the free select tool select the road line layer, and make a selection on both edged of the road.
select filters/blur/Gaussian blur.Set the values to 15.This will make our lines edges more realistic looking.
13)Your image should look something like this now.
14)Download this image or you can use your own logo.

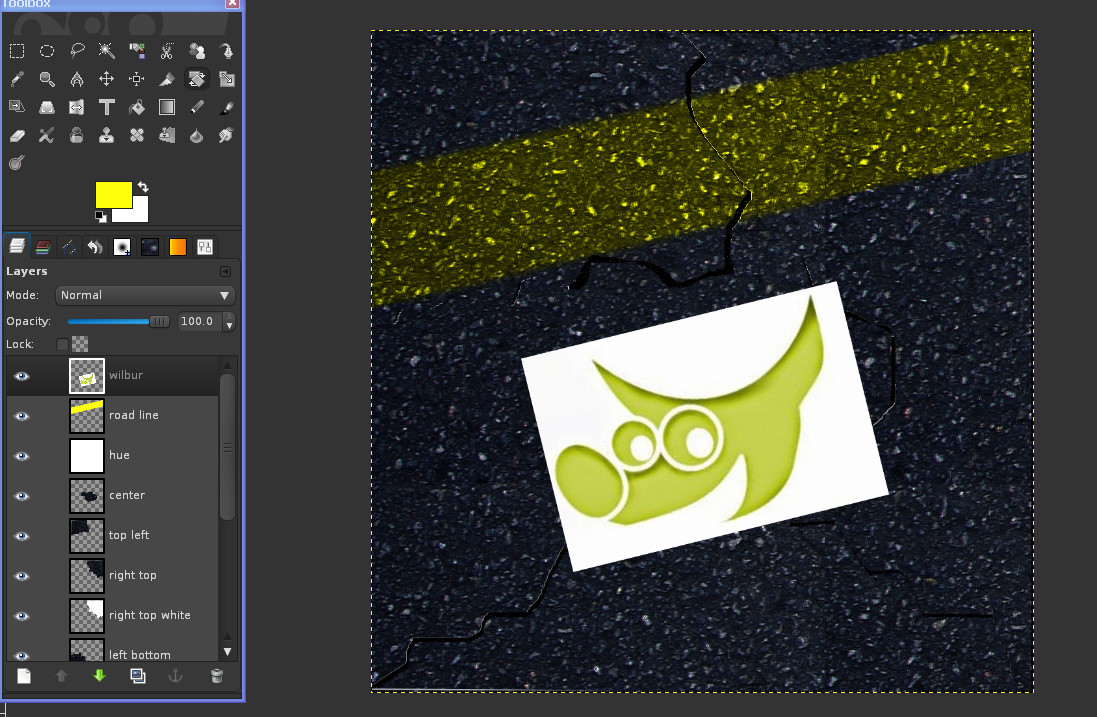
15)Open the image as a layer name it wilbur,and scale the layer to 500x338.
Right click select layer to image size.
Place the layer in the center under our yellow road line and rotate it a bit like this.
16)Select the select by color tool, and select the white on our wilbur layer, hit delete on your keyboard.
Make sure all the white and black are removed.Select/none.
17)Set the wilbur layer mode to color.
18)Select the text tool, make sure the color is set to #ffff0b.
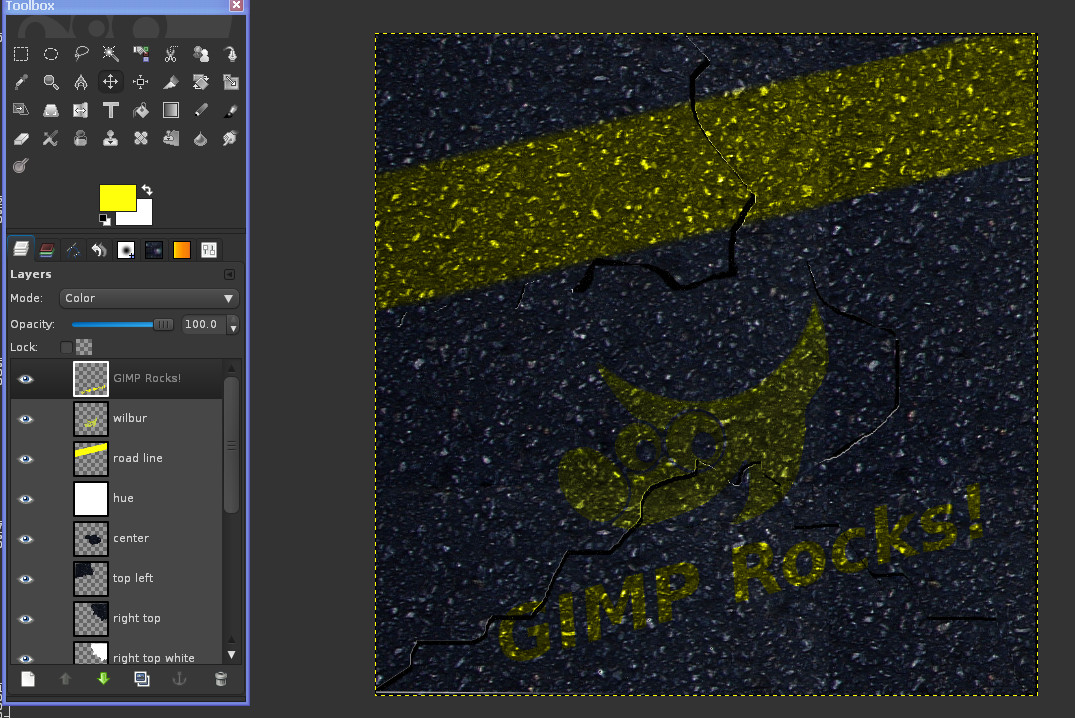
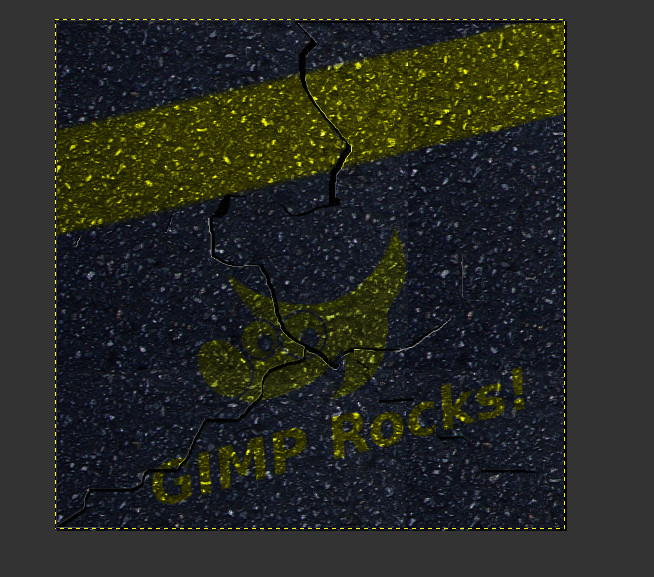
19)Type out GIMP Rocks or whatever you like, and place it wherever you like.
20)Set the layer mode to color.I rotated my text to look better.
Finished image.
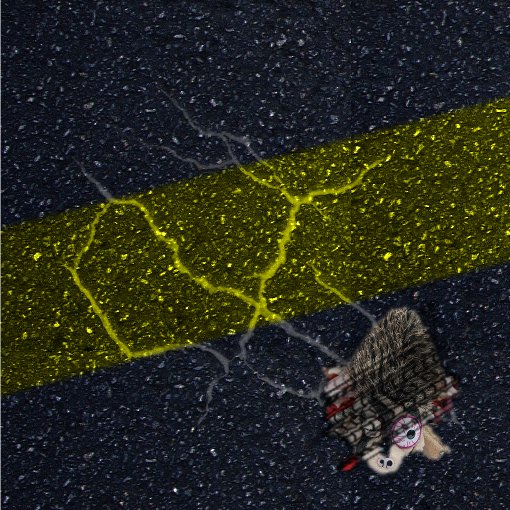
Keep in mind you can still move your pieces around for a better look.Cracks in the wilbur face and whatnot. =P
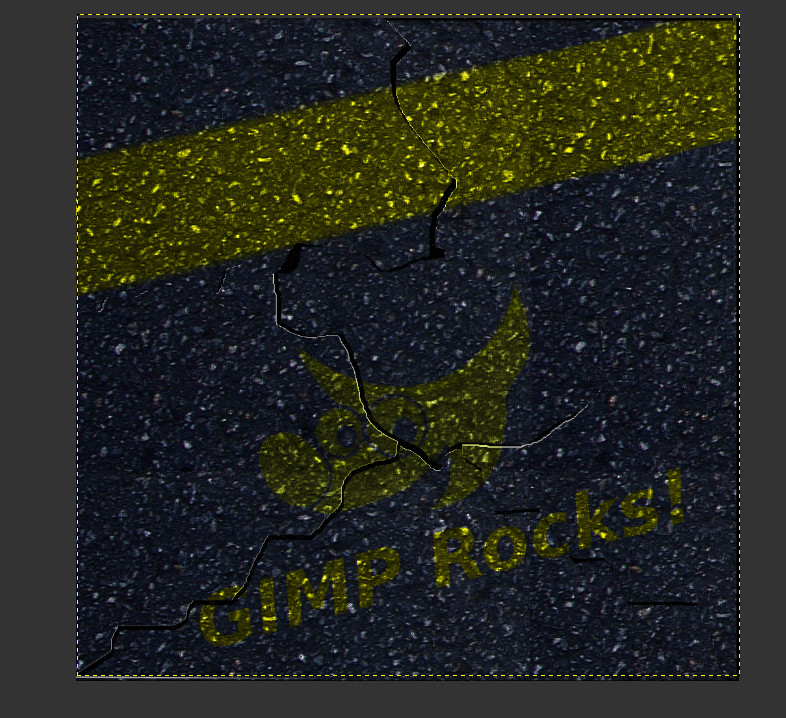
Here is the same image with some pieces moved around and some of the white erased. =)
Don't forget you can also use the hue layer to lighten or darken your road. =)
Hope you enjoyed the tutorial, and thanks for checking it out! =)


