Here is my Chrismas Ornament Tutorial. Please enjoy!
01) Create new square blank image.
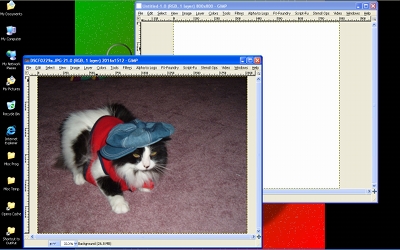
02) Paste Selected image into square image.
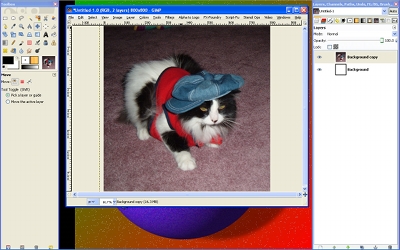
03) Layer > Layer to image size on pasted layer.
04) Layer > Transparency > Add alpha channel.
05) Name layer "Ornament"
06) Layer > Scale Layer> Width = 50%
> Hight = 100%
07) Layer > Layer to image size on "Ornament" layer.
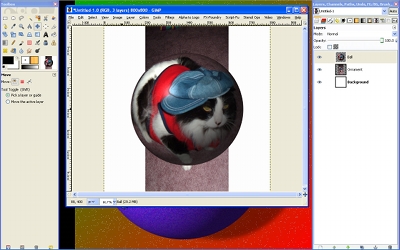
08) Duplicate layer and name it "Ball".
09) On Ball layer
Filter > Map Object > Sphere
> Transparent Background
> Position x,y and z at 0.5000
10) On Ornament layer
Layer > Scale Layer> Width = 25%
> Hight = 50%
11) Move Ornament layer to create top.

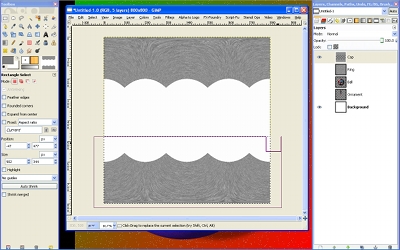
12) Create new layer named ring.
13) Fill new layer with "7f7f7f" gray.
14) Filters > Noise > RGB Noise > Independant RGB off
> Red, Green and Blue = 0.30
15) Filters > Distort > Wind
> Wind
> Left
> Leading
> Thresh = 10
> Strength = 10
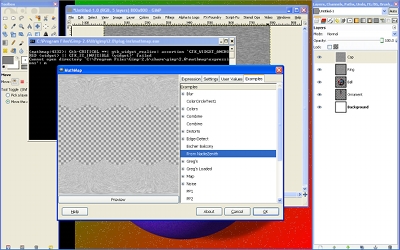
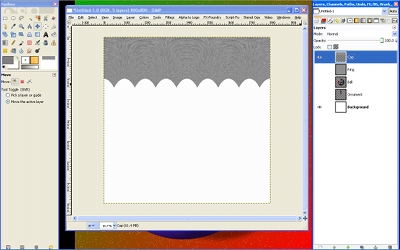
16) Duplicate layer and name cap

17) Filters > Generic > Mathmap
> From Nadie Zenith
18) Using rectangular select tool delete bottom half of layer.
19) Layer > Scale Layer> Width = 50%
> Hight = 100%
20) Move Layer to left edge.
21) Layer to image size.
22) Duplicate layer
23) Layer > Transform > Flip Horizontal
24) Merge two layers.
25) Create a new transparent layer and name it blank.
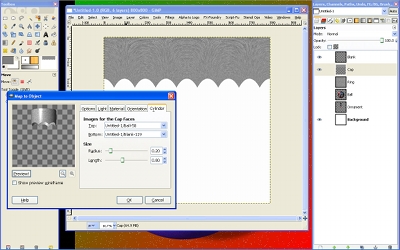
26) On Cap layer
Filters > Map > Map Object > Cylinder
> Transparent Background
> Position x and y at 0.5000
> Position z at 0.0000
> Cylinder Radius = 0.10
> Cylender length = 0.80
> Set bottom to Blank layer
27) Resize cap to fit onto the top and move into place.
28) Merge cap, ball and ornament layers.
29) Move assembled ornament down to make room for ring.
30) On ring layer Filters > Map object > Sphere
> Transparent background
31) Alpha to select.
32) Select shrink 20.
33) Edit > Cut.
34) Resize ring layer to make tiny ring at top.
35) Move Ring into place.
36) Move ring layer below Ornament layer.
37) Fill blank layer with selected background color.
38) Move Blank layer below Ring layer.

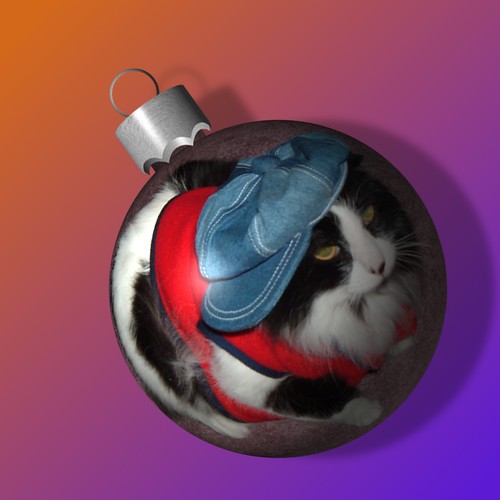
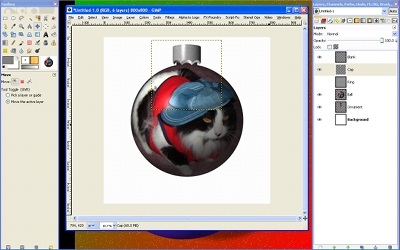
After moving and adding shadow, this is the final result.