@ 2-ton
Well here's something fairly simple to start with.
Open a new image large enough to type your name in and fill the layer with white.
Use black for the fg color. Type your name and center it. Merge it down to the white layer.
Colors > Components > Decompose.
You will have an image with 3 layers, named red, green, and blue.
Select the blue layer.
Filters > Distorts > iWarp.
In that dialog, leave the Deform mode Move, and change the deform radius to about 50.
Move on the blue layer to the right, moving the text and trying not to make it unreadable. It doesn't take a lot of moving to move it all to the right a bit. Click OK.
Select the green layer.
Go back to iWarp and move the text to the leftt a bit. Don't be too perfect about it. Click OK.
Select the red layer. You can leave it alone or go into iWarp and move it kind of around a bit. In the one I posted below I just pulled up on the text in several places.
After you've treated each layer, click Colors > Components >
Combine. You should now have a colorful image of your name.
This will give you a basis to do other images and experimenting in the iWarp dialog.
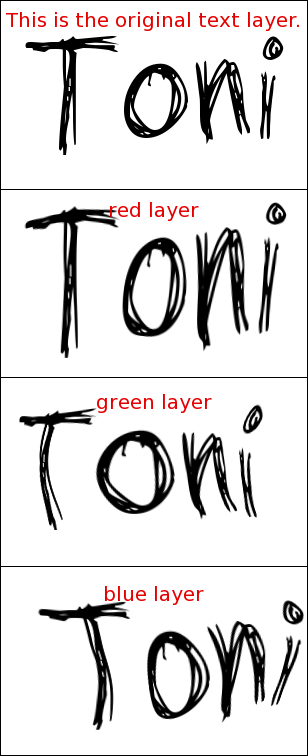
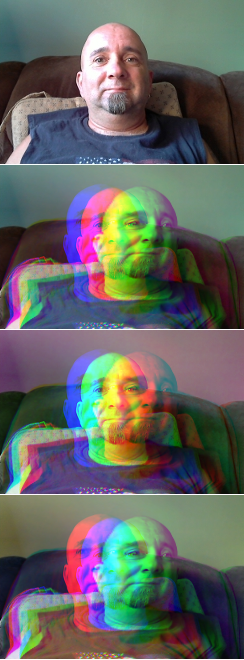
Here are the layers after the text has been decomposed. The original text layer is not in the decomposed layer but I wanted you to be able to see the difference.
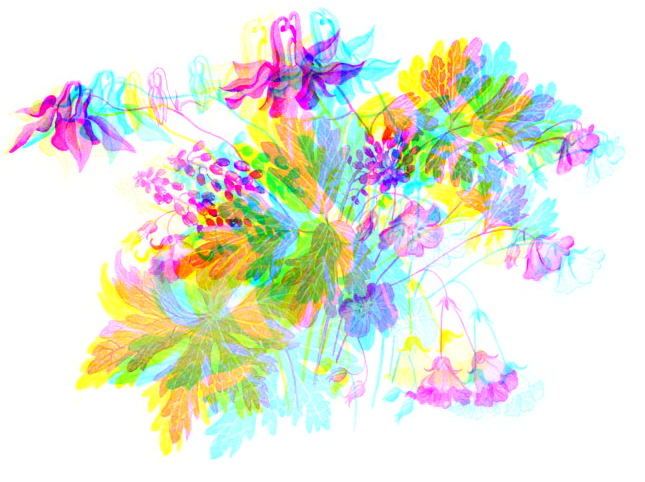
Here is your name after I went to Colors > Components >
Combine. After I did that I clicked Colors > Color to Alpha with white in the color, and removed the white background.

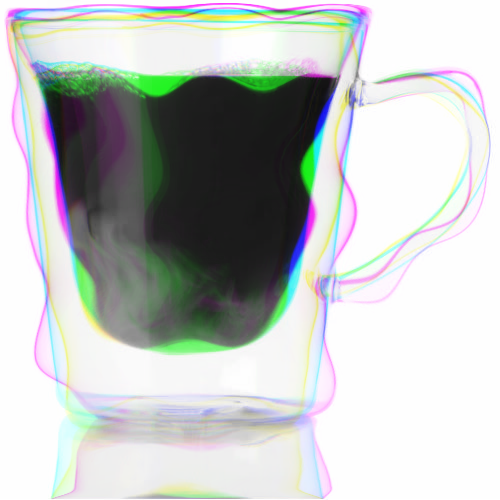
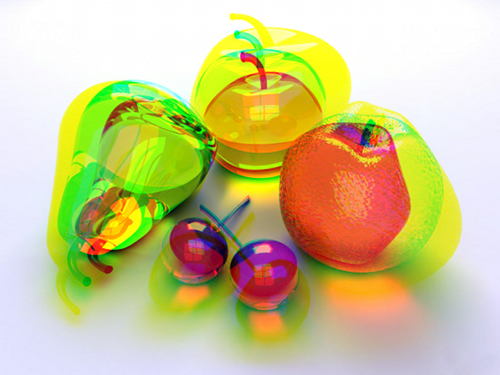
Hopefully this will give you ideas to try on other images.


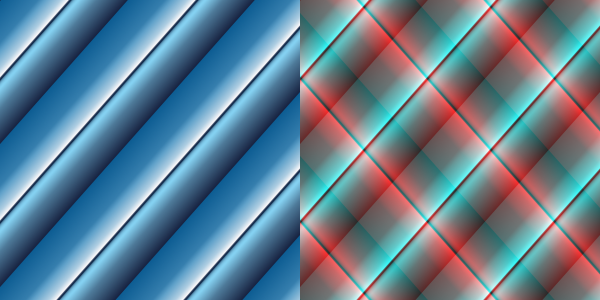
 Came out plaid.
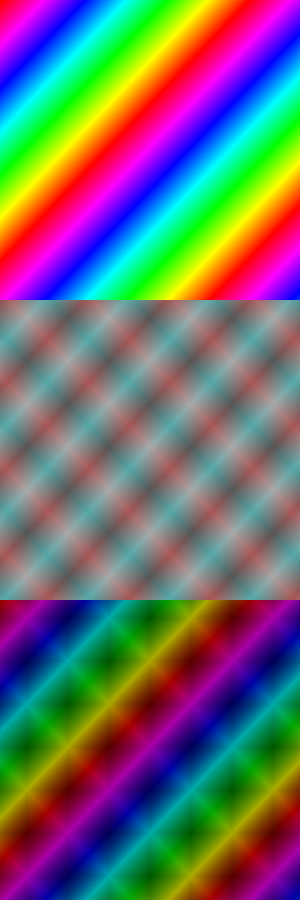


