Creating a realistic leather sign or skin in Gimp 2.6.10
You will need to have the plasma 2 plug-in installed for this tutorial
You will also need the Script Fu - Textures plug-in
download them here -
textures -
http://gimp-texturize.sourceforge.net/plasma2 -
http://photocomix-resources.deviantart. ... s-81246453Create a new document - 550x400 - Fill it with the color Black.
Create a new layer - name it bottom leather - change the fg color to #ffcc99 , and the bg color to #663300.
Make sure your gradient is set to fg to bg RGB
Create a fixed rectangular selection - 460x228 - center the selection
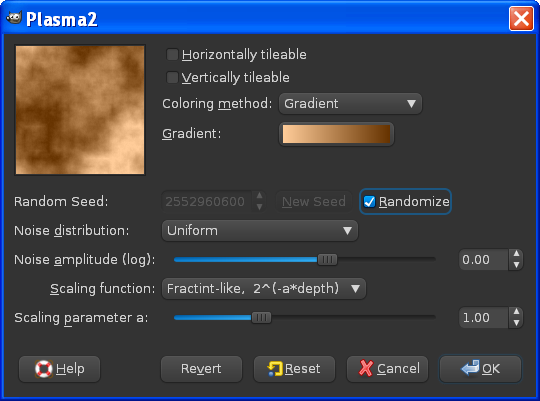
Go to Filters/Render/Clouds/Plasma 2 - use gradient as fill -
select/none
select/toggle quick mask
With a size smallish hard round brush - make torn edges - paint in little ripples
try to make corners more rounded and realistic - should look like this -
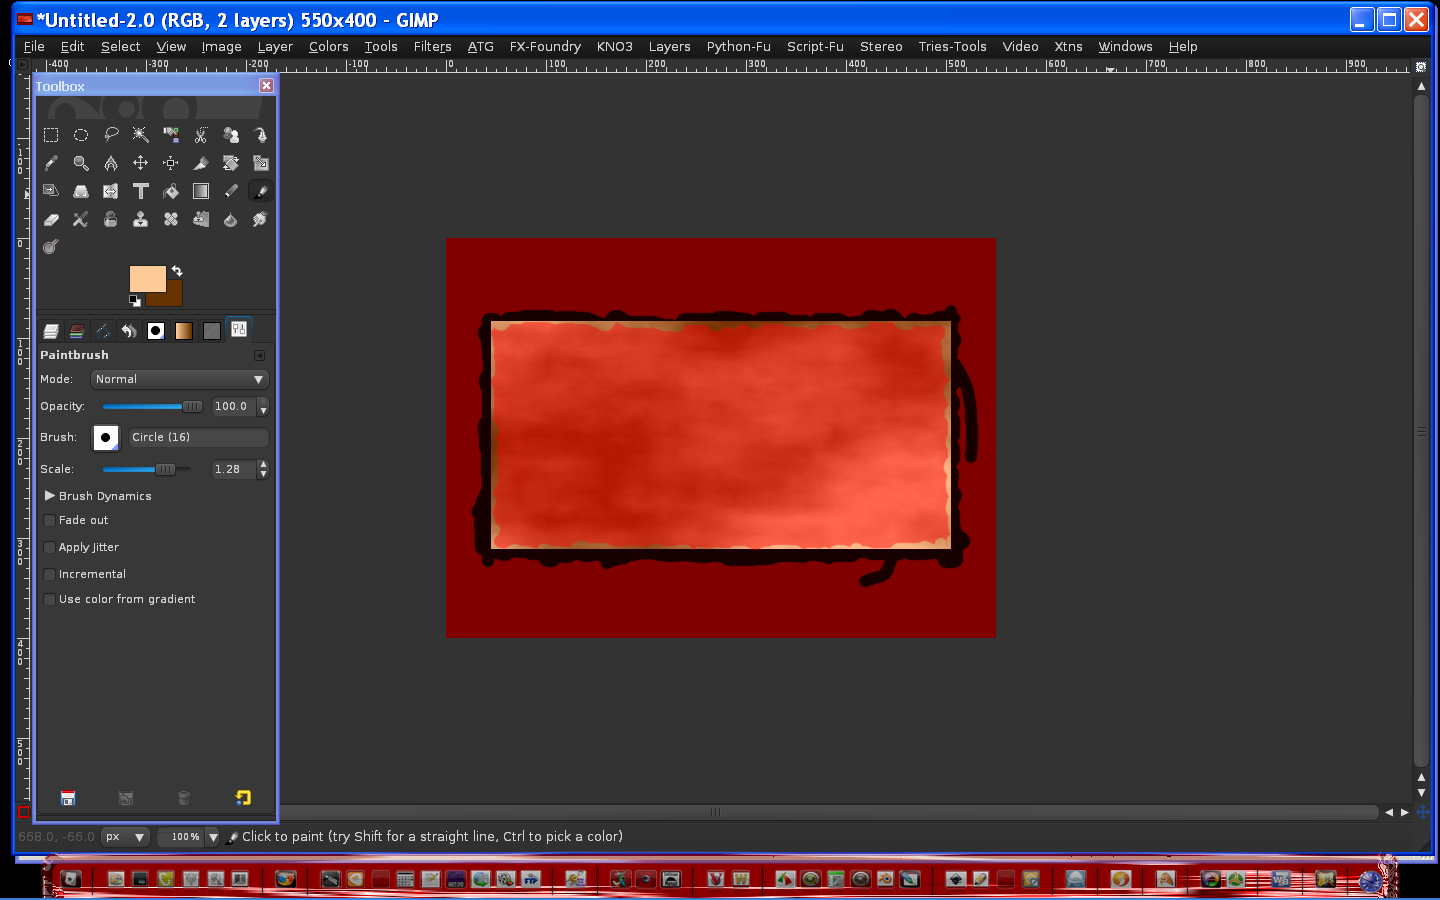
select/toggle quick mask - delete.
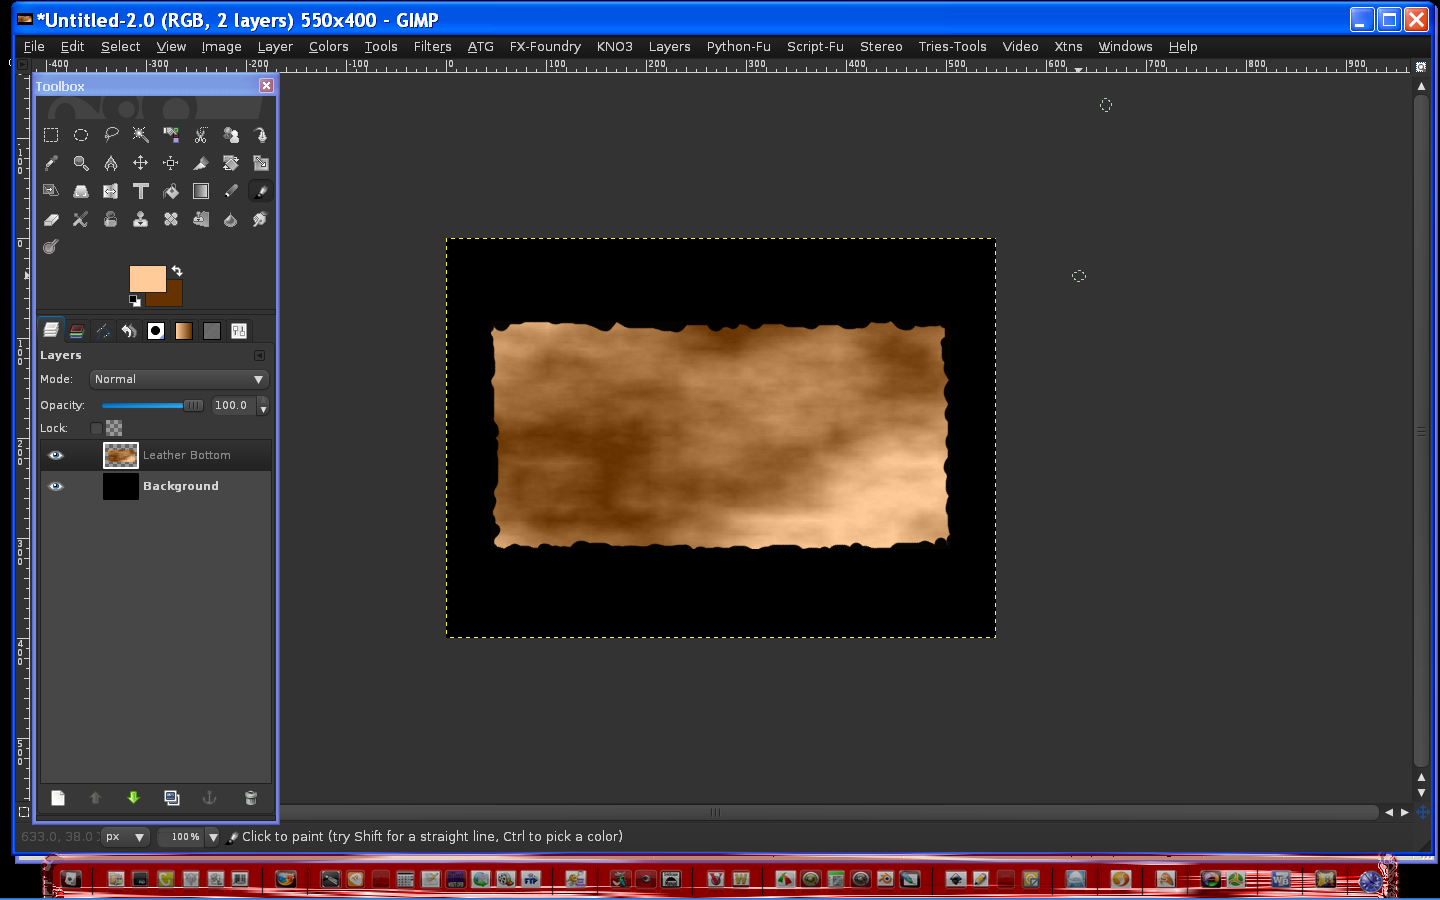
It should now look something like this -
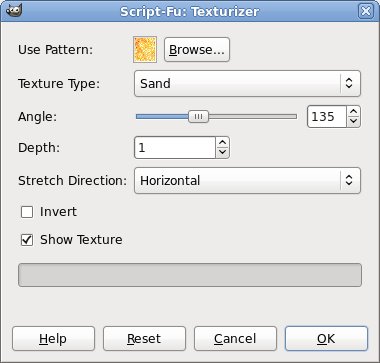
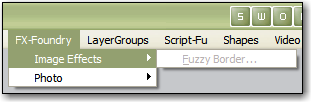
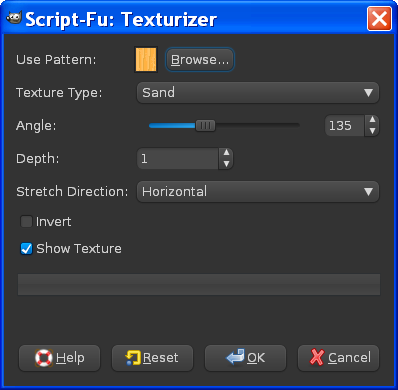
Go to Script Fu/texture/Texturizer - put in these values hit ok
delete the image the texturizer creates.
Select the leather layer - select the circle selection tool - make 4 holes 1 for each corner - nice and round same size use the key alt/move each selection and hit delete, or edit/clear to make each hole like this

duplicate bottom leather layer - name it top leather and make the top leather layer invisible
select bottom leather layer
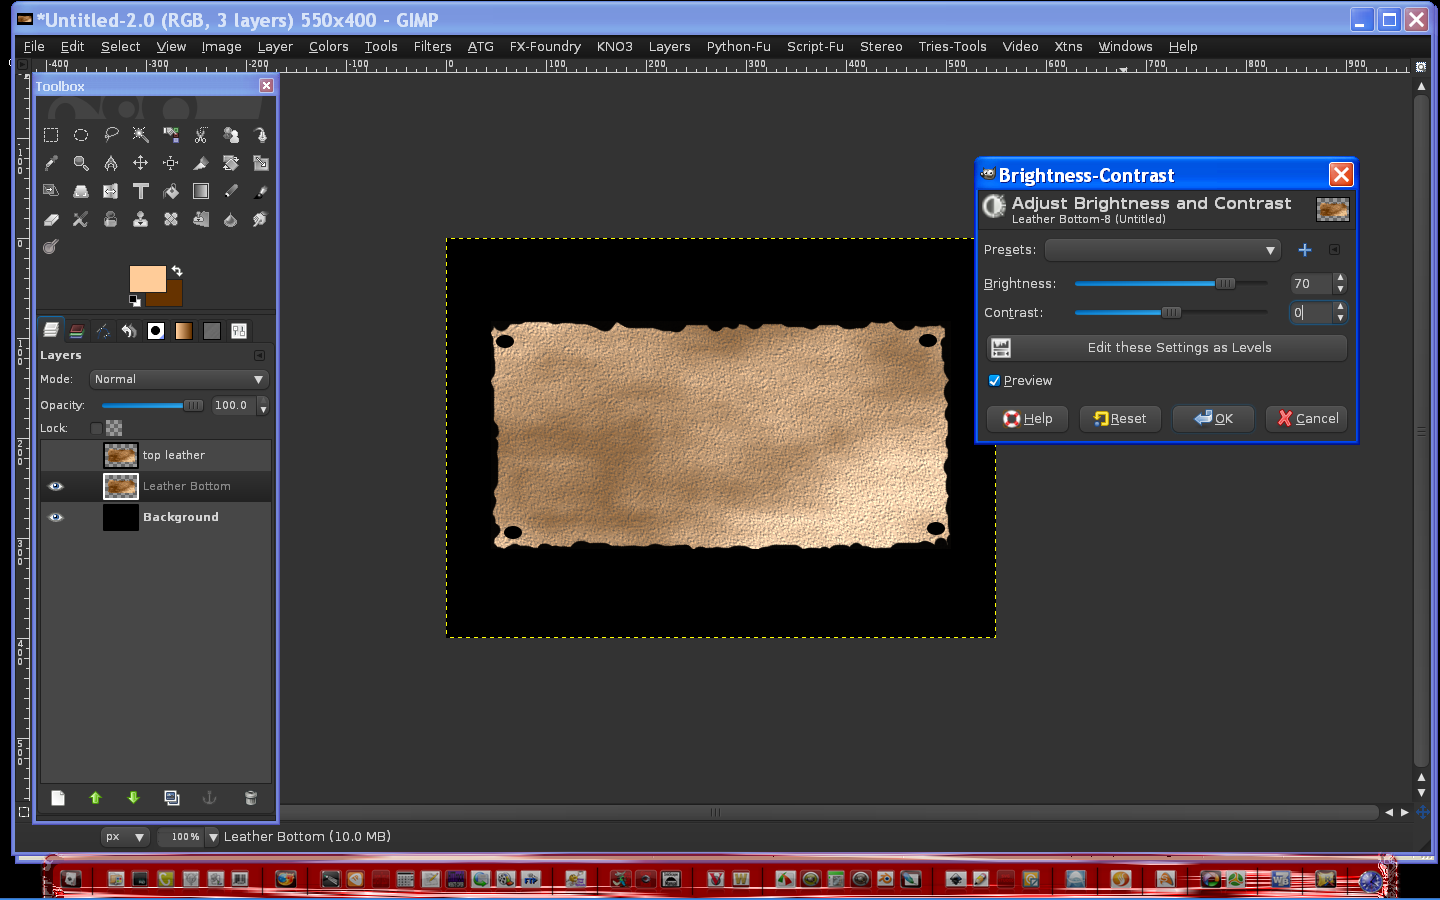
Go to Colors/brightness and contrast - set brightness to 70 like this
turn the top leather layer back on
with bottom leather layer still selected select move tool click image move up and to left 1pixel with arrow keys.
Select top leather layer - alpha to selection - select a circle fuzzy brush - set fg color to black - top and left edges
set fg to white - same brush - bottom edge optional step
select/none - merge bottom and top leather layers - rename layer leather

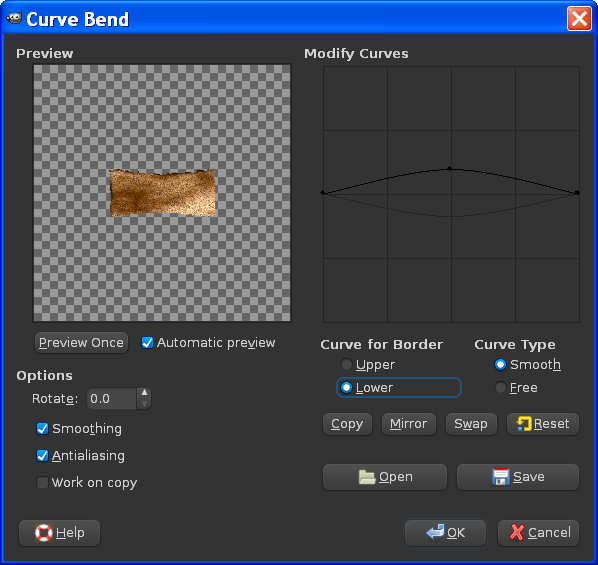
Filters/Distort/curve and bend - put in these values -
Create a new transparent layer - name it folds and wrinkles - create a circle selection from top left hole to top right hole
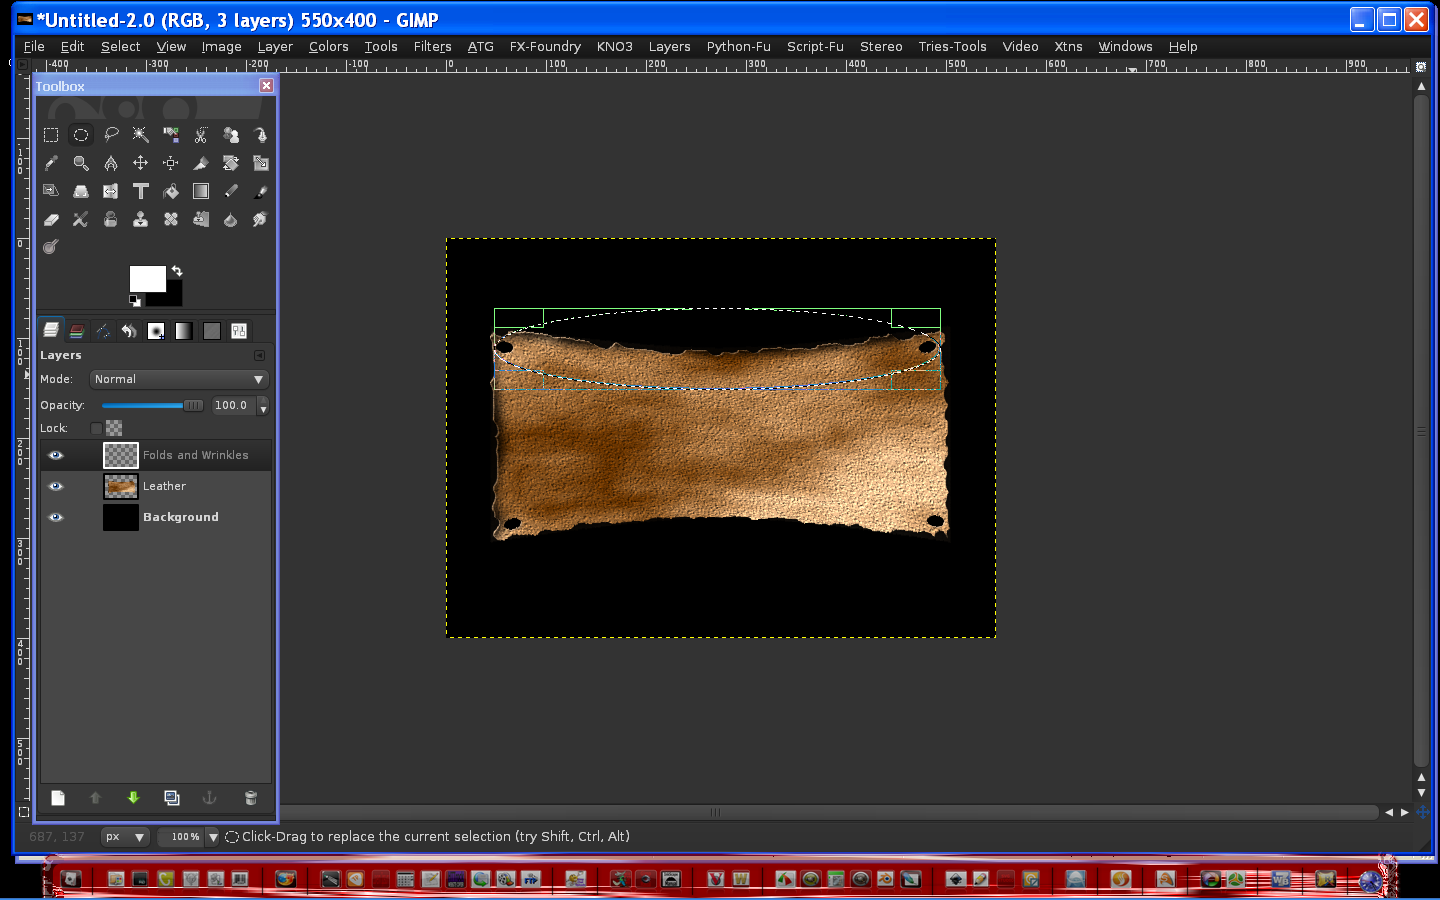
center the edge corners of the elliptical selection on the nail holes
stroke the selection 30pixels white - edit/stroke
select alt key and move tool - position selection just above and below the white stroke like this
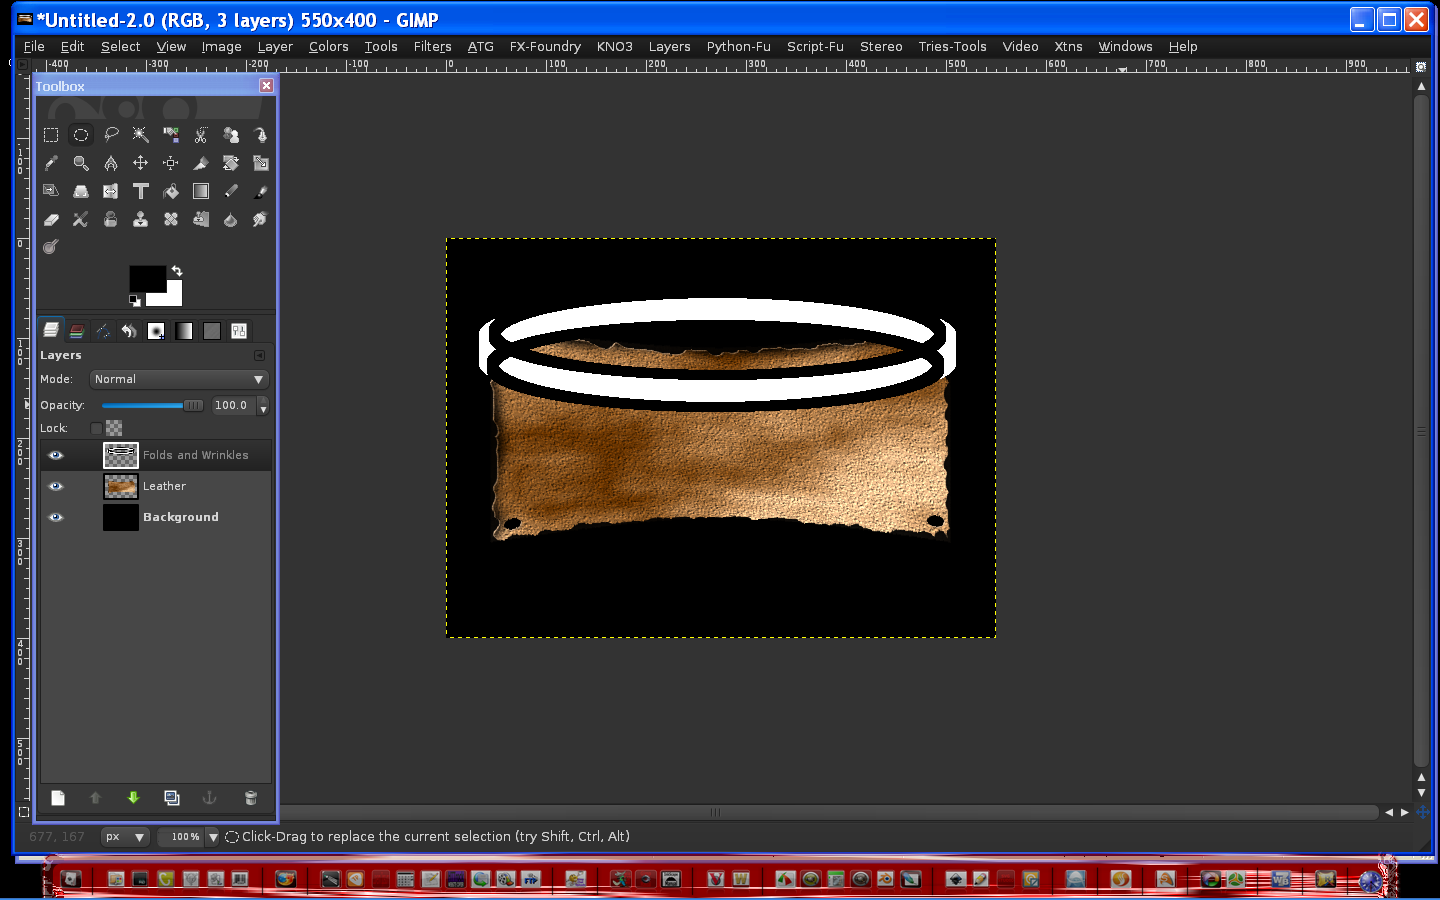
go to edit/stroke - 10pixels black for both selections (top and bottom both 10pixels)
select/none -
select folds and wrinkles layer
filter/blur/Gaussian blur
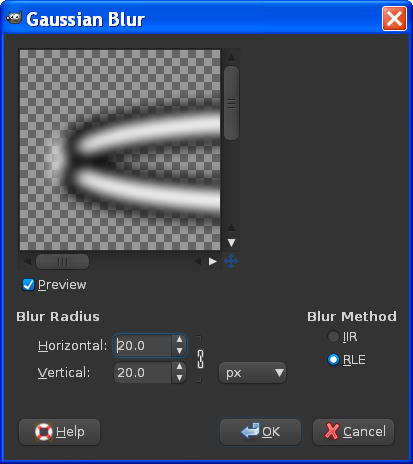
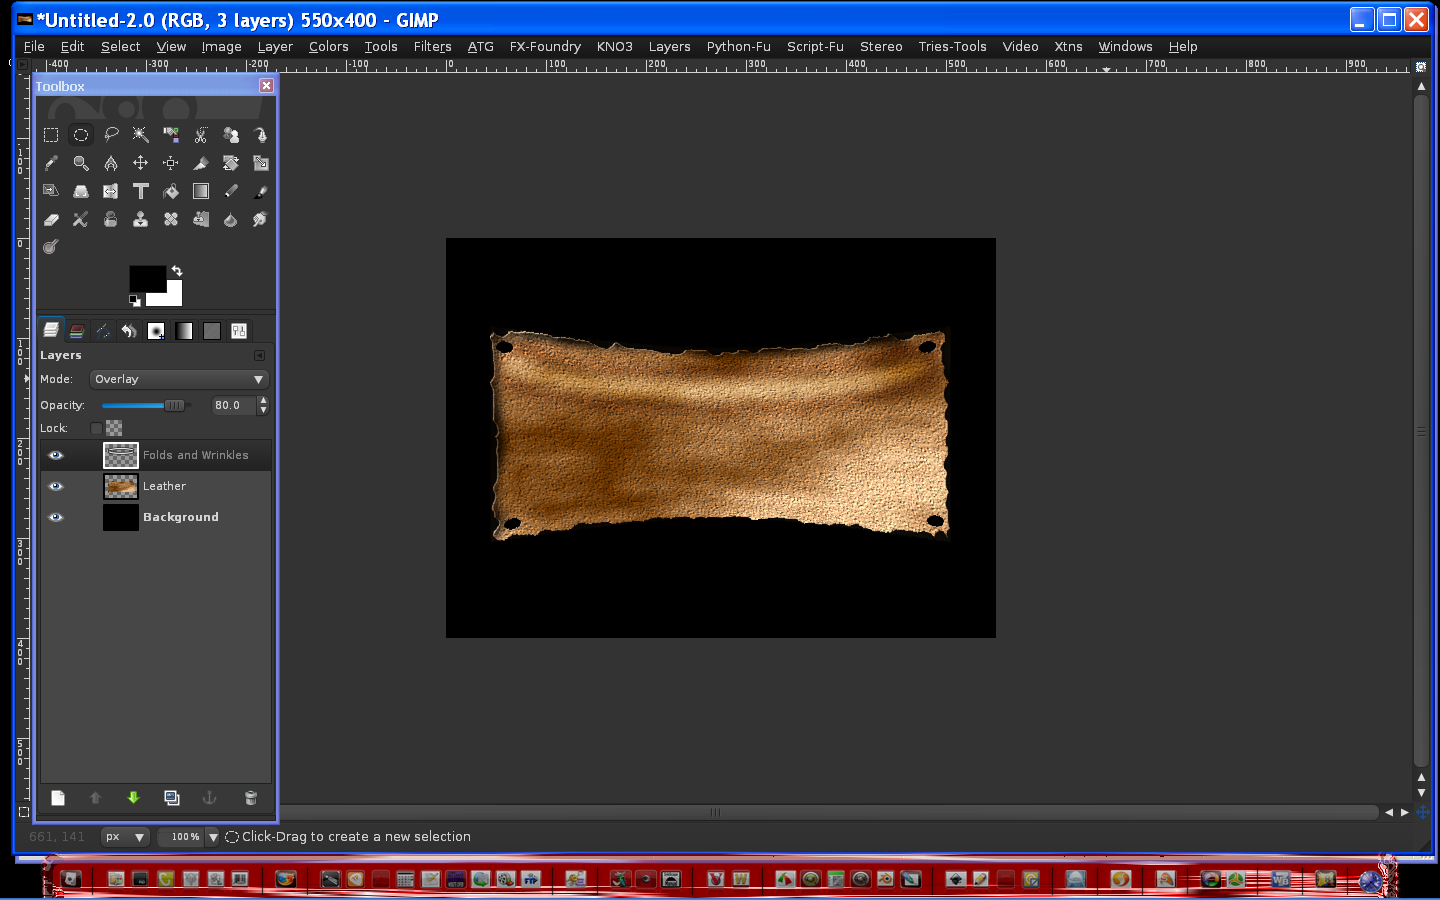
select layer mode - Overlay, or soft light either will work - to blend in
(you shouldn't need to do this next step but just in case you do)
erase excess stroke area of stroke (outside the layer ), if needed
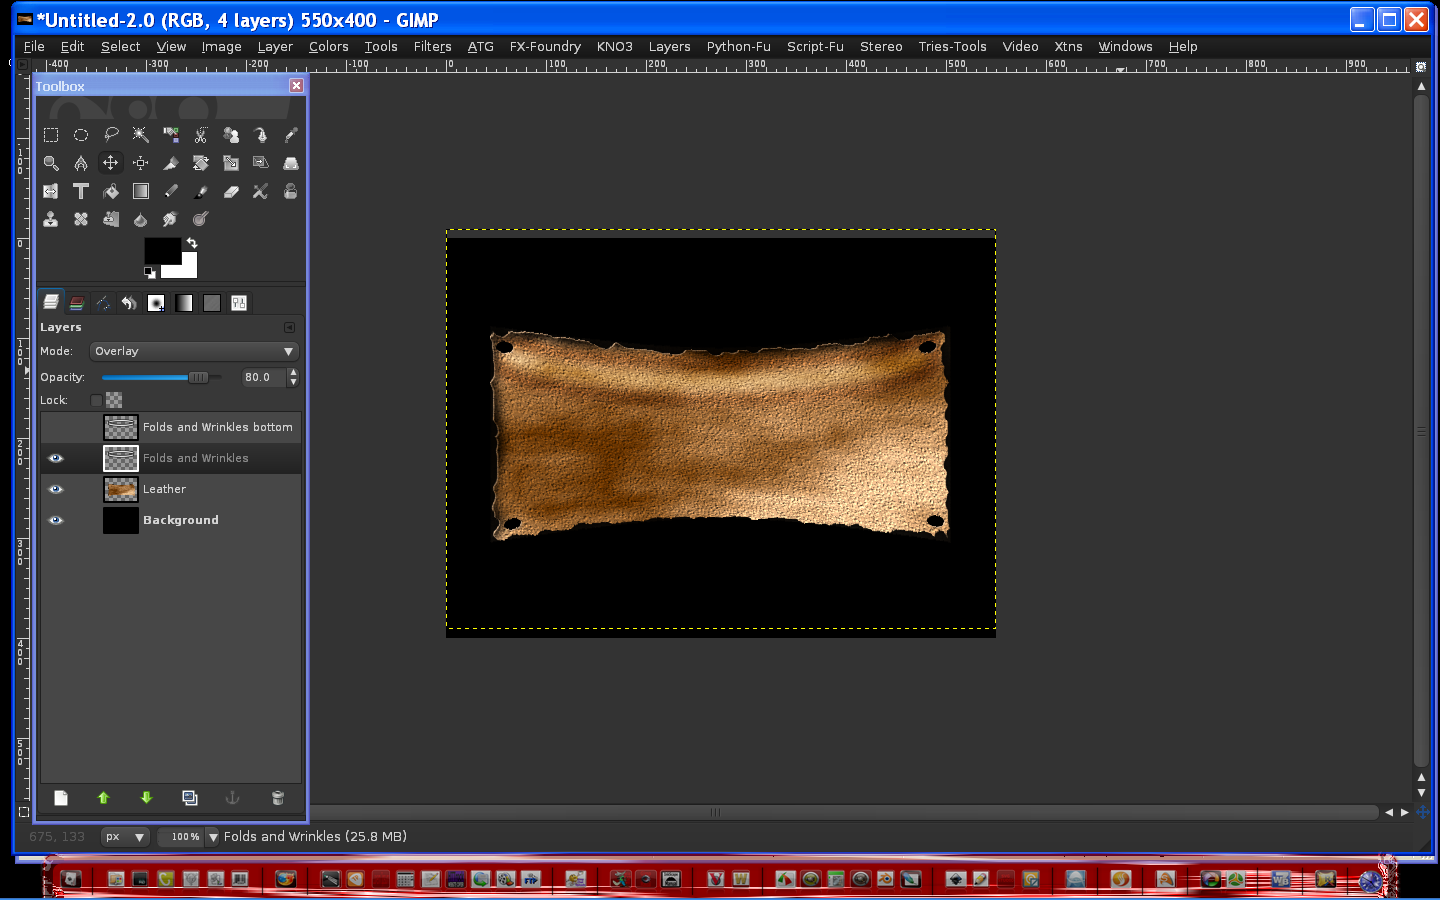
set opacity to 80 - Your image should now look something like this -
Select the folds and wrinkles layer and the move tool - move the layer so it looks like this
Duplicate the folds and wrinkles layer name it folds and wrinkles bottom
Select the rotate tool from the toolbox and rotate the selection by the center about 180 degrees
move the layer so it looks like this

Select Filters/Distort/Curve Bend (straighten out the layer fold)
Your image should now look like this..
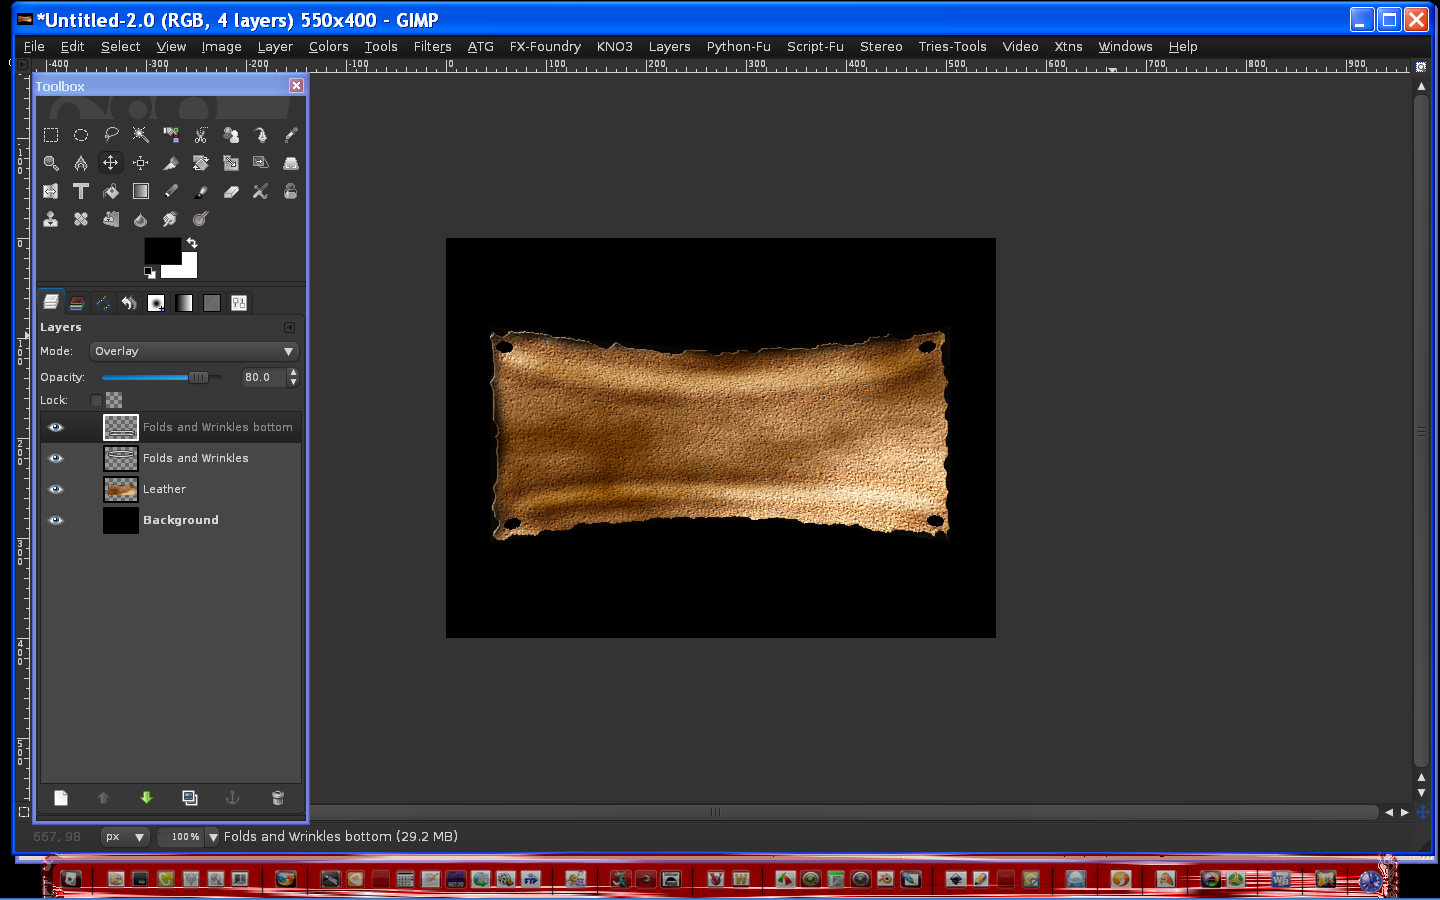
now set opacity for that layer to 75
make bottom black layer invisible - merge all visible layers - make black layer visible again
Now we should have 2 layers - one named leather and one named Background
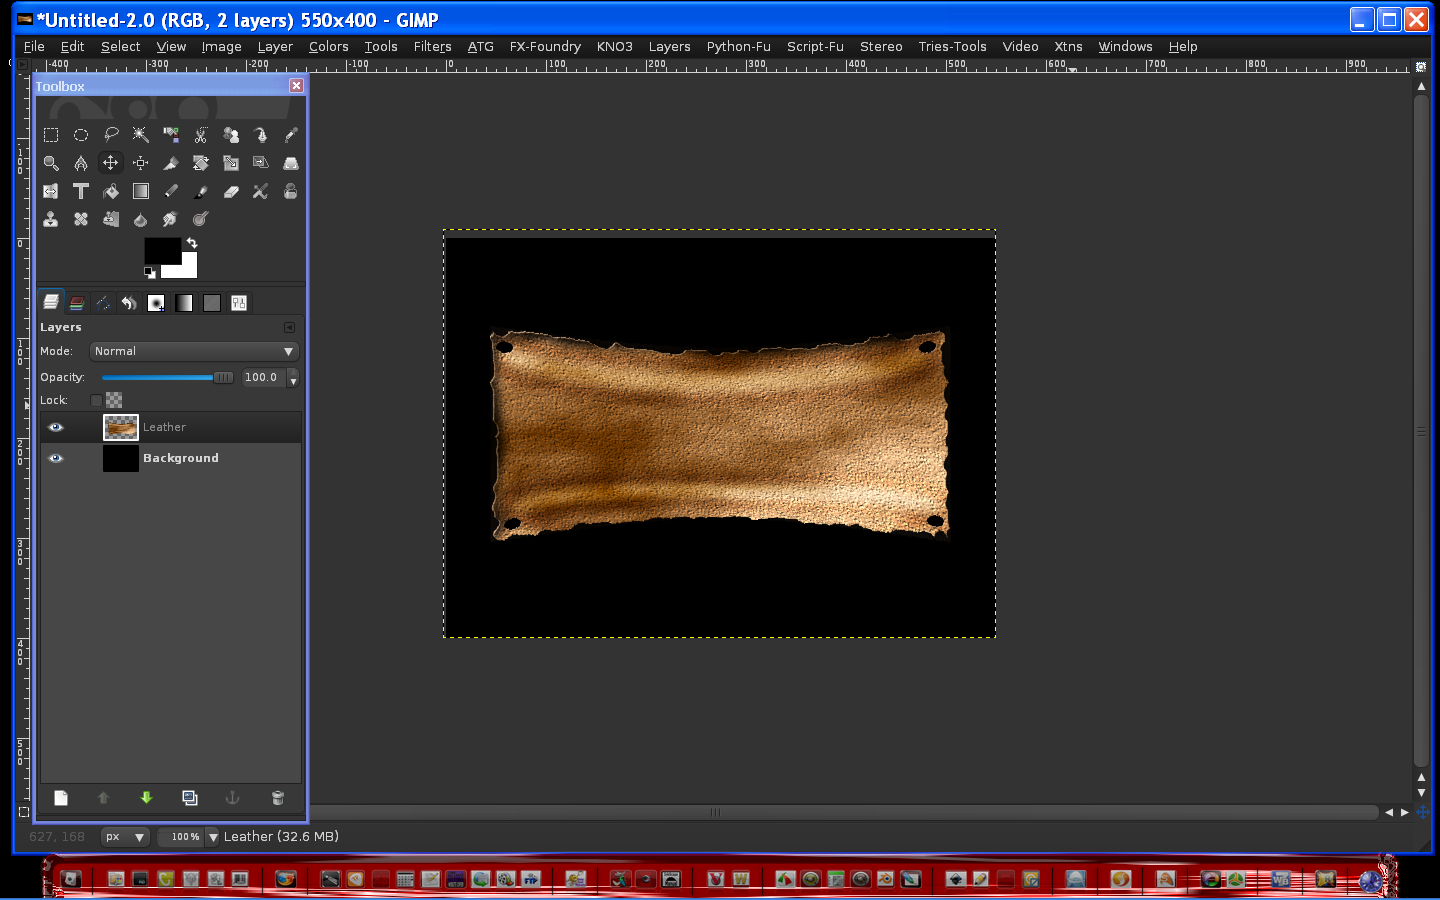
next step optional -
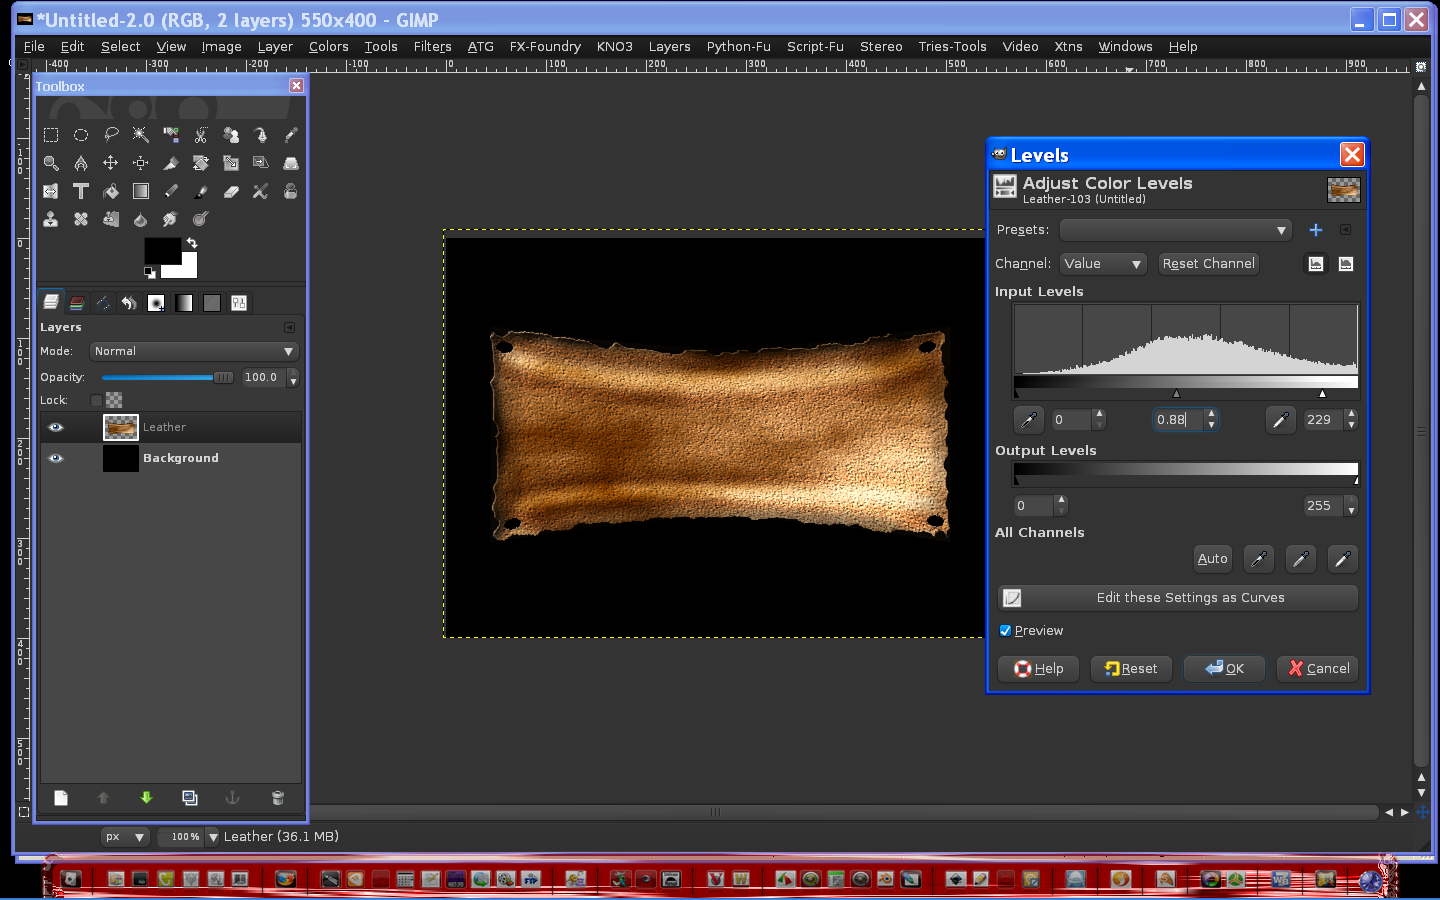
Select leather layer -
select colors/levels (Input) values - 0 - 0.88 - 229 - at this time check and make sure all corners are rounded-if not use eraser to correct
Were just about done -
Create a new transparent layer named nails - fixed circle selection 22x22 a little bigger than nail holes - color - a2a1a1 - select/none
Add grain texture to nail top (Script Fu/texture/grain - delete the image created - duplicate nail layer 3 times.
Position nail offset from the hole to look realistic.(you want to see part of the hole to look like it's stretching).
Make the background and leather layers invisible and merge all the nail layers rename the layer nails.
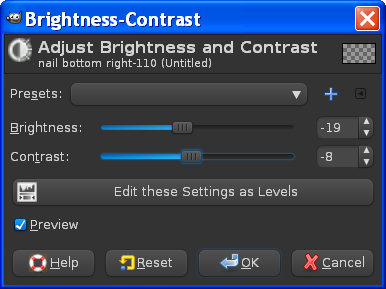
darken nail heads with colors/brightness and contrast to taste
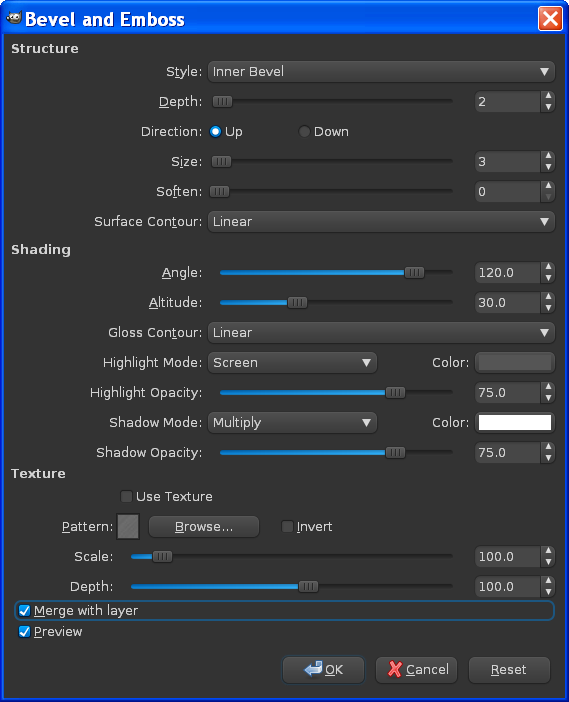
bevel and emboss - these values
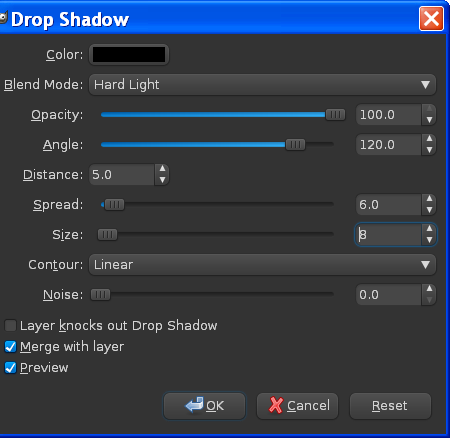
Create a drop shadow on the nails layer -
if you plan on resizing the image to a smaller scale, sharpen it again to your liking now )Filters/Enhance/Unsharp Mask so it looks as sharp at a smaller resolution.
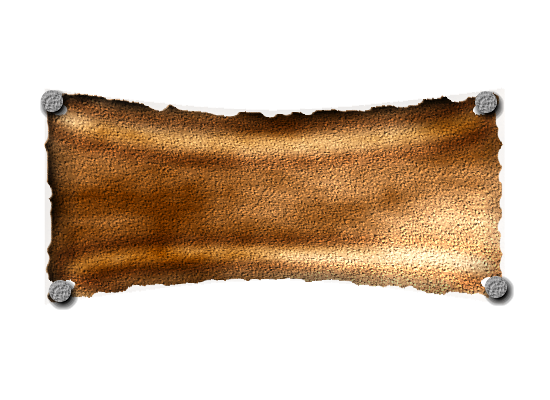
Change the bg color to whatever you want (instead of black)
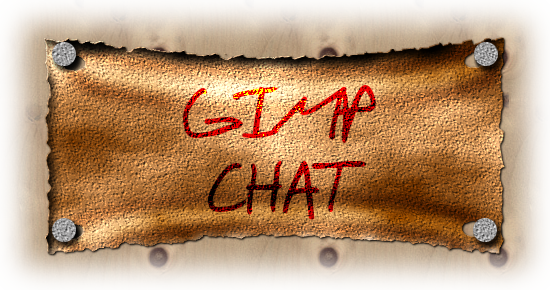
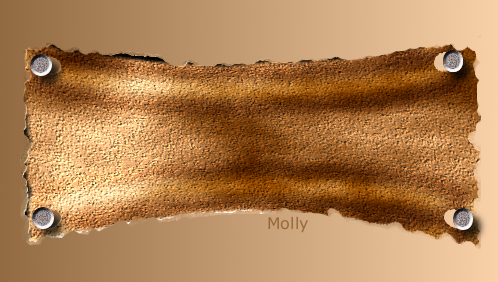
finished image -
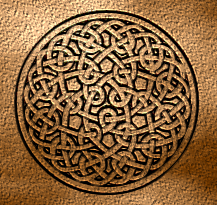
You can now engrave on it...that looks cool, or just put links on it or just plain ole text.
Have fun with it.Put a drop shadow under the leather if its on a light bg.
Well that's it folks!
Another successful Gimp project taken from a Photo-Shop Tutorial..
thanks for checking it out!