this tutorial require the gmic plugin for gimp
(you may download the plugin here
G'MIC, there is also a command line version but this tut is for the plugin version)
OVERVIEW ON THE "ANIMATED" GMIC FILTERGmic offers several “animated” filters , most in the “sequences” submenu

and one, “layer morphing” in the layer submenu
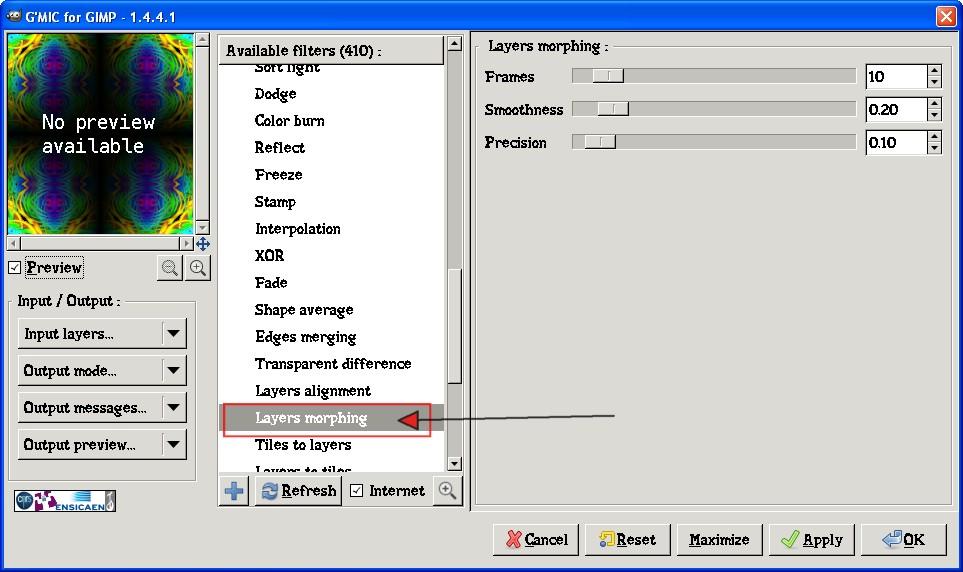
All filters in sequences menu may use a additional output option quite useful for animation
the option is here,
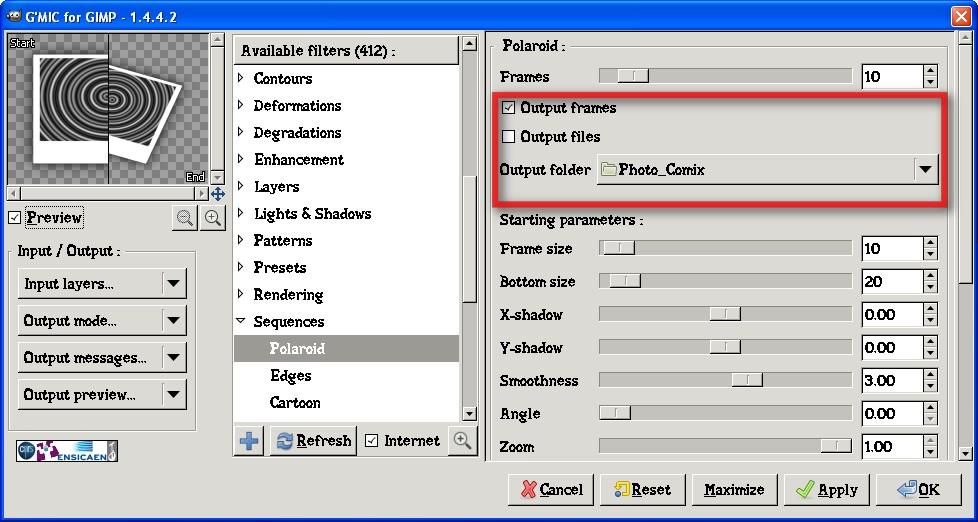
checking " Output Files " allow to save directly all new frames create as numbered sequence in the most commune format as png
(but for some reason the naming don't follow the standard of gimp GAP or of other tool used to manipolate edit and convert frames , a progressive six digit number starting from 000001
...so frames created by gmic may need to be batch renamed to be used by GAP or other video editor)
this group of animated filters is still experimental and the filters may crash when the RAM is not sufficent
..well crash is not exact and give a too dramatic idea;
if there is no sufficent memory available for the task the filter will abort with a error message
but no gimp no gmic would crash ,
( so no risk to lose your previous work or for your system )
####################################################################
TUTORIAL : HOW ANIMATE THE OTHER GMIC FILTERSGmic offers very flexible input/output options to allow easily to animate all the other filters
“Animate” not with a fully automated process but speeding up a lot the manual process...let see how:
1 THE MOST COMMUNE CASE, FILTERS REQUIRING 1 LAYER AS INPUTI use my tag as sample
http://farm4.static.flickr.com/3262/2346652286_fe022f3934_o.jpg1.obviously we should open the image in Gimp, and call Gmic
Note now the input and output option under the preview window
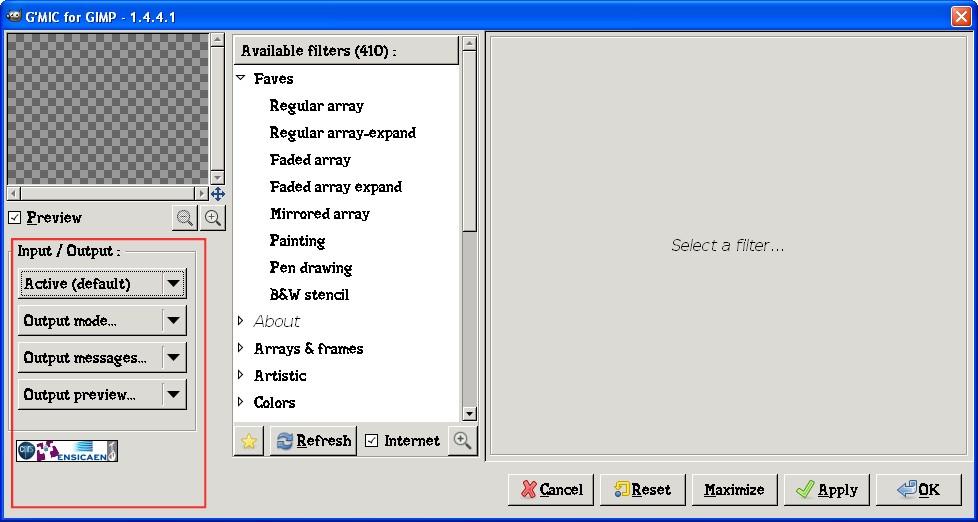
2) For input the default option “active layer” will work well.
..
if for some reason was changed set it back to “active layer” 3) Change now the “Output Mode to “ New Layer(s)”
PLEASE NOTE: change to “New Layer(s)” NOT to “New Active Layer(s)”Now chose between the available filters that you want use.
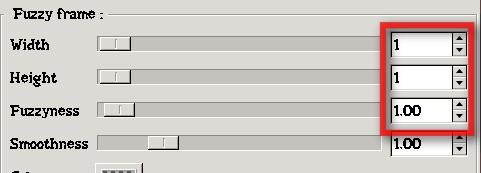
I used "Fuzzy Frame" in “Array and Frames”
we must decide now the setting to use for the first and the last frames...
In this case i set to 0 the first 3 paramethers for the first frame:
because in this case that is equivalent to "no changes as the original " that i believe be often the best starting point
for the first frame of a smooth animation
Now
instead then OK (that will close GMIC ) we should click on the
APPLY button
now we may start with the effect to make thing simple i just by increase by 1 the first 3 values
and again click apply and repeat
Why Looking the preview may be so useful
In this case looking in the preview i may see that at a certain point (after 30 frames) seems better lock the "Hight" paramethers ( or the head of my mascotte would be cropped) and increase only the other 2
then after a few frames "fuziness" arrive at his maximum value possible so i will only increase Widht value till only transpareny is left.
CREATE A PING PONG LOOPthen we may close gmic and use gimp to create a ping pong loop:
No need of gap for then you will need this script
http://flashingtwelve.brickfilms.com/GI ... rstack.scm1 )save the image
but let it open2) run the reverse layerstack script and
delete the top layer3) Now File/Open as Layer the image you just saved
4) Finish..( you may check the result from Filtes/animation/playback )
NOTE from the screenshoot you may see that as color for the frames i used full transparency
BUt i suggest you if you want avoid complication to use a solid color BG
The complication is that animation with a similar transparent BG will work well only in Replace mode , that would make impossible srhink the gif file size by "optimizing " the gif...(that require usually the "combine" mode or result will be crap )
this i why this file, my final result would take so looong to load...
Attachment:
 Final.gif [ 3.95 MiB | Viewed 12713 times ]
here i used the Tunnel filter (also in "frames and arrays" ) changing only the first parameter
Attachment:
 2.gif [ 1.19 MiB | Viewed 12698 times ]
OK this is only the first part...check after for the rest...


 Hmmmm, how to open swf in the GIMP?