DOWNLOADSSaulgoode's Calendar ScriptClick here and then click the Download button on the menu.
- 12/28/2010 - Please note, this link has been updated. It is the one used here for saulgoode's new Calendar Year Script-Fu (beta).Border ScriptGet the Add_Border_Script_by_Insanity_Prevails.scm. This is my favorite border script.
Click hereTest the font color on whatever background you want to use for your finished calendar so that you can check the visibility of it over the background.
 Make a Year Calendar
Make a new image 150x130 and fill the background layer with white. If you are working with light-colored text, fill with black. Save it as an xcf file and name it smallcalendar.xcf.
Make another new image 640x480. Fill the background layer with white (or black).
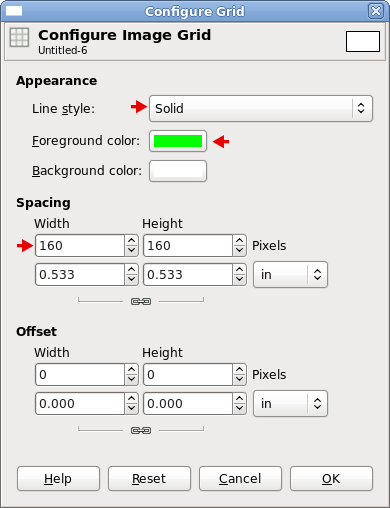
- Image > Configure Grid
- Line Style: Solid
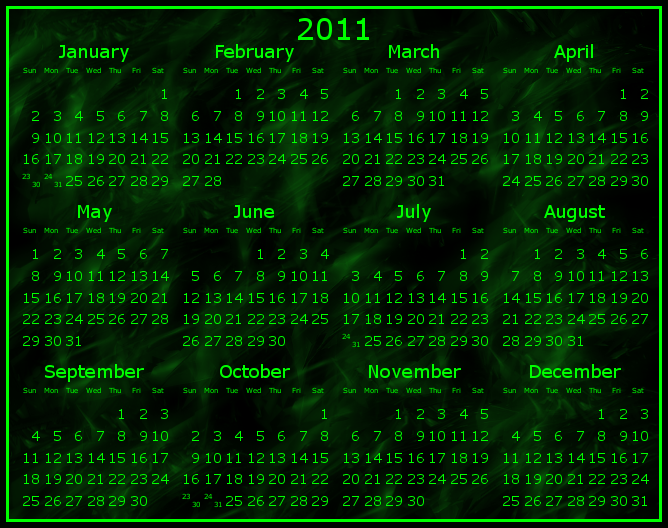
- Foreground Color: 00ff00 (It's neon green, you can choose any color you prefer)
- Spacing: Width & Height = 160
- View > Show Grid
- View > Snap to grid
Save it as yearcalendar.xcf.
Make the Foreground color the color you want for the text in your calendar.
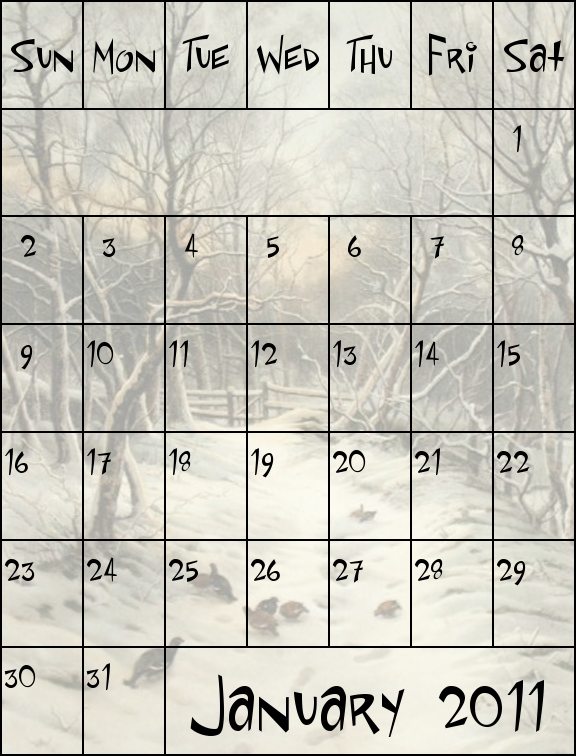
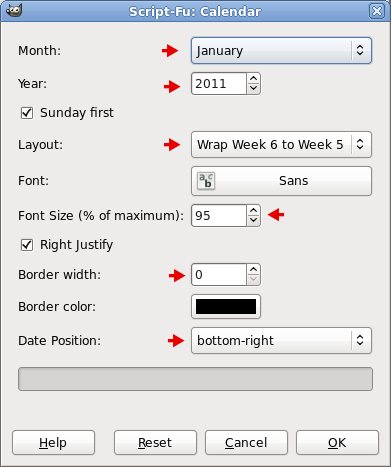
Select the smallcalendar.xcf image, then Filters > Render > Calendar.
- January
- Year = 2011
- Layout - See the choices for Layout below in the list and images.
- Font = Default Sans in the script
- Font Size (% of maximum) = 95
- Border Width = 0
- Date Position = Bottom Right
Choose the Layout you want for the small calendar.
- Allow 6 weeks (resizing text for optimal fit)
- Force 6 weeks (use six rows of weeks in all cases, even for a 4-week February)
- Wrap week 6 to week 1 (the approach proposed by wbool)
- Wrap week 6 to week 5 (and if needed compressing two days into a single cell)
Here are plain examples of each type of layout. I put borders in just as examples.

Click OK. You have a small January, 2011 calendar. Filters > Reshow "Calendar" and change the month to February. Repeat until you have all of the months in layers in smallcalendar.xcf. File > Save or Ctrl + S.
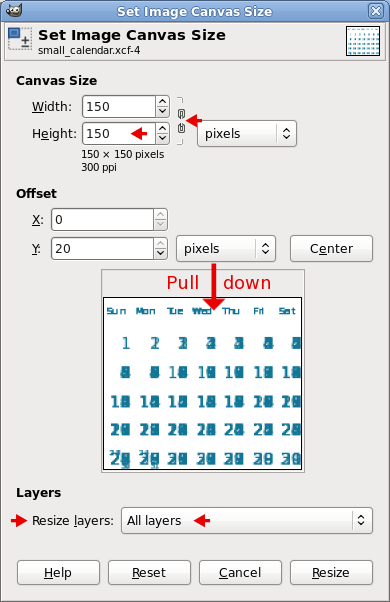
To make room for the name of the month, Image > Canvas Size. Break the chain and make the Height 150, press Enter, drag the image down to the bottom of the dialog box. Resize layers, choose All layers in the dropdown. Click Resize. Refill the background layer with white (black).
Press Ctrl + E. It's called shrink wrap but in this case it's grow wrap so that all of the image shows within the padding.
Select the Background layer. Press the Shift key and click the eye

to the left of the layer. Visibility of the rest of the layers is off.
- Go to the January, 2011 layer, select it, and turn on the visibility of that layer (the plain January layer is empty - it was for the borders).
- Text Tool
 > Sans font > Size = 18. Type, January.
- Click the Alignment Tool
 then click in the text.
- Click the middle icon
 in the Alignment tool dialog which aligns the text horizontally, then click the bottom
  left icon which moves the text to the top of the image.
- Merge the January text layer down to the January, 2011 layer.
- Turn off the visibility of the January, 2011 layer and select the February, 2011 layer. Turn on the visibility of that layer and use the Text tool to type in the word, February.
- Follow the steps for naming each month.
Drag the Layer Preview of January, 2011 into the year calendar image, use the Move

tool to position it in the top left grid box and move it to the upper left corner of the grid. There will be 10 pixels of space left on the right and bottom in the grid box. Do the same for each completed month layer until you have the 12 months arranged in the large calendar layout.

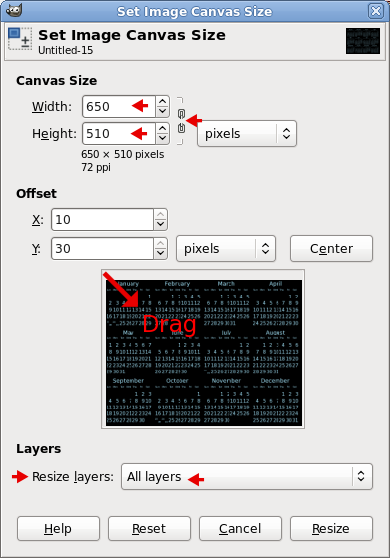
After you have each month aligned in the year calendar, Image > Canvas Size. Unlink, make the Width 650 and the Height 510, Resize layers: All layers, press Enter and drag the calendar to the bottom and to the right in the dialog, click Resize. Fill the background layer with white (black).
View > Uncheck Show Grid and Snap to Grid.
Select the top layer in the calendar, select the Text Tool
, make the Font Size 30, type the year numbers. Align top and center with the alignment tool
as you did in the small calendars.
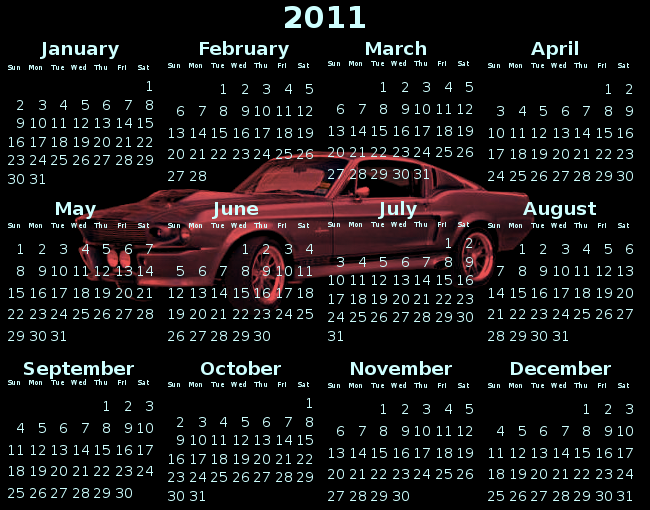
If you want to fill the background with a pattern, gradient or image, select the Background layer, add a new, transparent layer and fill with what you want. You may need to lower the opacity for the numbers to show well.
It's up to you whether you want to keep the extra Background layer. If you have lowered the opacity on a new layer filled with a pattern, etc., you may want it to back your color layer.
Select the Background layer and Filters > Decor > Apply Border. Border size 3. Make the border color the same color as your text by dragging the box of the Foreground color into the Border Color Dialog on the top color row in there.
Be sure to check the box, Increase Canvas Size.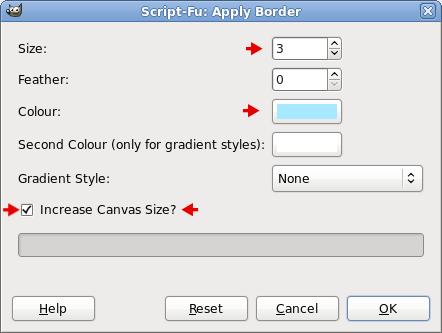
Look over your calendar to make sure everything looks OK. Save it in layers as the xcf file to change later if you want.
Ctrl + D to make a duplicate. Close yearcalendar.xcf.
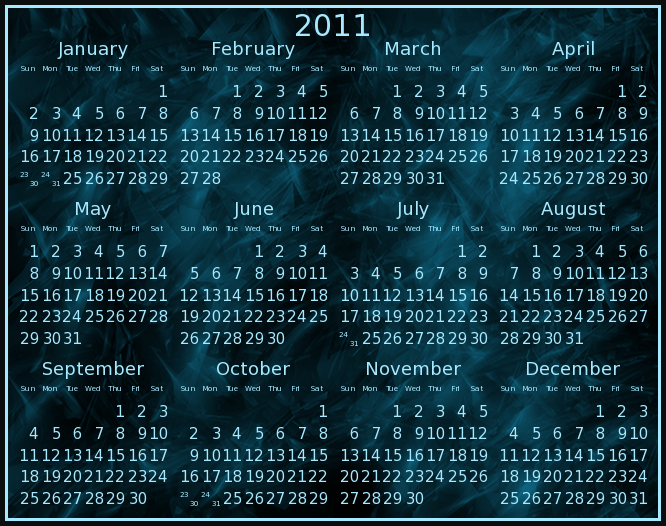
I put an additional 5-pixel black border around mine so that the light blue border would stand out better.
Press Ctrl + E.
Right-click a layer and select Merge Visible Layers. Save as your finished year calendar.


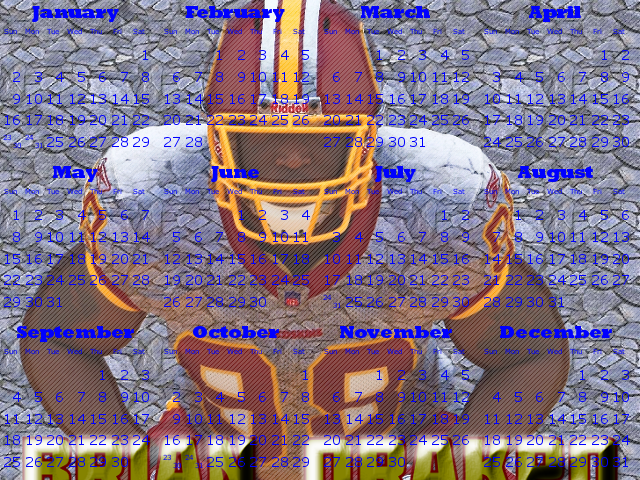

 Well, I have some free time today. I'll probably give it another try later. I have the .xcf file saved but simply lowering the opacity or turning off the scanlines isn't much fun.
  GIMP is fun a lot of the time, but ya gotta do slogwork in it as well. The fun stuff will only get you so far in it.