@krismunk
Quote:
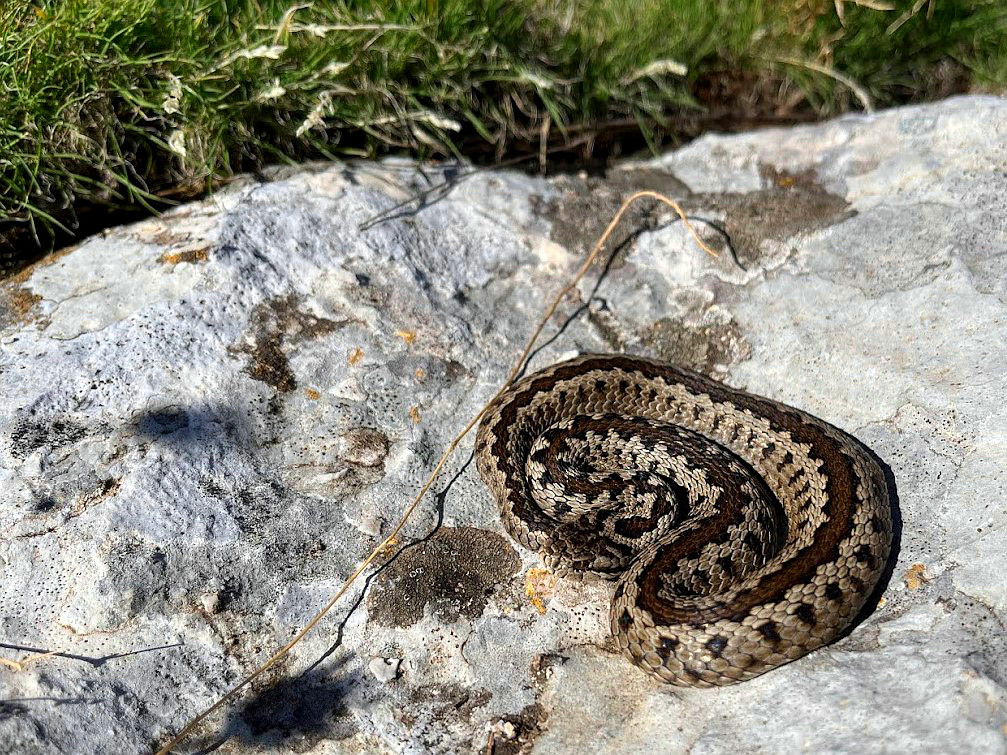
...My intuition for something like this would always be to try to apply a fix to the picture as a whole as my thinking is that basically whatever my camera does with the colors it does to the entire image and it's just on the snake that I really notice it...
You can apply a look-up-table (CLUT) to correct colours. In Gimp it is via the gmic plugin
http://www.gmic.euIf you have a good before-after pair of images, you can make your own CLUT, otherwise there are hundreds of presets incorporated in gmic, something for every occasion. Because some of the preset collections are large, to save wading through one-by-one, preview as a montage of thumbnails, to get an idea of effects.
It think this works quite well with your image and in gmic it is Colors -> Color Presets -> Filtergrade Cinematic -> Cine Warm.
A comparison.
Attachment:
 gmic-preset.jpg [ 273.94 KiB | Viewed 1853 times ]
...and a very quick (don't blink) example of gmic with comparisons.
https://i.imgur.com/dXlkQhb.mp4