Thanks Molly but I found one in my family photos I wanted to use cuz I'll probably frame it and use as a Christmas gift if it turns out well.
Erisian - I having problems understanding several steps. Some screenshots of the layers would help tremendously. At first I couldn't figure out which layer was named what and also I've never used the Dodge and Burn tool and don't have a clue what settings to use or what to apply it to.
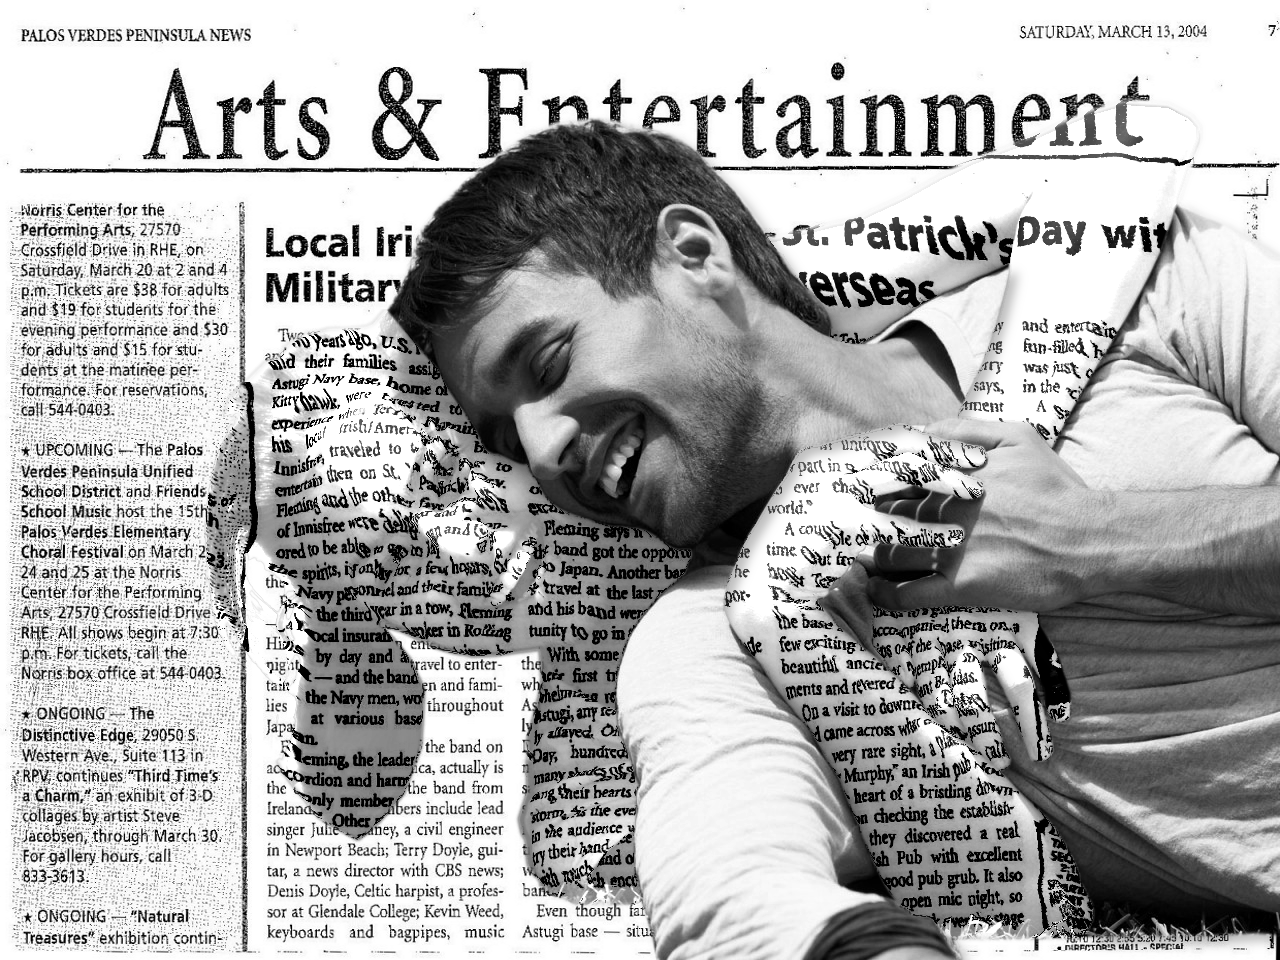
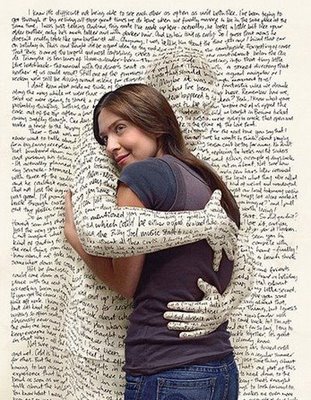
I messed something up in step 4 cuz I ended up removing the hair instead of vice versa so I just did a regular selection and did the copy/paste as and made a new layer then deleted the selection from the original. I ended up at the same place you did.
I'm not sure what you are doing with step 5 so I just locked the alpha channel and applied the blur. That way I didn't have to do all the duplication process and the other part. If I understood it correctly you were just going for a blurred hair layer that does not overlap the boundries of the original hair layer.
In step 6 you duplicate the newspaper layer and add an alpha channel. It should already have an alpha channel because you already did that in step 1.
By virtue of the fact you are working on the newspaper layer when you duplicate it, it is the one selected when you open the Displacement map filter which doesn't work. Which layer should be selected and active when you open the filter?
What settings did you use in step seven for the levels? I never could get it to come out right.
Is the "people" layer you refer to in step 8 the same as the "Hug/Image" layer in steps 1 and 2?
I'm so confused I think I'm going to start over.

Nuttin' like feeling dumb!