Draconian wrote:
I'm starting to really like this!
Personally I would not use all those layer masks. Just Give all the layers an alpha channel, Alpha select say the Lighten layer, Select>Invert>Hit Delete for each layer.
Not trying to nitpick.

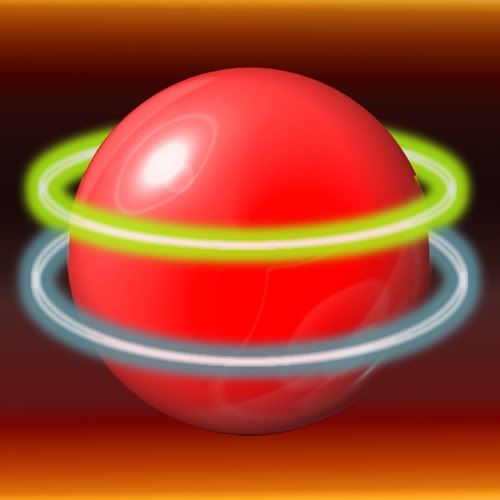
I would aslo suggest that the Directional light setting be adjusted to match the glow from the Polar Coordinates filter if you are going to use a pattern and then the Map to Object>Sphere step. It really showed up badly in the red one below. Not trying to nitpick.
Great tutorial!
To be honest I've never fully understood the alpha channel or channels dialogoue window.
Not quite sure what you mean in the second part, the map to sphere is just a lazy way to get shadow on the ball.
If I where to use a pattern via the map object filter, I would turn off the light. also just as a quick note when mapping a pattern via the map object filter, scale the layer width to half of your original size as the sphere filter distorts it and this scaling will help correct that distortion.
Loving the images Drac.
Just reread your post, why all the layer masks, I have found that when I add an alpha channel and delete a selection I always end up with pixelated edges, using the layer masks gives a smoother edge. hope that explains my thinking.


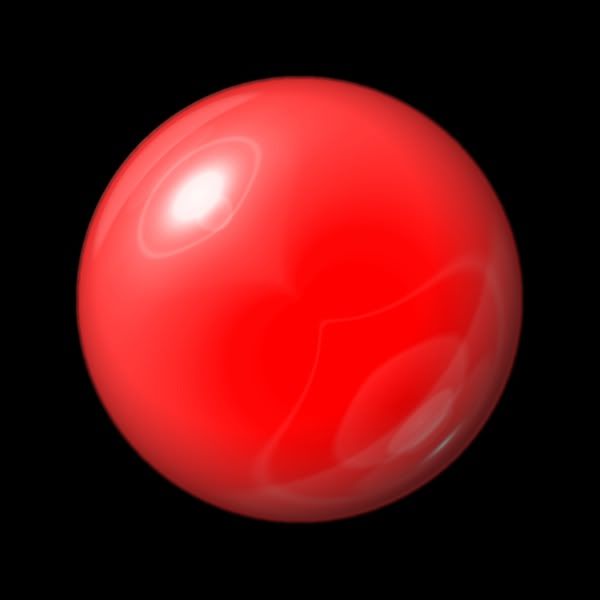
 That is so funny because I did the same thing fooling around with it before I posted my patterns. To me it looks more like a bubble than a glass ball. You would need some refracted glow on the surface to the bottom and right of the globe to really make it look like a hollow glass ball. Also just a hint of white opaqueness to give it more substance and perhaps some distortion of the suface behind the area where the ball is. If it were solid, things would be inverted or mirrored as someone pointed out to me previously.