Following on from a discussion in this
thread, have come up with this method of creating a smoke filled wallpaper.
You will need G'mic installed to complete this tutorial all other plugins or gradients should be part of gimp by default.
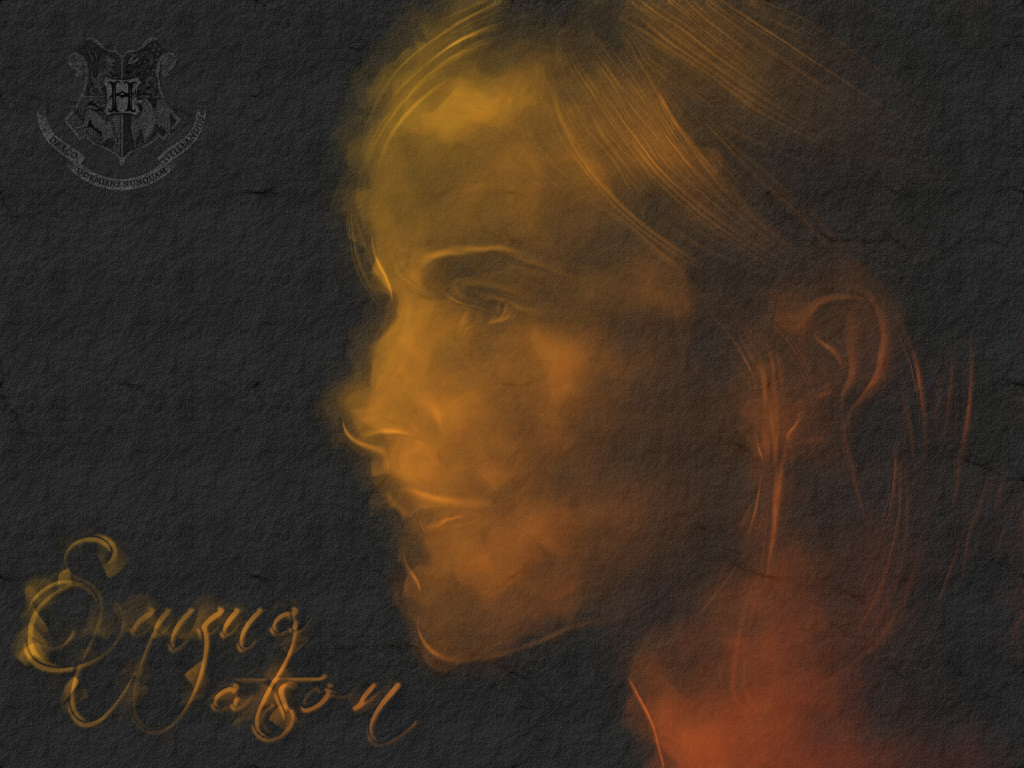
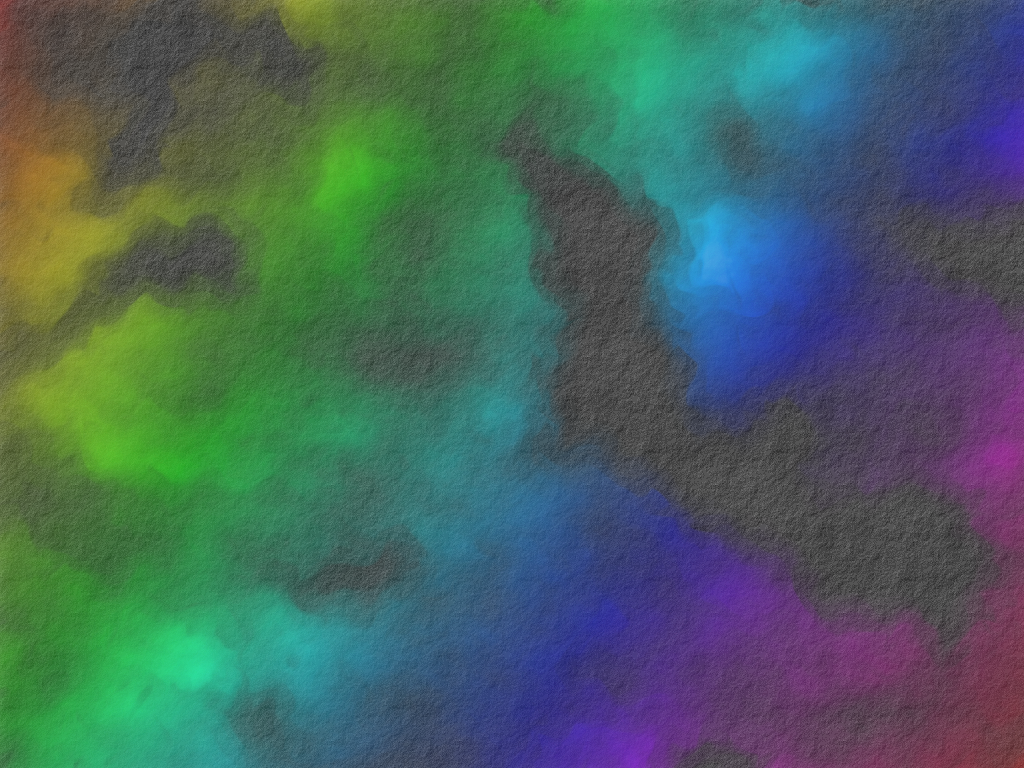
This is what we are hoping to achieve, due to the randomness of the cloud filter your image might not be exactly the same.
1. Open gimp and go File>New and set Width to 1024px and Height to 768px and click OK. Fill Background layer with Black #000000.
2. Go Layer>New Layer and change layer name to "Smoke" and check the box Transparency and click OK.
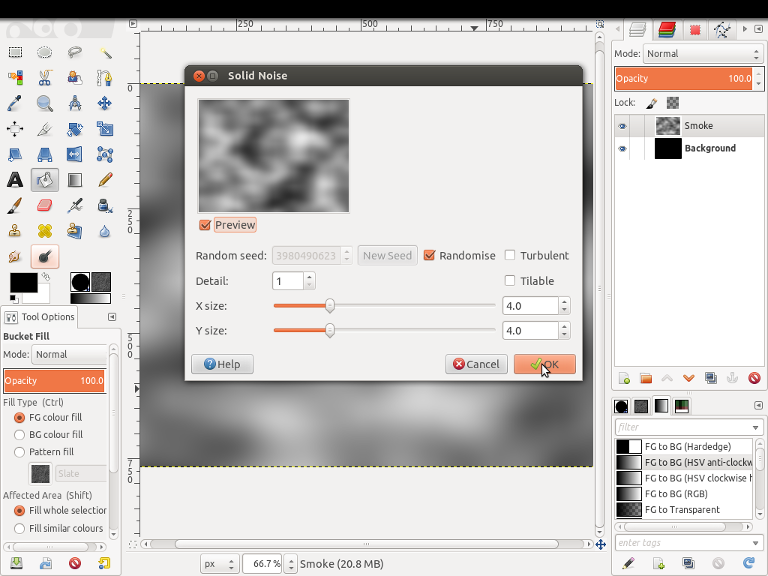
3. Go Filters>Render>Clouds>Solid Noise and run with the settings shown below.
4. Go Colours>Threshold, the amount of white will be the amount of smoke generated, you can increase or decrease the amount of white by sliding the middle arrow. Once happy then click OK.

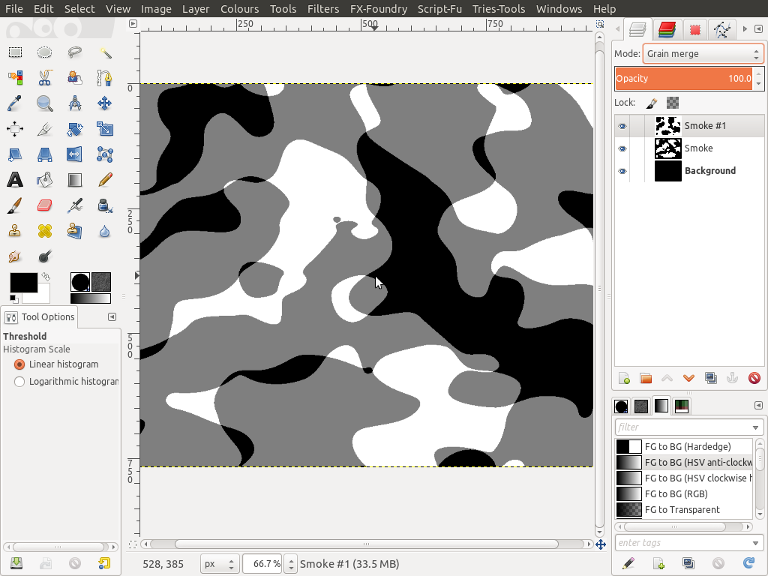
5. Next we are going to repeat steps 2 - 4 but change the layer mode of our new layer to "Grain Merge", The white will generate smoke and the grey areas will be a more transparent smoke.
6. If your happy with what you have and still with your top layer selected Go Layer>Merge Down.
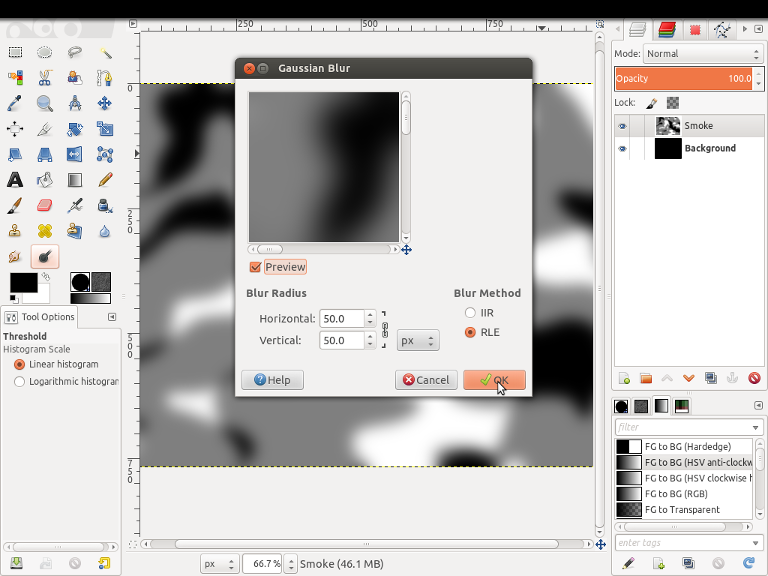
7. Go Filters>Blur>Gaussian Blur and change X & Y to 50px and click OK.
8. Go Layer>New Layer and change layer name to "Smoke" and check the box Transparency and click OK.
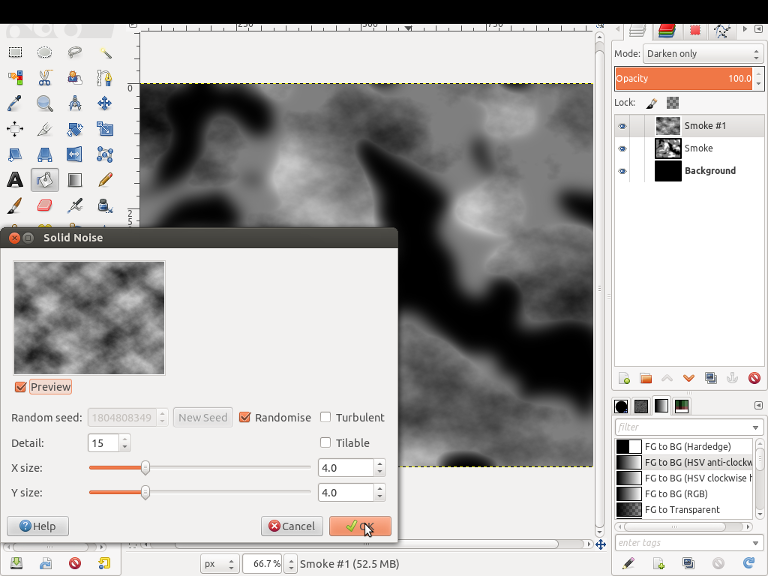
9. Go Filters>Render>Clouds>Solid Noise and run with the settings shown below. Finally Change Layer Mode to "Darken Only"
10. Still with your top layer selected Go Layer>Merge Down, Then go Colour>Auto>Stretch Contrast.
11. Go Filters>Artistic>Cubism and run filter with the settings shown below.

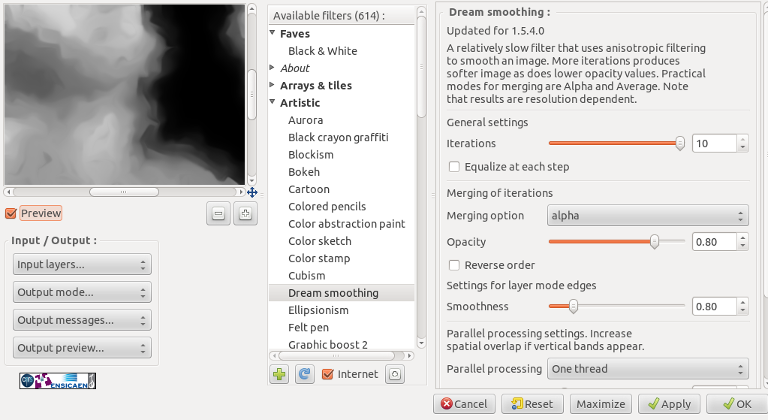
12. Go Filters>G'mic and under the filter "Artistic" select "Dream Smoothing" and run filter with the settings shown below. WARNING - Depending on size of image this filter can take a while to run.
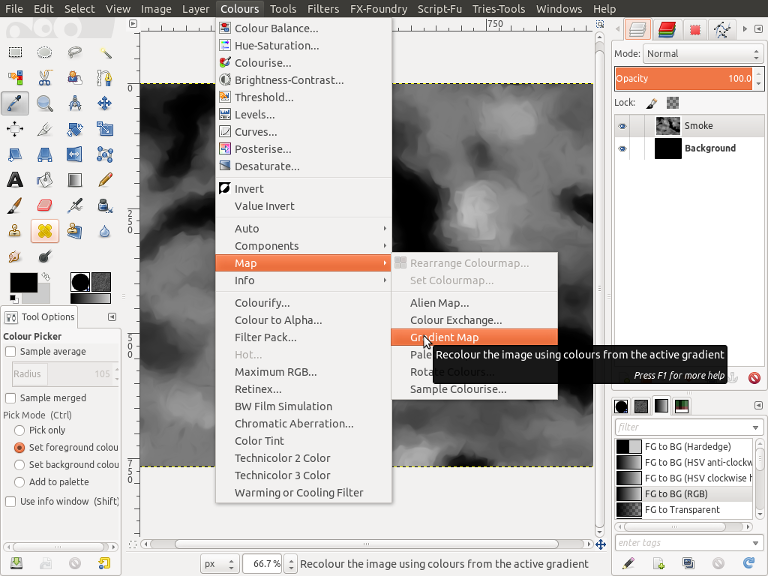
13. Our smoke is a bit to white so we are going to darken it a little. Set Background colour to #cccccc and Foreground colour to #000000, Make sure you have the gradient FG to BG (RGB) selected, Then go Colours>Map>Gradient Map.
14. Now we need to start adding a more swirly look to our smoke and some texture, Go Filters>Distort>Ripple and run with the settings shown below.
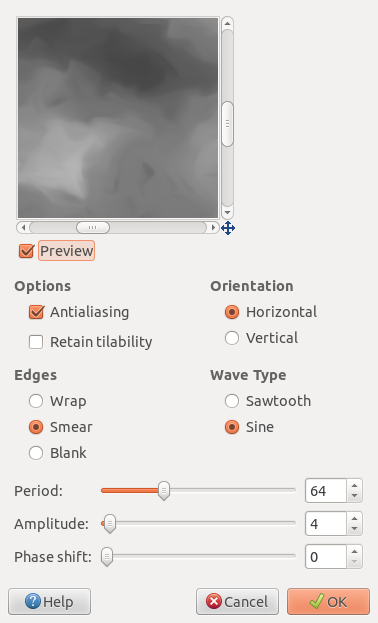
15. Rerun the Ripple filter but change the "Orientation" to "Vertical".
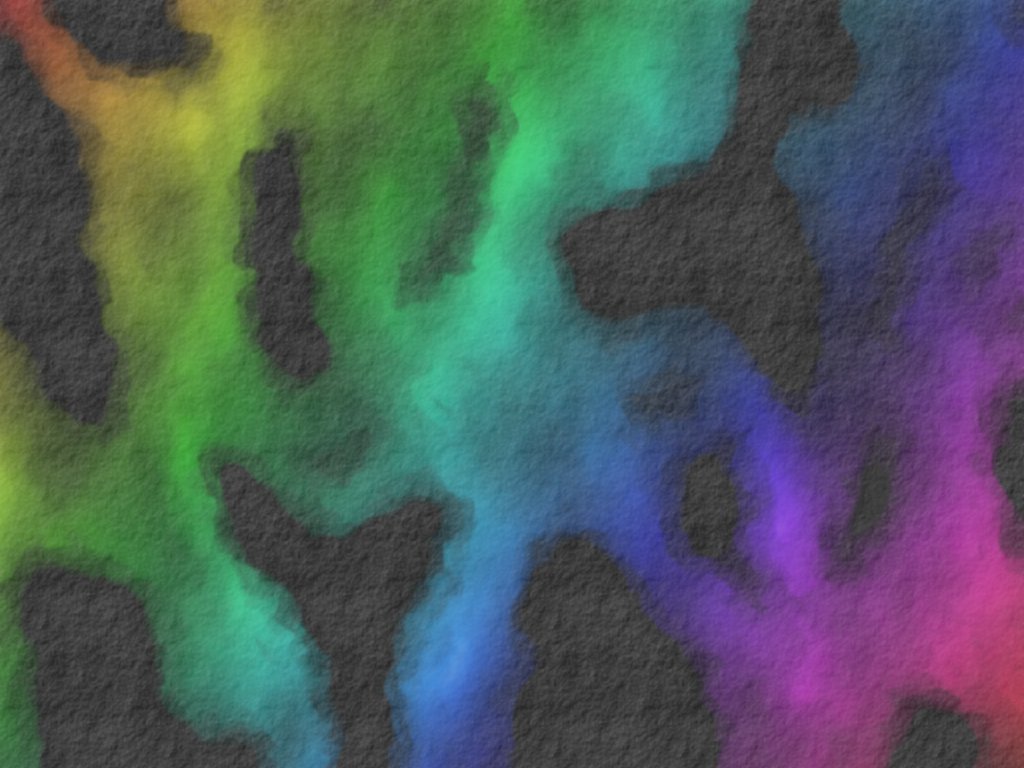
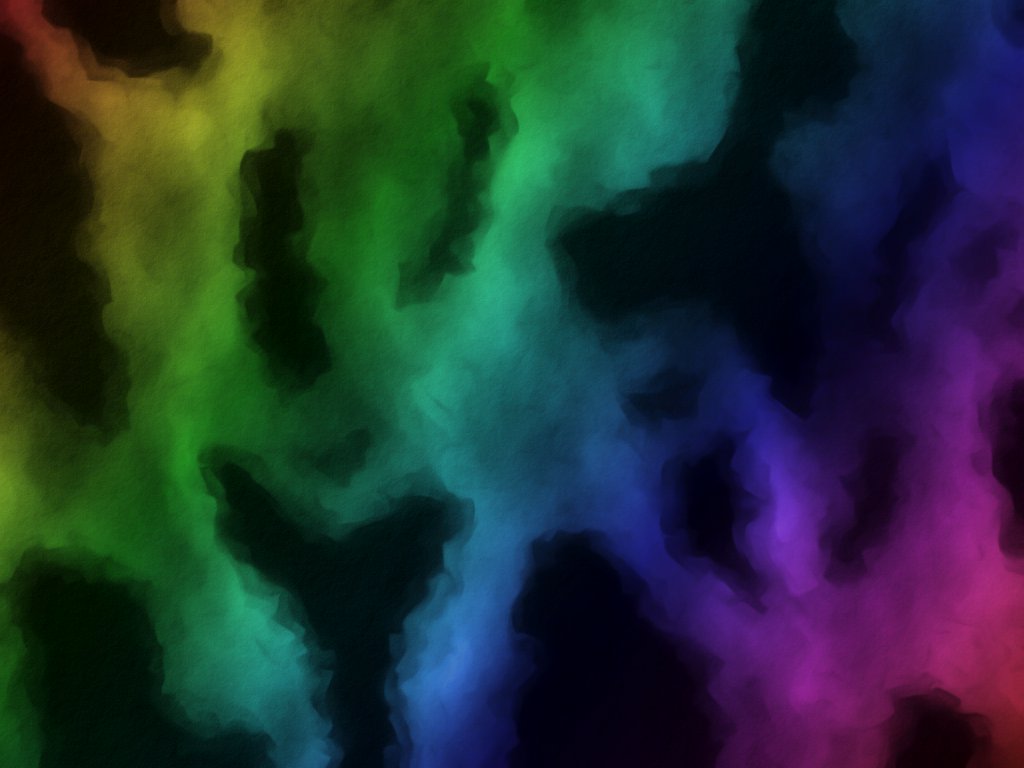
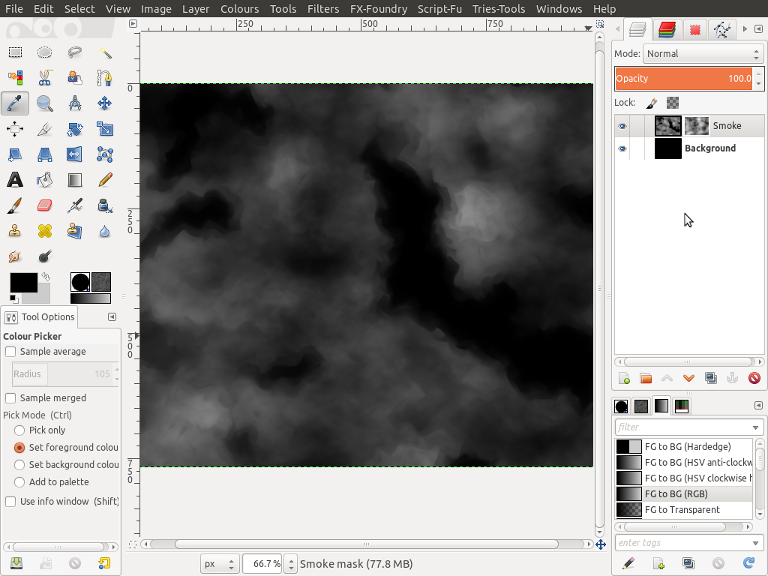
16. Now to add some texture, go Layer>Mask>Add Layer Mask, Then go Filters>Render>Clouds>Solid Noise and run with the settings used in step 9, You should be looking similar to the image below.
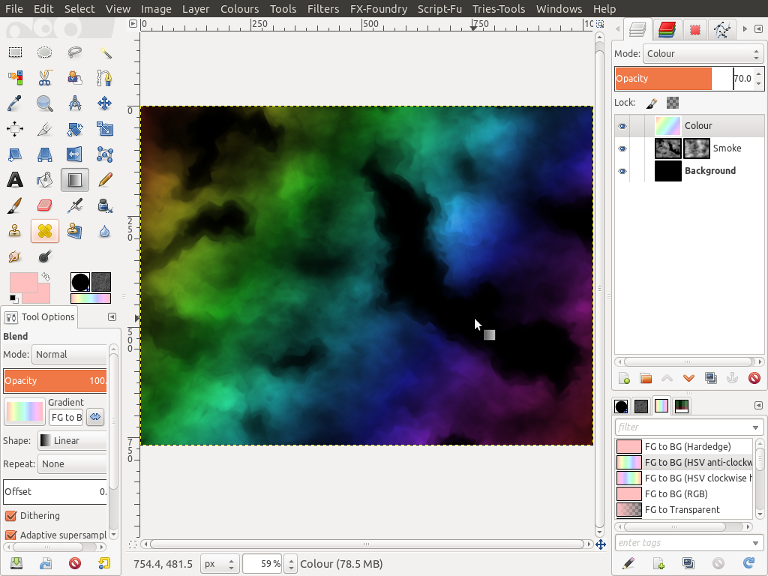
17. Now to add some colour to our smoke, Go Layer>New Layer and change layer name to "Colour" and check the box Transparency and click OK.
18. Set Foreground and Background colours to #ffbfbf and select the Blend Tool

, Make sure the gradient selected is "FG to BG (HSV anti-clockwise)". I'm going to create a linear gradient from top left to bottom right.
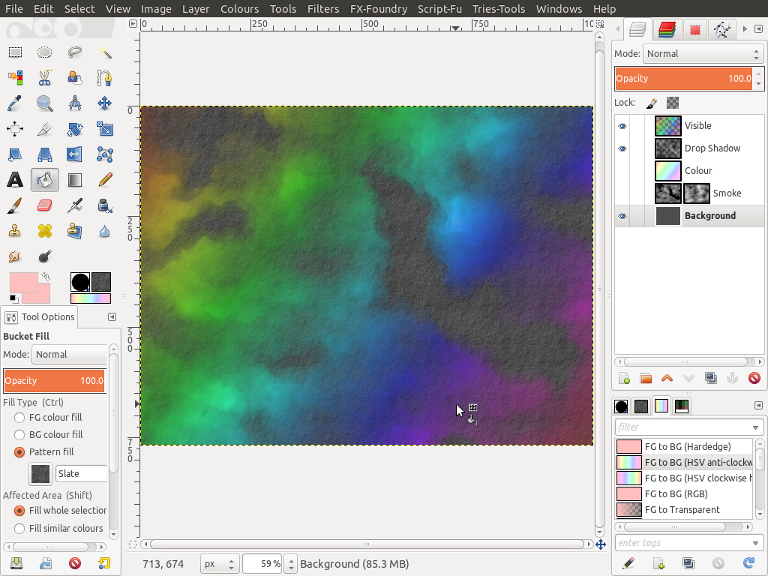
19. Finally I'm going to change the Layer Mode of our layer to "Colour" and reduce the Opacity to 50.
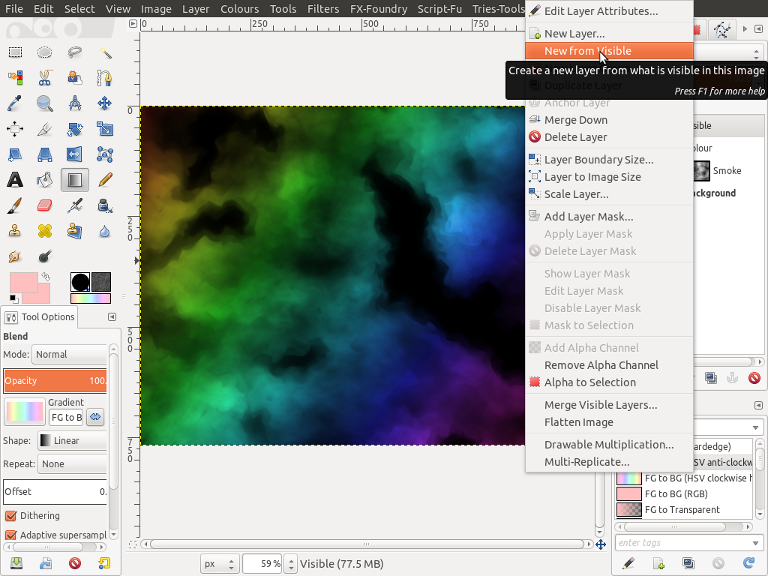
20. Right click on any of the layers in the layer dialogue and select "New From Visible", Then turn off the layers "Colour" and "Smoke".
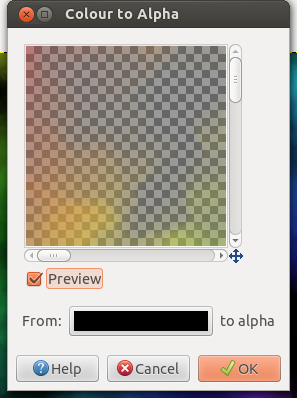
21. With the top layer selected, Go Layer>Transparency>Colour to Alpha, Change colour to black #000000 and click OK.
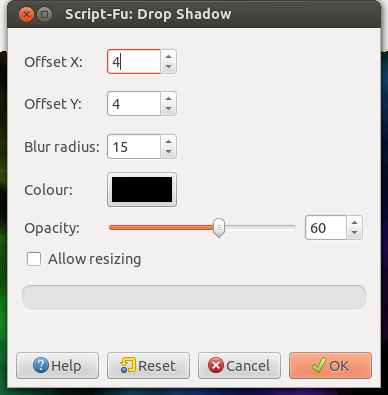
22. Still with the top layer Selected, Go Filters>Light and Shadow>Drop Shadow and run with the settings shown below.
23. Finally select the bottom Layer "Background" and fill with a pattern of your choice, I'm going with the pattern Slate as it is greyish in colour and complements the smoke nicely.
That's it hope you had fun and happy Gimping.
Hearty.