Hi to all
Here a little Tutorial from me i found it in German Language, and have Translate it in English with own Screenshots so that you can follow it Step by Step:
If you want to use the font, you invite them to Download it here
Neuropolitical (TrueType Font), installs them in the system and start GIMP then new!
1.) Create a new File. I have chosen here to demonstrate a format from: 900 × 900 px. Feel free to take a larger format. If you want to use the logo for the print area, you should increase it (for Web) to 300 DPI instead 72 DPI.
- Fill the layer with with the Bucket Tool and the colour # 414141
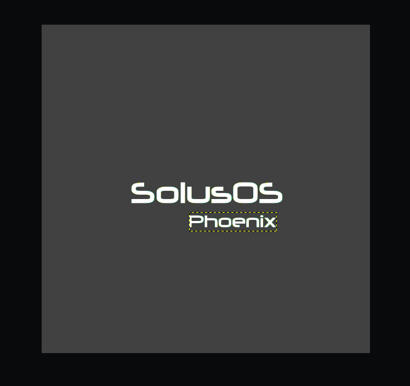
2.) Writes two texts with the font what you have Download or what you choice as Font. I have selected as Text "SolusOS" (with white
font color) and "Phoenix" (with # cbcbcb as font color). Font size from the "SolusOS" text i have set to 90px and from the "Phoenix"text on 40px Click the "hinting" option off, as this is not necessary with big thick fonts. Take the "Move" tool and pushes the two texts to the right places as you would have it in your Image.
3.) Next, we create a path that transforms the text a little in a real logo. We will create a beautiful vibration around the text.
Click now on the Paths Tool. Now click on the lower left point out to those places as I am picture no worries about the Path Tool this was my First try with it and it is not the same as in the original Tutorial.
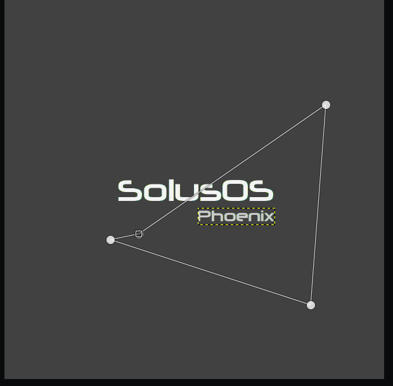
4.) If you are the last point hold down the CTRL key and click again on the first point, thus it connects the path to a single region. You can also move points of course, if it does not fit.
After completing the paths you draw the bottom line (in the middle click and drag) down a bit. A curve should arise.
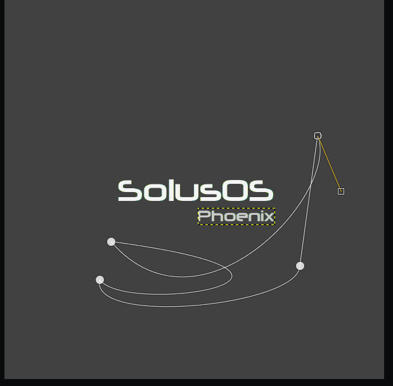
5.) With the dotted lines you can affecting the curve.
6.) - Click then ENTER to get a selection.
- Create a new, transparent layer.
- Set the FG (Foreground Colour to: # dcf6ff and the BG (Background Colour) to # 00b8e0.
- Take the Gradient Tool or press simply the Key L.
7.) Now draw anywhere on the image the Gradient Tool, no matter where, the selection is then automatically filled with the colour. Press CTRL + SHIFT + A or go to Select / None to remove the selection.

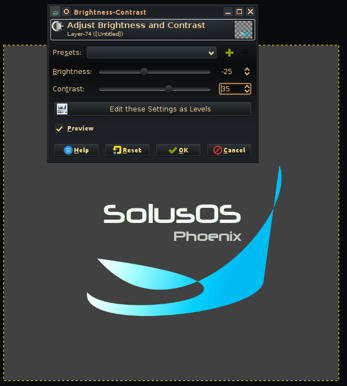
8.) Go to Colors / Brightness & Contrast and set it to: -25 / +35.
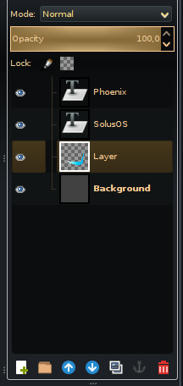
So must look now your Layers section Note:The curved form-Layer called on the Image only "Layer"
9.) Now we add a small drop of shadow.
- Right-click in the Layers dialog on the curved form-layer: click on"Alpha to Selection".
- Create a new Layer and place it under the curved form-layer.
- Fill the selection with black colour and set the opacity of this layer to 25%.
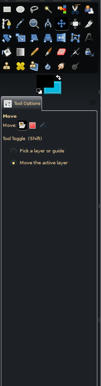
- Take the move tool, provides the settings to "Move the active layer" around and pushes the shadow slightly to the right below!
And here now the final result of the Logo with a little drop of Shadow hope you like it:

This was my first work with the Path Tool so as i said it looks not as in the original Tutorial
and here the link to the original Tutorial:
Ein seriöses und neutrales Web / Firmen-Logo erstellenHave a nice Day
greetings
groni