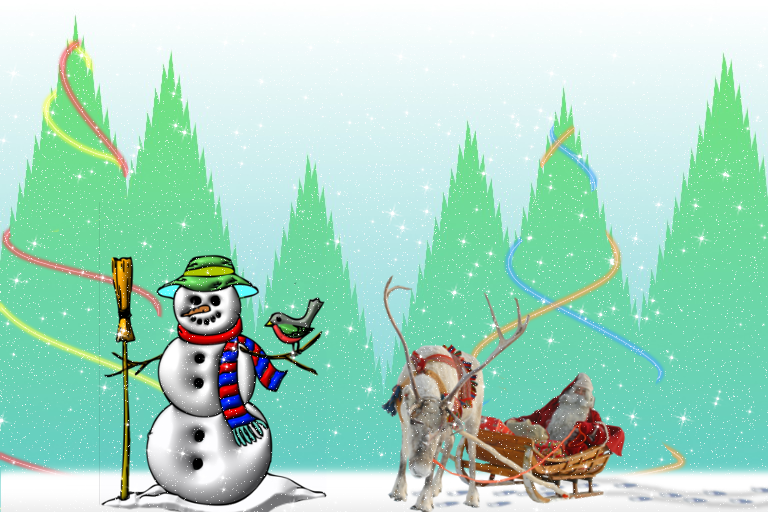
Was inspired by a Christmas card that my son received, felt the idea could be easily replicated with Gimp and to my surprise can be achieved fairly easily.
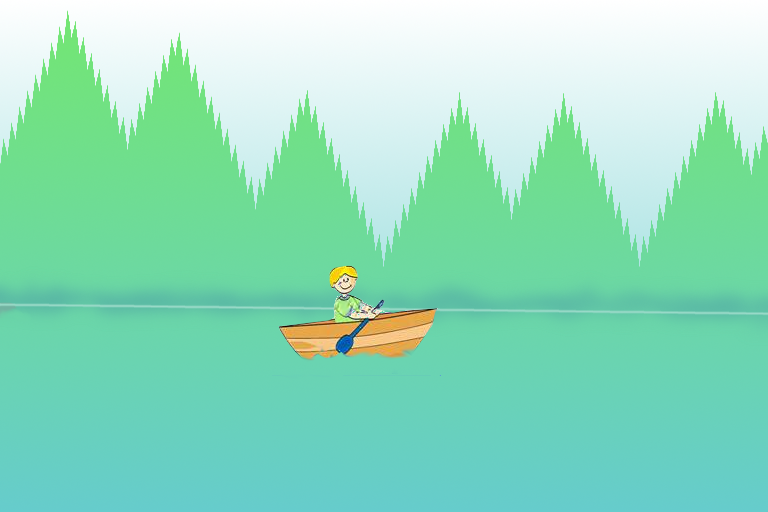
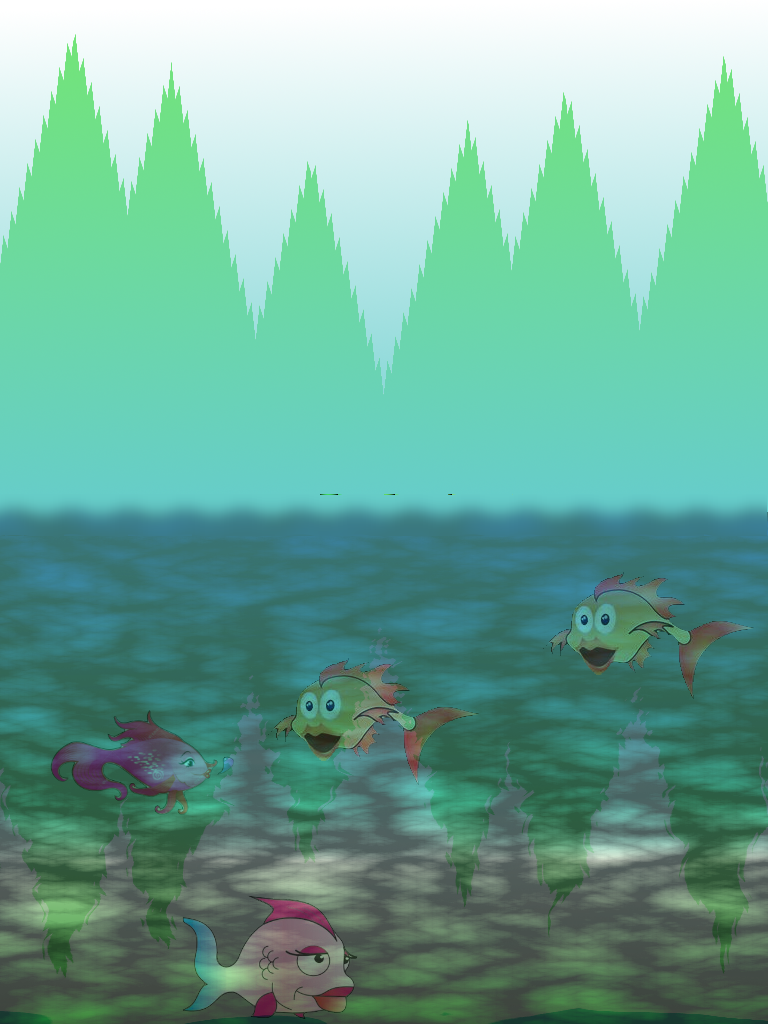
These are our final results.


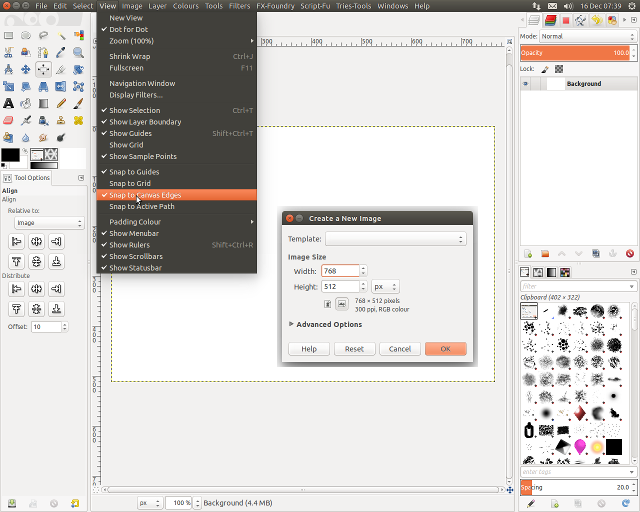
1. Open Gimp and create a new image Width 768px and Height 512px, then go View and make sure "Snap to Guides" & "Snap to Canvas Edge" are ticked, left clicking on the phrase will check/uncheck the options.
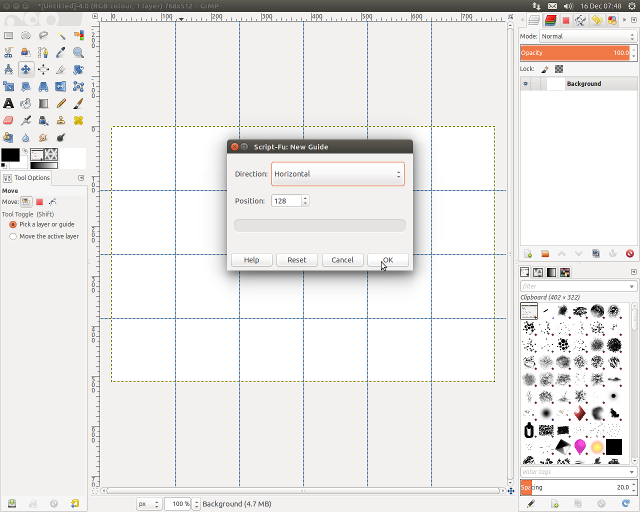
2. Go Image>Guides>New Guide... add horizontal guides at 128px, 256px & 384px also vertical guides at 128px, 256px, 384px, 512px & 640px
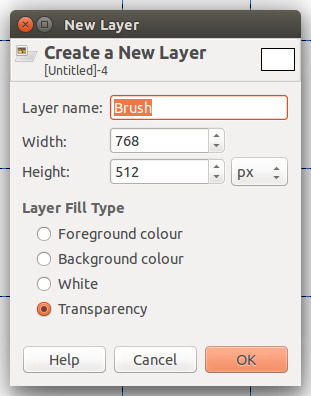
3. Go Layer>New Layer and create a new layer called brush, select this layer.
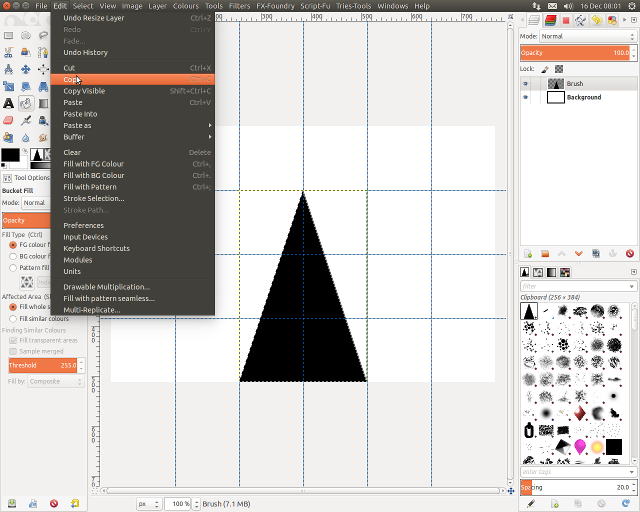
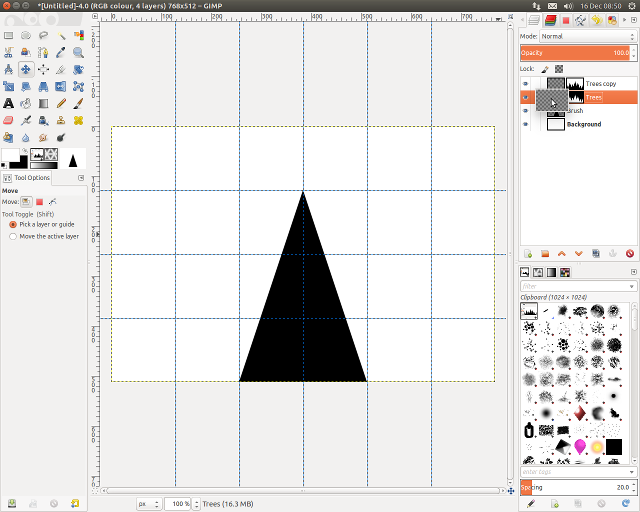
4. Choose the Free Select Tool

and create a triangle shape using the guides as shown, then fill the shape with the colour Black #000000. Go Layer>Autocrop Layer then Go Edit>Copy and Go Select>None. Turn off the layer by clicking on the eye icon.
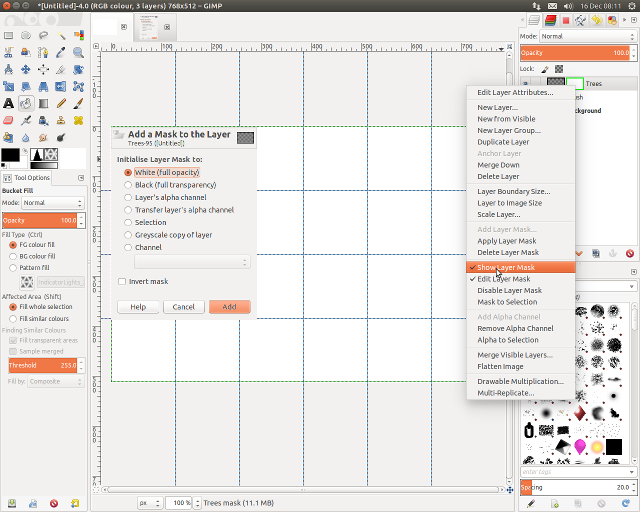
5. Go Layer>New Layer and rename Layer "Trees", Then Go Layer>Mask>Add Layer Mask make sure White(Full Opacity) is checked, In your Layers Dialogue Right Click on your "Trees" Layer and select "Show Layer Mask".
6. Select the Brush Tool

and choose your previously copied triangle, It will be the very top image of your brushes, also make sure to set the brush to its original size, you can do this by clicking the

Icon next to the size option also make sure Aspect Ratio and Angle are set to 0 and brush dynamics are switched off.
Now paint some trees along your canvas with varying heights but make sure they align with the Vertical guides.

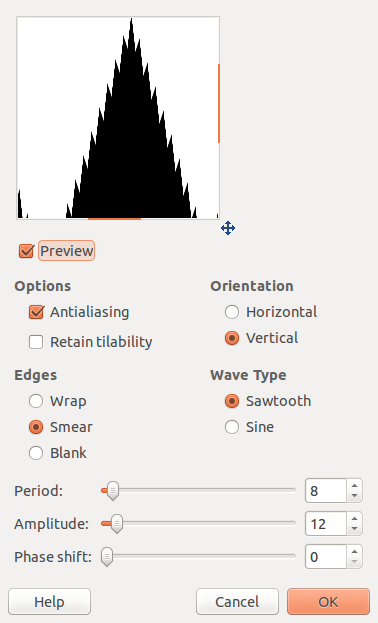
7. Go Filters>Distort>Ripple and use the settings shown below.
8. Go Layer>Duplicate Layer, then Right Click on this Layer and uncheck "Show Layer Mask", select the Layer named "Trees" and go Colours>Invert, then Right Click on this Layer and uncheck "Show Layer Mask, finally left click on the layer to select it.
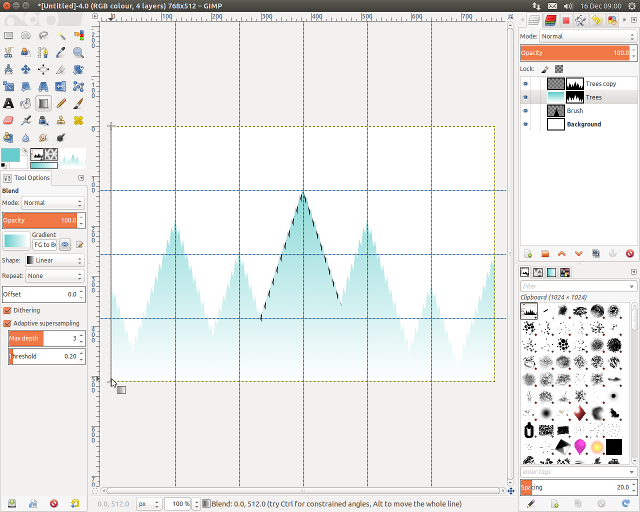
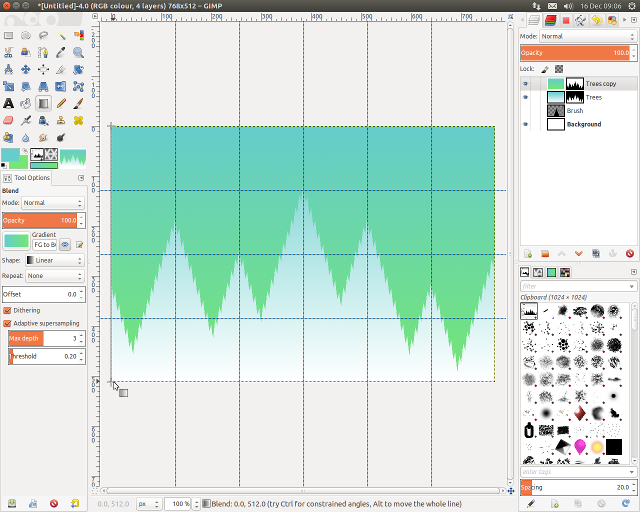
9. Set Foreground Colour to #66cccc and Background Colour to #ffffff, then select the Blend Tool

and create a vertical blend top to bottom of your layer.
10. Select your top layer and set Foreground Colour to #66cccc and Background Colour to #73e673, then select the Blend Tool
and create a vertical blend top to bottom of your layer.
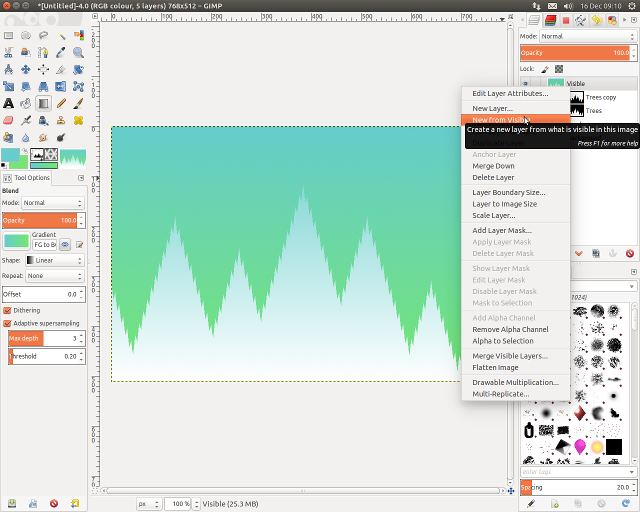
11. Go View and Uncheck "Show Guides", then right click in your Layers Dialogue and select "New From Visible".
12. Select this new layer and go Layers>Transform>Rotate 180
o. This will show you how the image can flip but still resemble a Christmas tree Design.
That's it, fairly simple and quite a plain image but I'm sure you'll be able to jazz it up and add yoyr own twist to it.