SLIDER / BAR
a GIMP tutorial by dietmar
(adapted from a Photoshop tutorial found in the web)
Please notice:
Blue arrows/lines/etc. are not part of the image and are only intended to
clarify some technical issues!
I also recommend activating "View -> Snap to grid" for better selection
management.
I used GIMP 2.8.14 on Win7 64Bit for this, so I am not sure whether it will
work on older versions of GIMP.
And remember: Save often, perhaps with different filenames for the different
steps, to make reproducing or changing afterwards easier!
Here we go...
* New image, 1280x720px.
Background:
* New layer "color", fill it with #222222.
* Filter -> Noise -> HSV Noise, values 3 / 20 / 0 / 15.
* New layer "light".
* Radial gradient fill from FG white (#ffffff) to transparent. Drag from the
vertical center top to nearly bottom, like this:
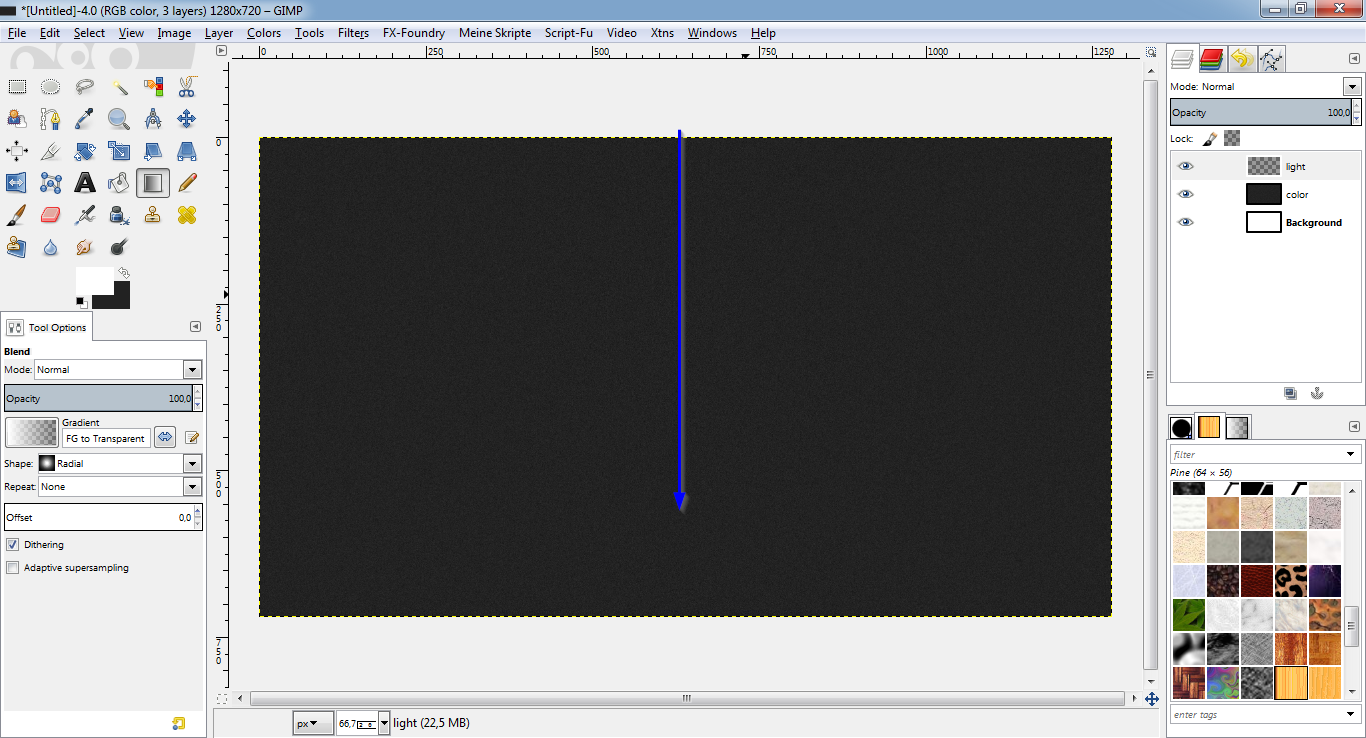
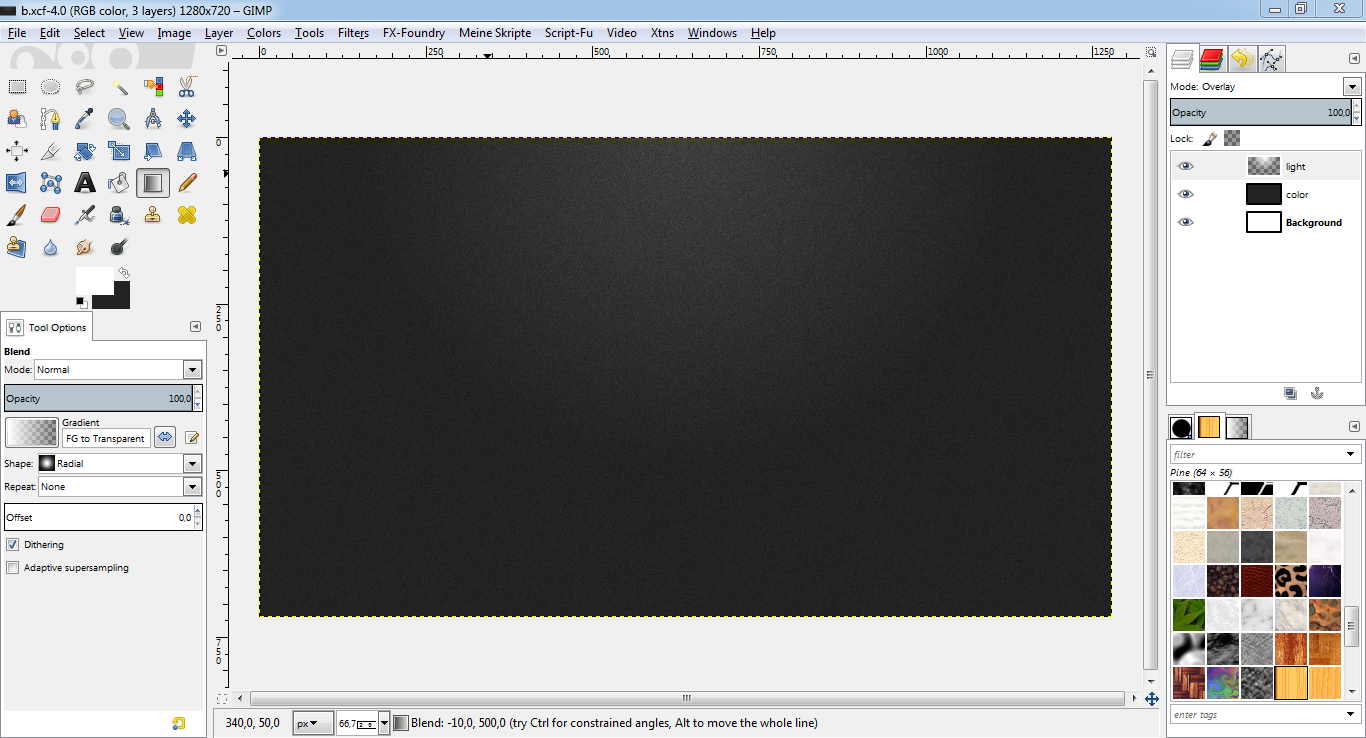
* Set layer mode to "overlay".
* This is what it should look like:
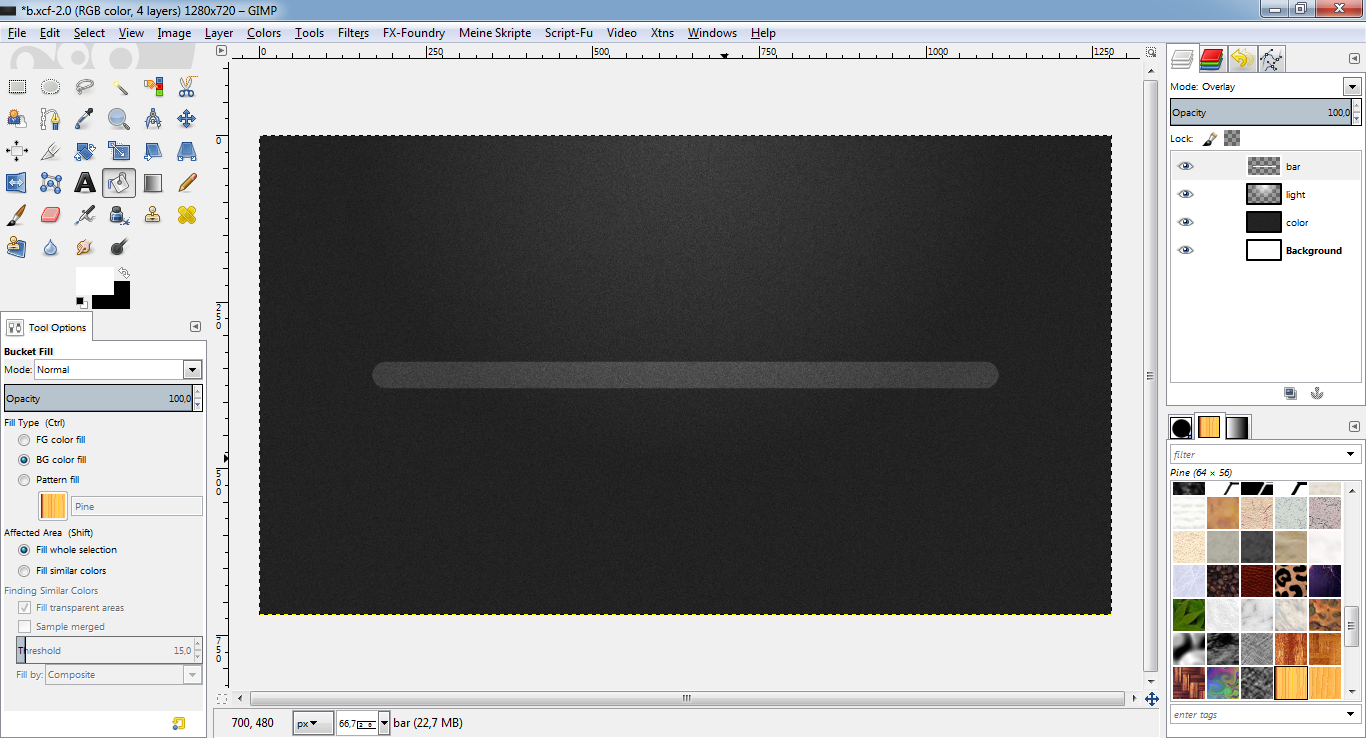
Bar shape:
* New layer "bar".
* Rounded rectangle select (radius 80) in the center of the image. (Mine is
940x40).
* Select -> To path "bar".
* Fill selection with white (#ffffff).
* Select -> None.
* Set layer mode to "overlay".
* This is what it should look like:
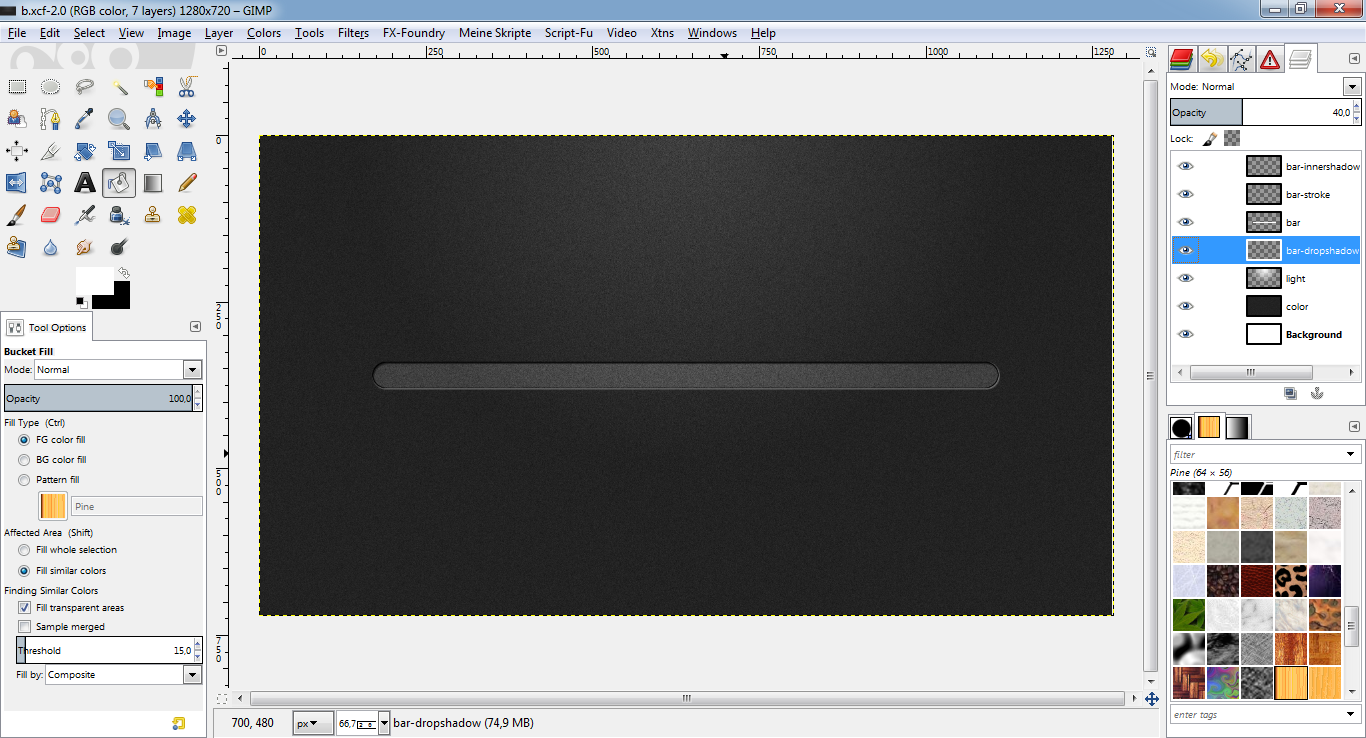
Effects:
* Script-Fu -> Layer effects -> Inner shadow, color black (#000000), opacity
100%, size 4, offset distance 3, rest stays default.
* Select the "bar" layer again.
* Script-Fu -> Layer effects -> Stroke, color black (#000000), opacity 100%,
position 15, rest stays default.
* Select the "bar" layer again.
* Script-Fu -> Layer effects -> Drop shadow, color white (#ffffff), opacity
75%, size 2, offset distance 1, "layer knocks out drop shadow", rest stays
default.
* Set layer mode of drop shadow layer to about 30-40%.
* This is what it should look like:
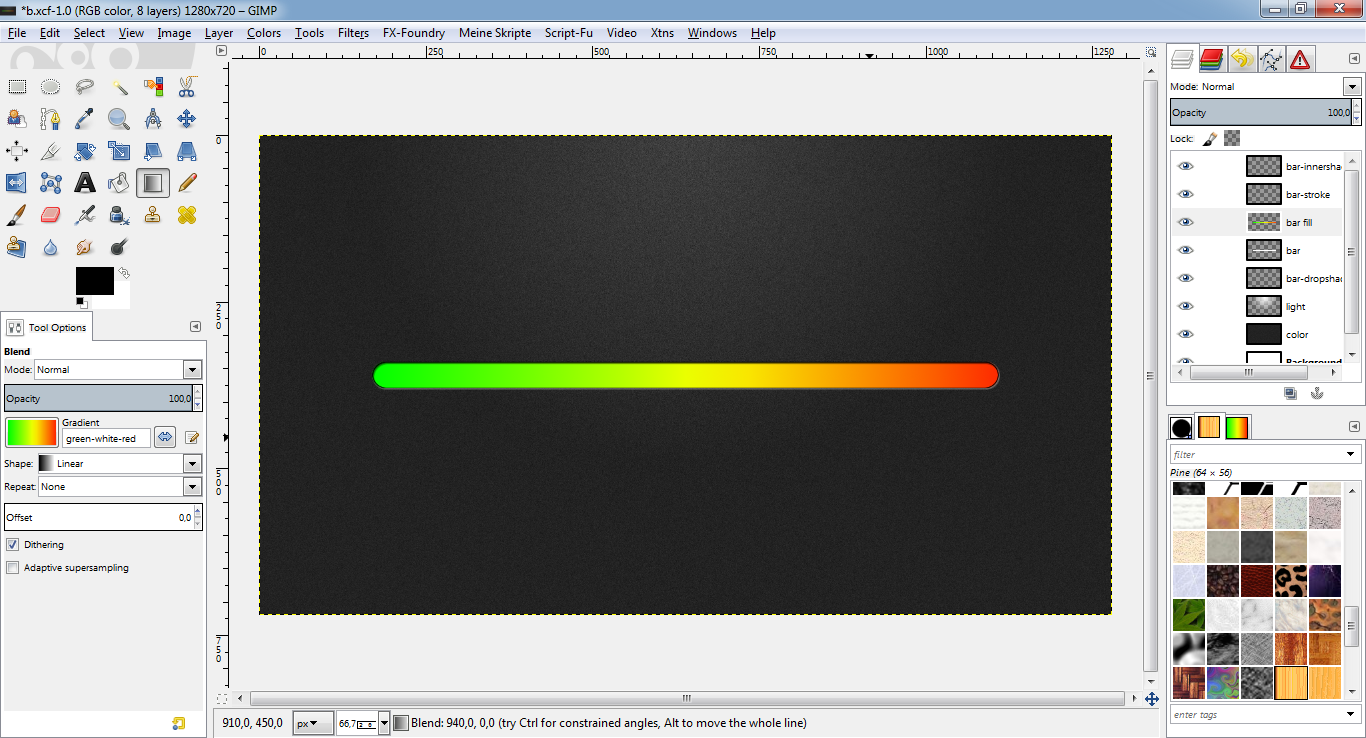
Bar fill:
* New layer "bar fill" on top of the "bar" layer, but under the stroke and
inner-shadow layer.
* Path "bar" -> Path to selection.
* Choose a nice gradient you like and drag a linear gradient fill on the
layer. I chose a "green-yellow-red" gradiant made by myself which is quite
nice for sliders, gauges etc.:
Attachment:
 green-yellow-red.ggr [1.06 KiB]
Downloaded 302 times
green-yellow-red.ggr [1.06 KiB]
Downloaded 302 times
* Select -> None.
* This is what it should look like:
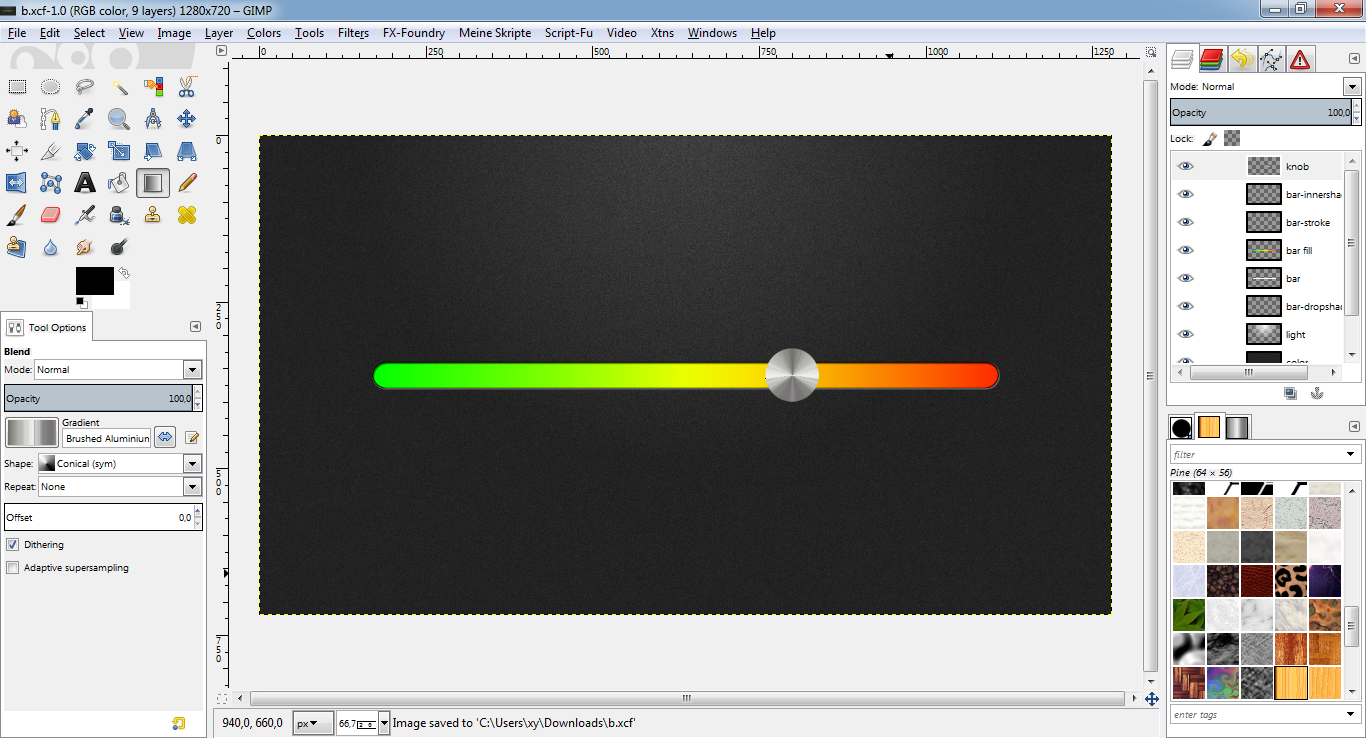
Knob:
* New layer "knob" on top of all layers.
* Create a circle selection by using the ellipse tool, "expand from center",
"fixed aspect ratio 1:1". Be sure so start clicking and dragging on the
vertical middle of your image (here: at 360). Set this circle (mine was
80x80px) at a horizontal position you like.
* Select -> To path "knob".
* Choose a nice gradient you like and drag a "conical sym" gradient fill on
the layer, starting exactly in the center of your knob selection to
outside. I chose the gradient "Brushed Aluminium".
* Select -> None.
* This is what it should look like:
Knob effects:
* Script-Fu -> Layer effects -> Drop shadow color black (#000000), opacity
75%, size 10, angle 90, offset distance 3, "layer knocks out drop shadow",
rest stays default.
* Select the "knob" layer again.
* Script-Fu -> Layer effects -> Inner shadow, color white (#ffffff), opacity
100%, size 2, offset distance 2, rest stays default.
* This is what it should look like:

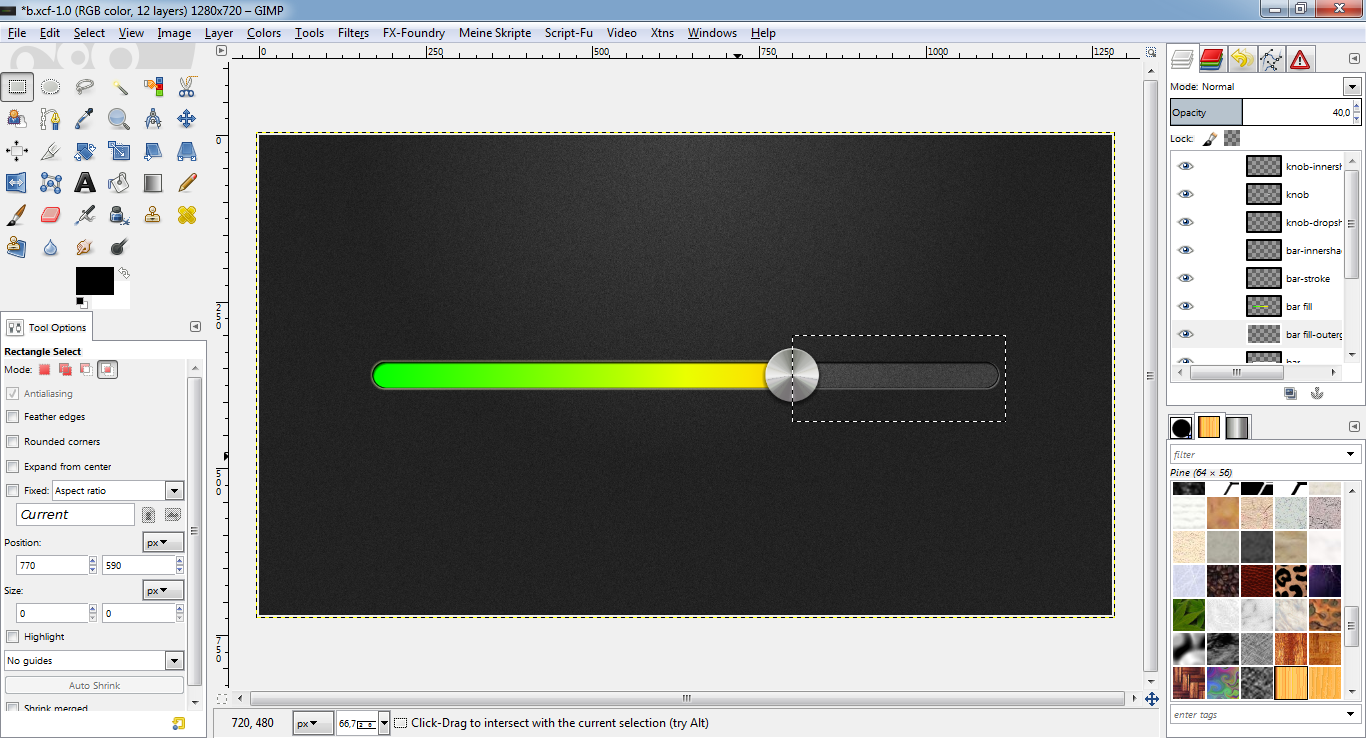
Corrections:
* Select the "bar fill" layer again.
* Make a rectangle selection which covers the whole right part of your bar
until the knob.
* Hit "Del" to clear the selection.
* Script-Fu -> Layer effects -> Outer glow, color #ffffbe, size 3, "layer
knocks out drop shadow",rest stays default.
* Set the opacity of the outer glow layer to about 30-40%.
* This is what it should look like:
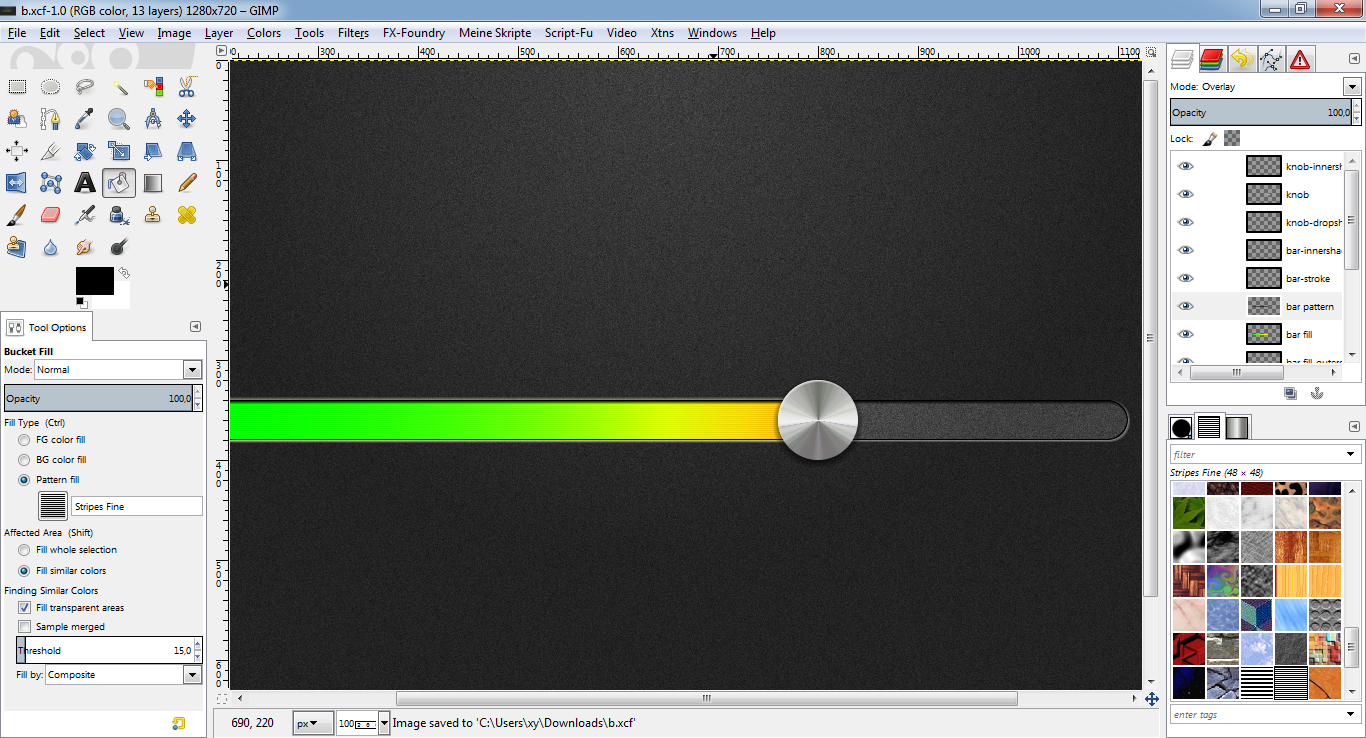
Final enhancement:
* New layer "bar pattern" right above the "bar fill" layer.
* Layer "bar fill" -> Alpha to selection.
* Select the "bar pattern" layer.
* Make a bucket fill into the selection, FG white (#ffffff), fill type
"pattern fill" with "Stripes Fine".
* Set layer mode to "overlay".
* Select -> None.
* This is what it should look like:
DONE!
Congratulations, you have successfully completed the tutorial! Now it would
be a wise decision to save your work under a new name for later changes or
whatever.
If you find any errors or something I could improve, feel free to comment!
dietmar