Create a Hypocycloid Brush
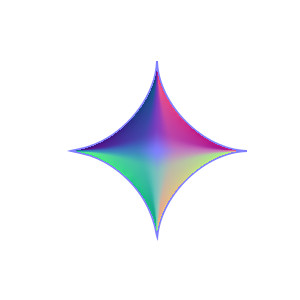
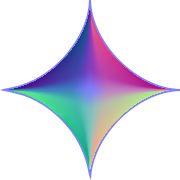
With a somewhat tongue-twisting name, this hypocycloid is a pretty geometrical construction that slightly resembles a four-pointed star, but is more graceful with curves between the points instead of angles.
The Pittsburgh Steelers logo has three hypocycloids in it.
Not necessary, but nice to have is the guides-every-x-pixels script which is zipped and attached below. It saves a lot of time placing the multiple guidelines used in this tutorial. Unzip and save to your Gimp Scripts folder. Refresh the scripts in Gimp: Filters > Script-Fu > Refresh Scripts.
Open a new image, 600 x 600 pixels and fill it with white. Make a new transparent layer.
Image > Guides > New Guides Every X Pixels. Make the spacing 100 pixels. Then return to the same script and change Horizontal to Vertical and then OK. You will have guides going both directions on your image.
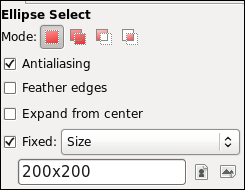
Select the Ellipse tool and make it a Fixed size, 200 x 200.
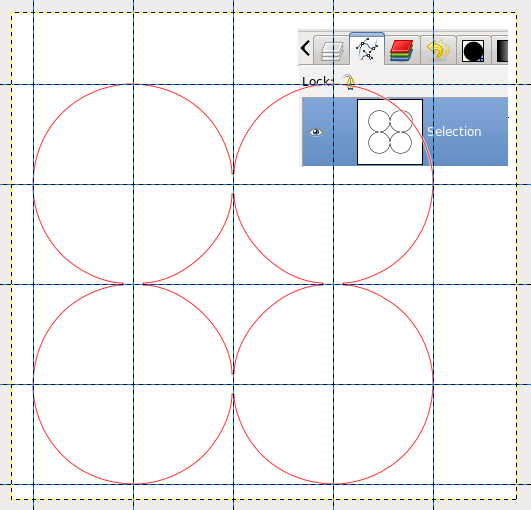
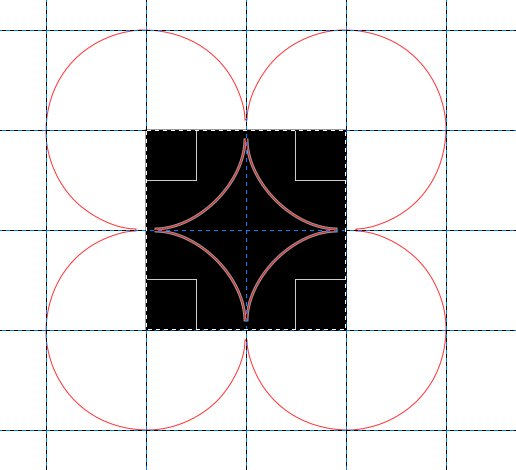
You will be making circles using the guides. The circles will automatically snap to the guides but be gentle as the snap isn't that strong. You can feel it snap. Make 4 circles like in the image below, by making the first circle and while holding down the Shift key, make the next 3 circles. Make them in the areas formed by the guides as pictured. When you are finished they will all be selections. You can let up on the Shift key.
Select > To Path.
Select > None
Go to Paths and you should see 4 circles in the path. Turn on the eye next to the path thumbnail. Return to the layers.
Next, use the Rectangle Select tool and make a square, Fixed, 200x200. Place the square in the center as shown below and fill the square with black.
Select none.
Select > From Path. The circles path is the activated selection. Press the Delete key. Your hypocycloid is finished.
Go to Image > Guides > Remove All Guides.
Go to Paths and turn off the eye next to the path thumbnail.
Go back to layers. Autocrop the hypocycloid layer. Right-click the layer and Flatten Image to the white layer.
Image > Mode > Grayscale.
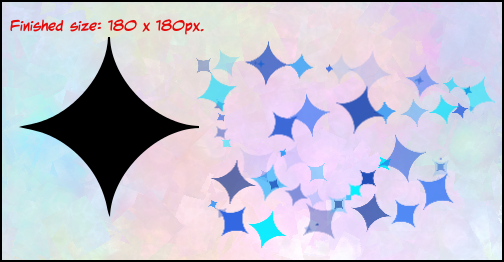
Export the image to your brushes using a .gbr extension.
Flattening and making it grayscale will allow the brush to use the Foreground color. Also you can use brush dynamics.
Download a PDF document of this tutorial below.
Also attached is the zipped brush. Unzip and put into your Brushes folder.
_________________


 Clearly written
  and the pointer to the guides every n pixel script is appreciated