RATING STAR
a GIMP tutorial by dietmar
This will create a nice "rating star" suitable for your UI projects like
software, Webdesign or other. We will create three variants: empty star,
half star and full star.
This is the final result:


Please notice:
I also recommend activating "View -> Snap to grid" for better selection
management.
I used GIMP 2.8.14 on Win7 64Bit for this, so I am not sure whether it will
work on older versions of GIMP.
And remember: Save often, perhaps with different filenames for the different
steps, to make reproducing or changing afterwards easier!
Here we go...
* Create a new image, 600x600, with a white background.
* New layer "shape".
* Create a star selection. Follow this
and you can make one in gimp's Gfig
I created a star with x:300, y:300, outer radius:250, inner radius:100,
number of points:5. (But of course you can also draw the shape "by hand"!)
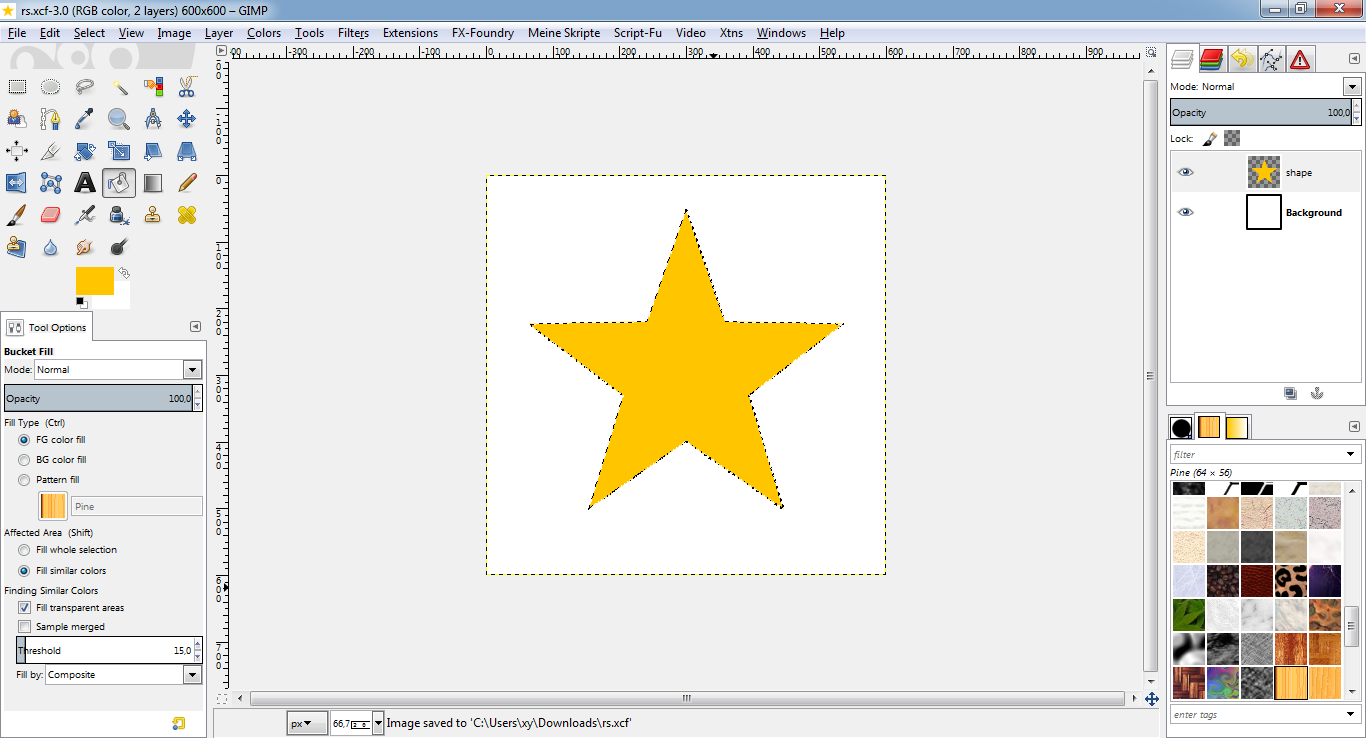
* Fill it with #ffc600.
* This is what it should look like:
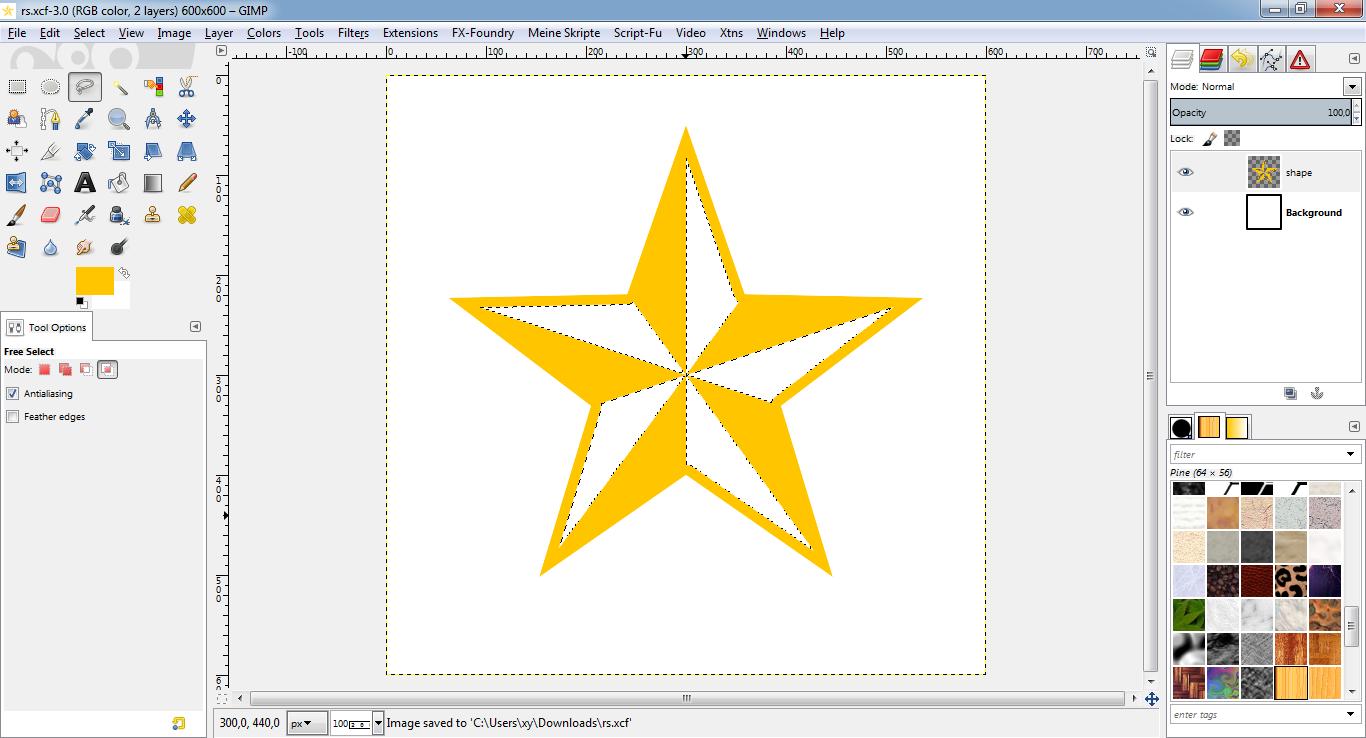
* Select -> Shrink, 10px.
* Increase the view zoom.
* Use the free select tool to subtract edge selections from the star like
shown below. (You may save this selection to a path for future reference,
e.g. if you plan to change colors later or whatever.)
* Hit "Del" to clear this selections from the "shape" layer.
* This is what it should look like:
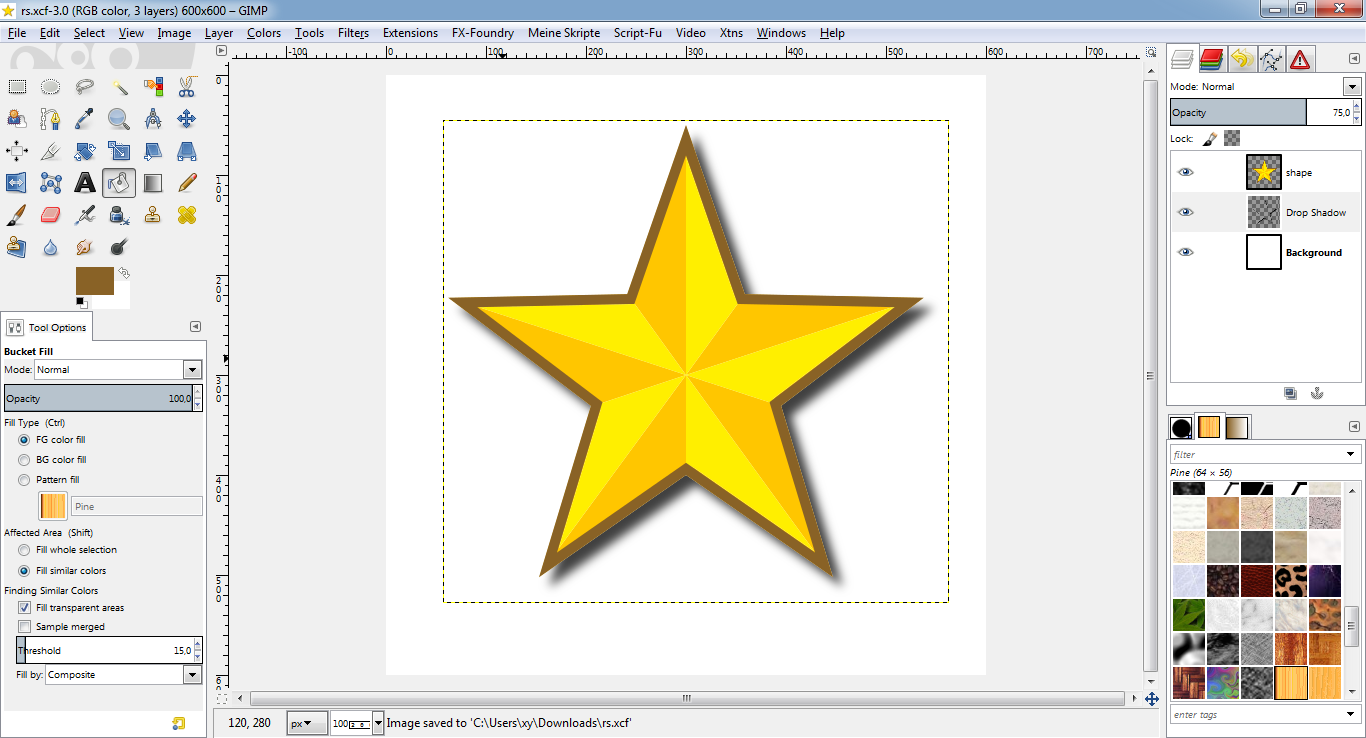
* Path "Star" to selection.
* Stroke PATH (not selection, since path will be more accurate!) with
#896226.
* Filters -> Light & shadow -> Drop shadow in black (#000000). I used x/y 10
and blur radius 10, opacity 75%. It is important to NOT use the drop shadow
effect from the "layer effects" since this can add nasty shadow lines into
the star which we don't want layer on when we create the half star!
* Move the "drop shadow" layer under the "shape" layer.
* Select -> None.
* This is what it should look like:
This was the full star. Now, to create the empty star:
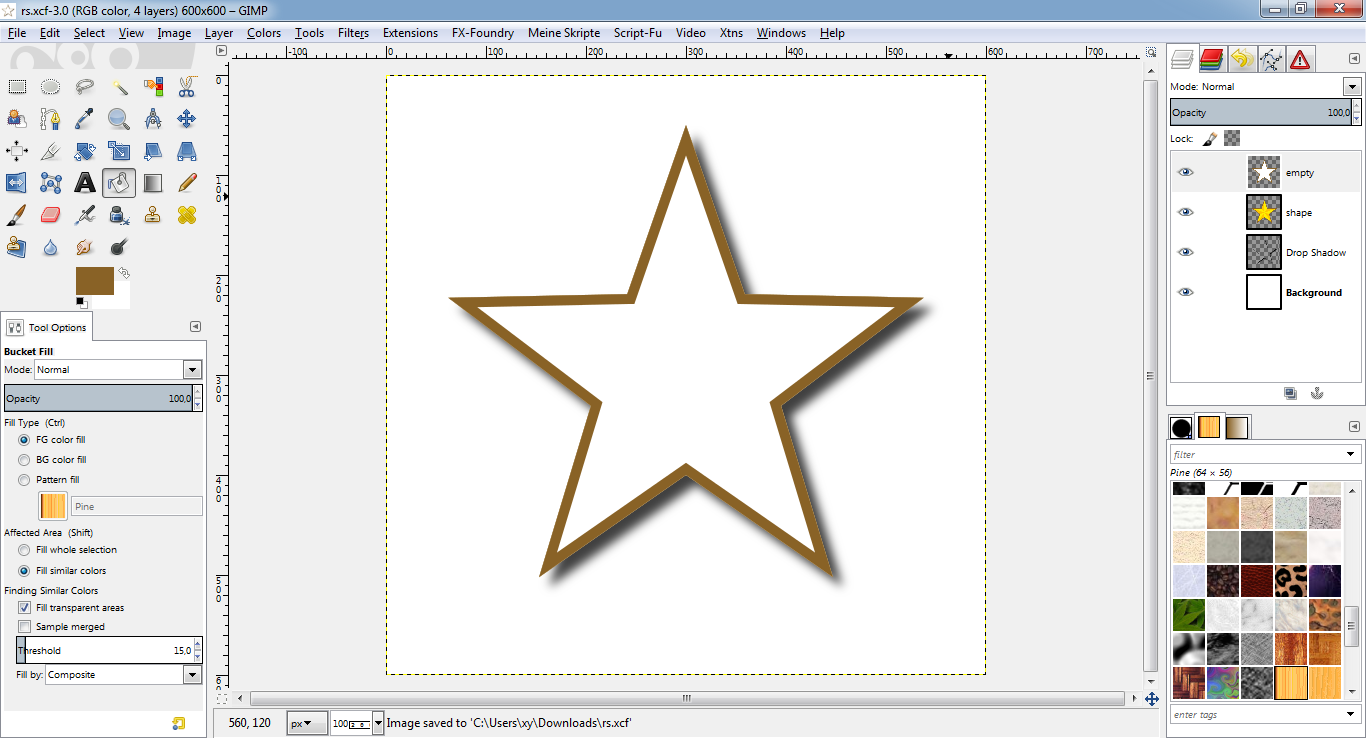
* New layer "empty" on top of all layers.
* Path "star" to selection.
* Fill selection with white (#ffffff).
* Stroke PATH (not selection, since path will be more accurate!) with
#896226.
* Select -> None.
* This is what it should look like:
To create a half star:
* Duplicate "shape" layer -> "half".
* Hide "empty" and "shape" layer.
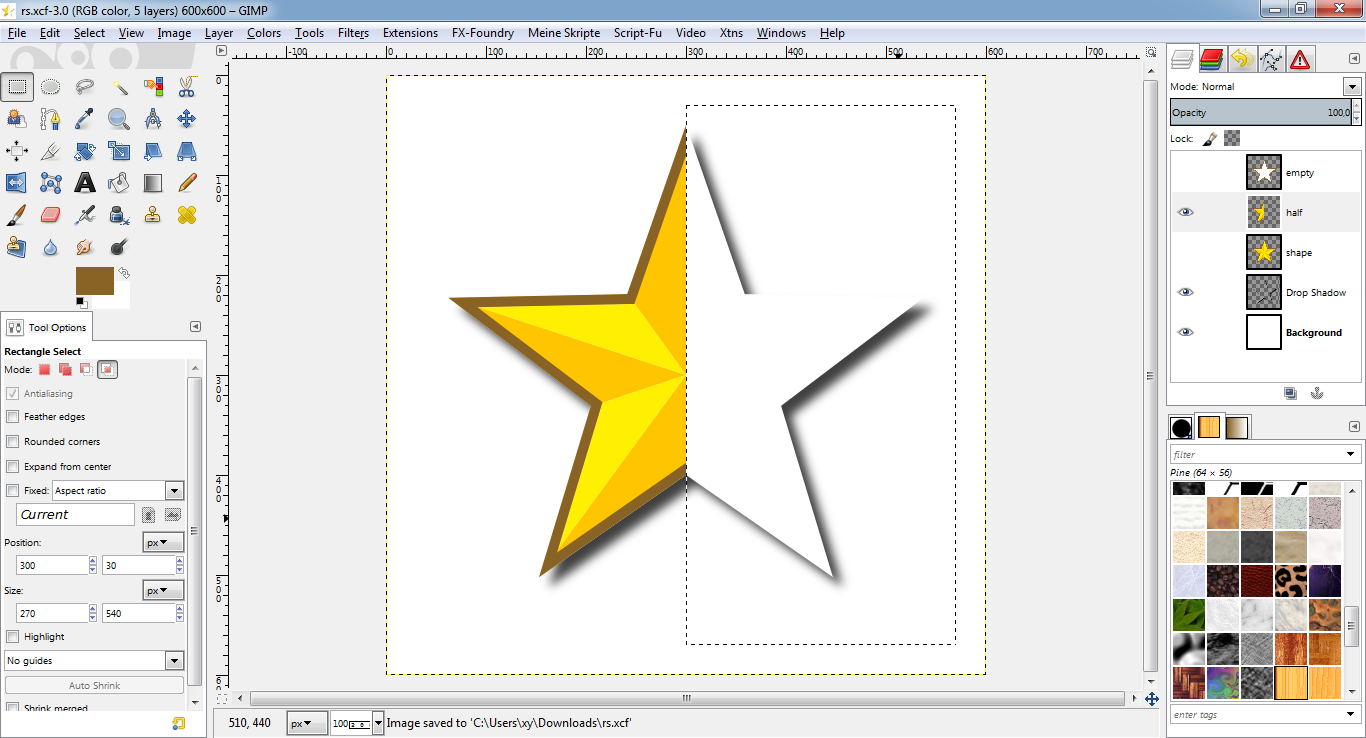
* Make a rectangular selection covering the right half of the star.
* Hit "Del" to clear this selections from the "shape" layer.
* This is what it should look like:
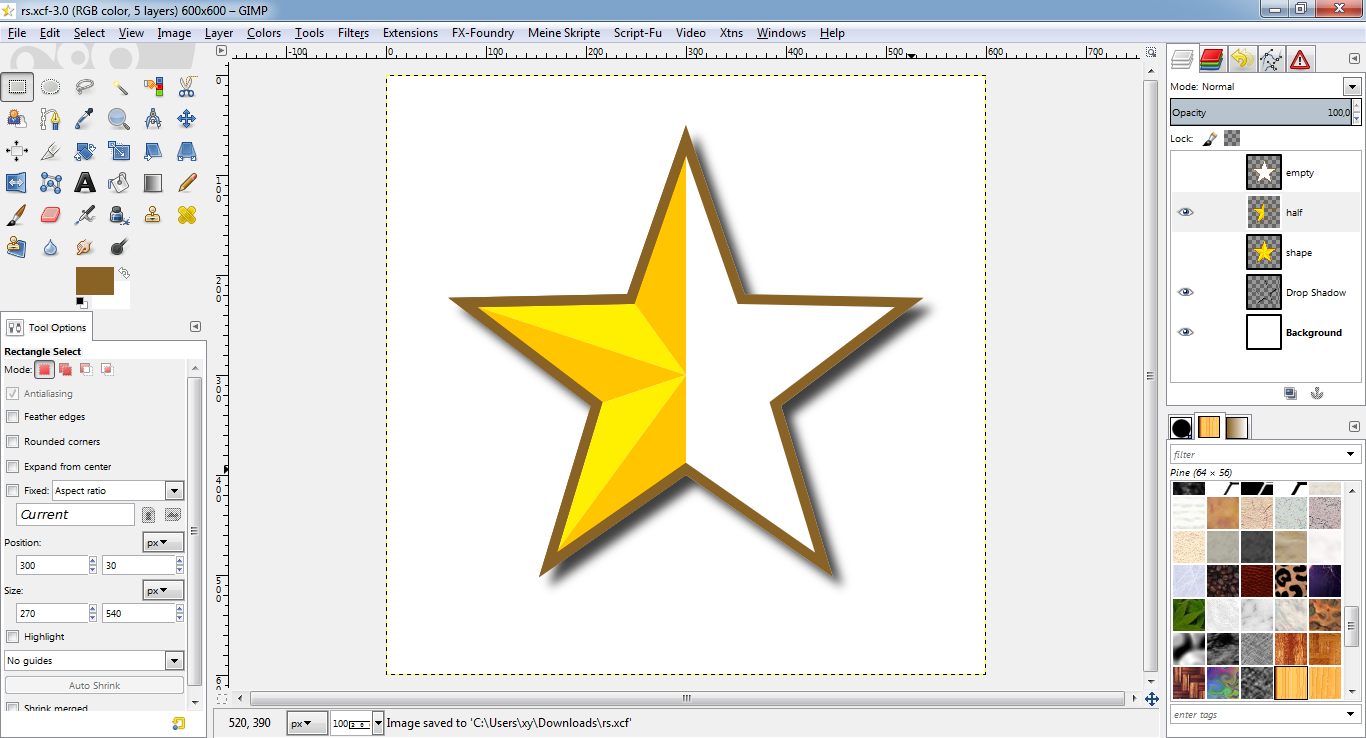
* Path "star" to selection.
* Stroke PATH (not selection, since path will be more accurate!) with
#896226.
* Select -> None.
* This is what it should look like:
By hiding the "unwanted" star layers and just keeping the needed star layer
visible (and the drop shadow, of course), you can now create the three
different star variants and export as icons or whatever.
DONE!
Congratulations, you have successfully completed the tutorial! Now it would
be a wise decision to save your work under a new name for later changes or
whatever.
If you find any errors or something I could improve, feel free to comment!
dietmar


 Video from :


