MUSICAL NOTE
a GIMP tutorial by dietmar
Today, we will play a little bit with paths, shapes and effects to create
a nice musical note.
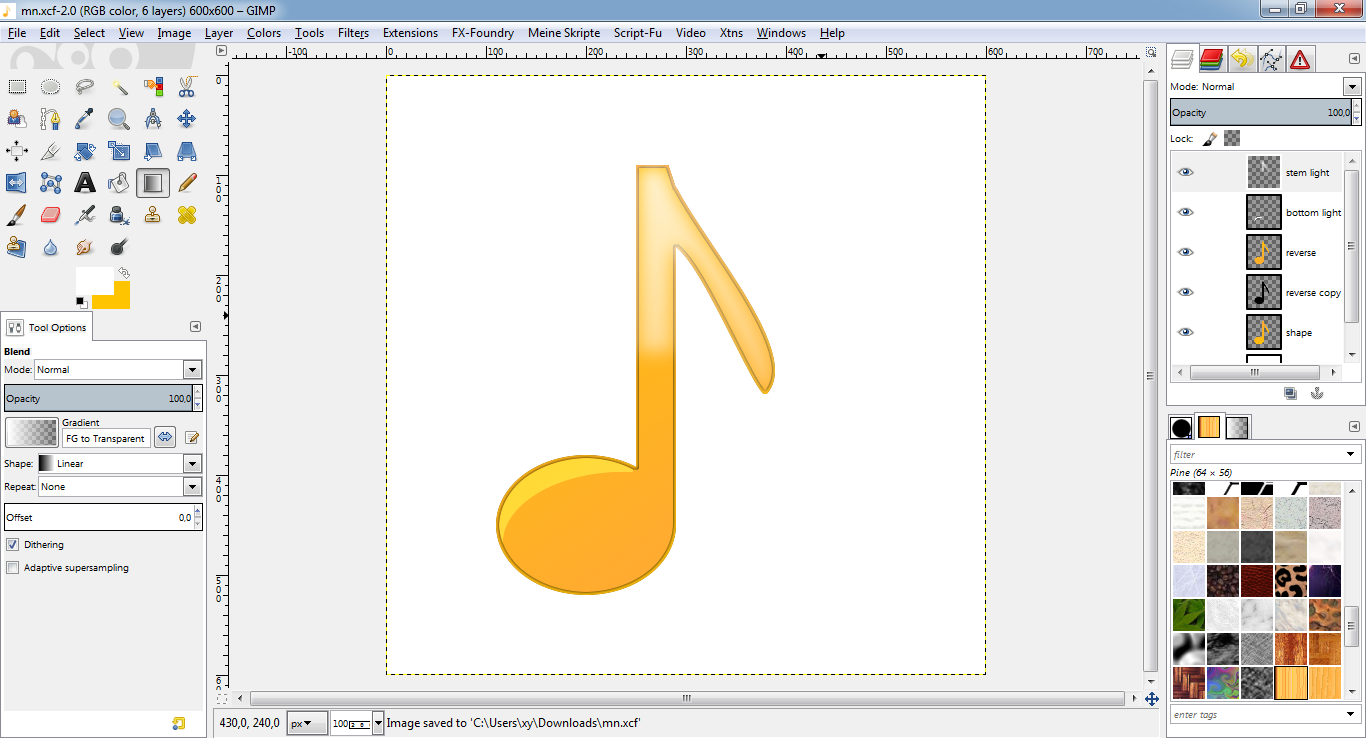
This is the final result:

Please notice:
Blue arrows/lines/etc. are not part of the image and are only intended to
clarify some technical issues!
I also recommend activating "View -> Snap to grid" for better selection
management.
I used GIMP 2.8.14 on Win7 64Bit for this, so I am not sure whether it will
work on older versions of GIMP.
And remember: Save often, perhaps with different filenames for the different
steps, to make reproducing or changing afterwards easier!
Here we go...
* Create a new image, 600x600, with a white background.
* New layer "shape".
* Use the ellipse select tool to create a ellipse. This will be the bottom of
your note.
* Use the rectangular select tool to add a vertical small rectangle to the
selection. This will be the stem of your note. (You may need to increase the
view zoom to nudge the stem exactly to the right of the bottom.)
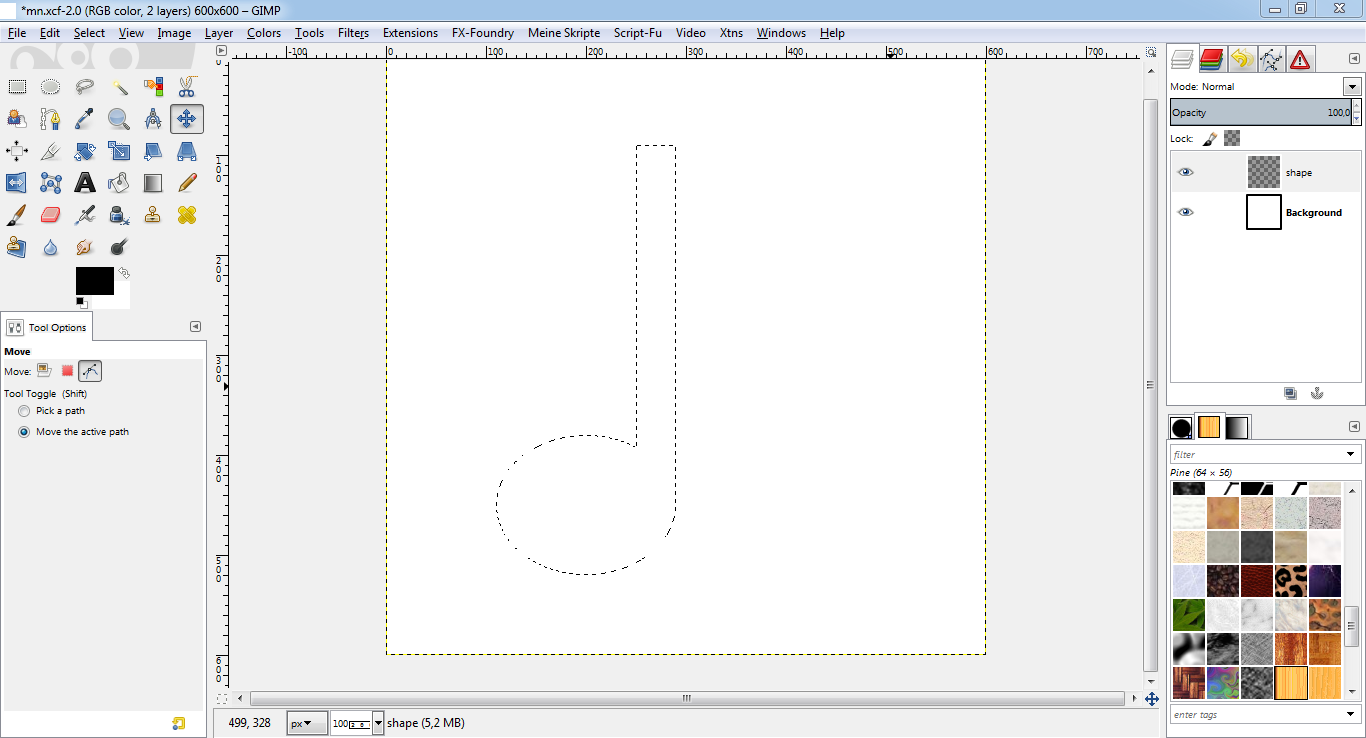
* Selection to path "shape".
* This is what it should look like:
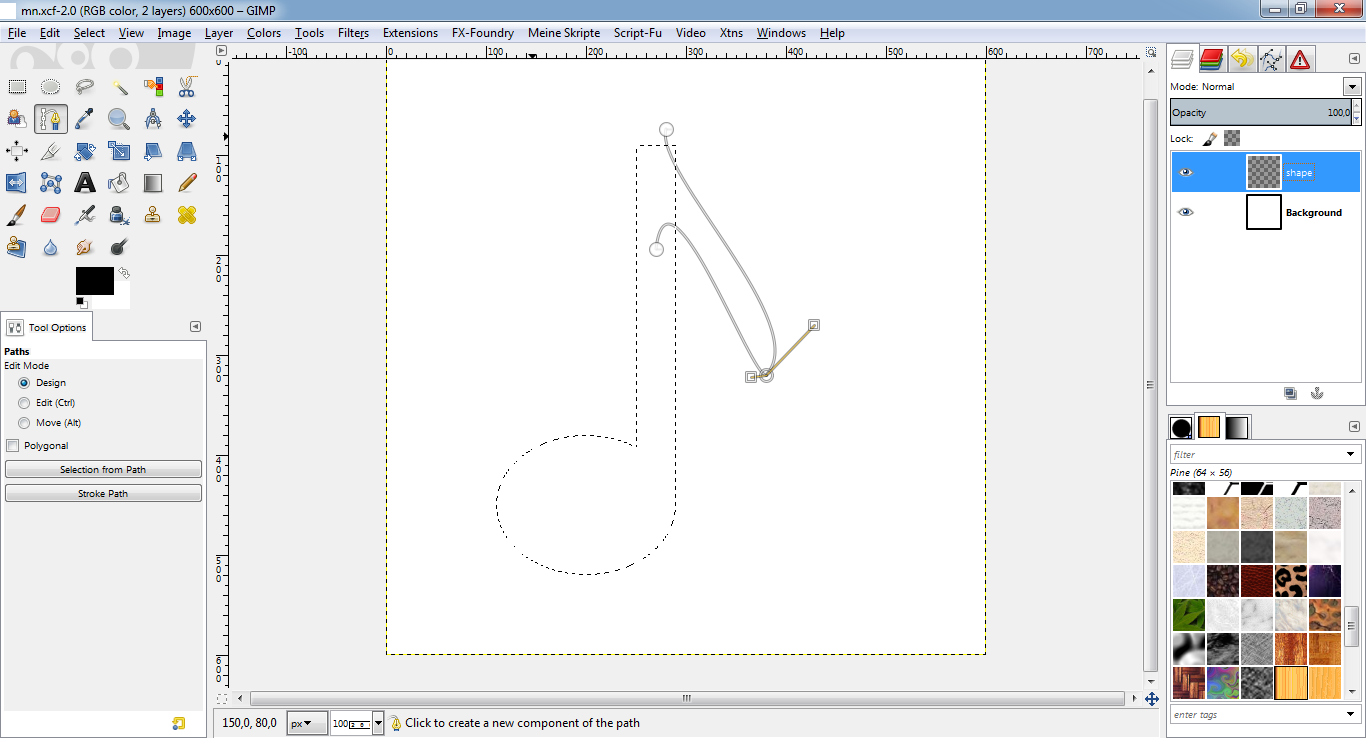
* We want to create a eighth note. Therefore we use the path select tool to
first create a "triangle" path to the stem and then bend it (click in the
path and drag&drop) - see below:
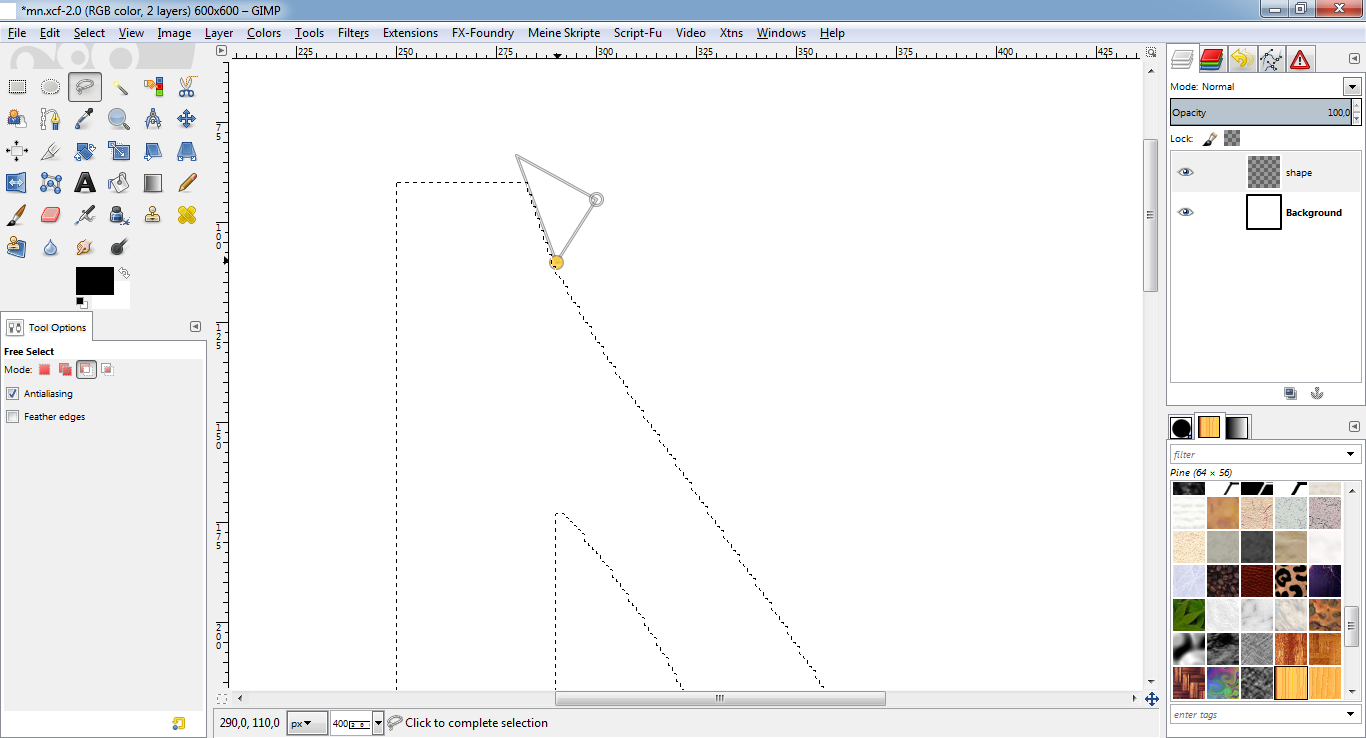
* Selection to path "nose".
* Path -> Add to selection.
* Use the free select tool to delete the upper right part of the stem, so the
shape becomes more smoothy.
* Select -> To path "note" - see below:
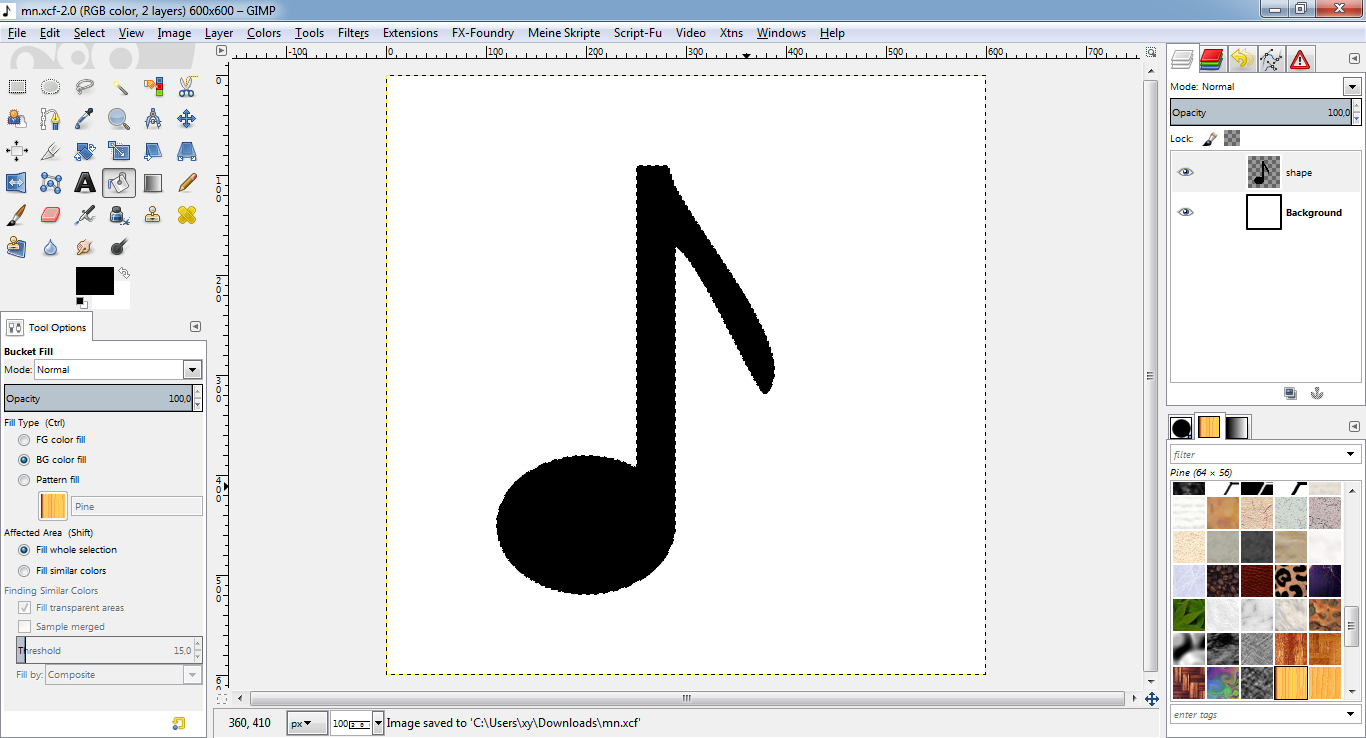
* Fill selection with black (#000000).
* This is what it should look like:
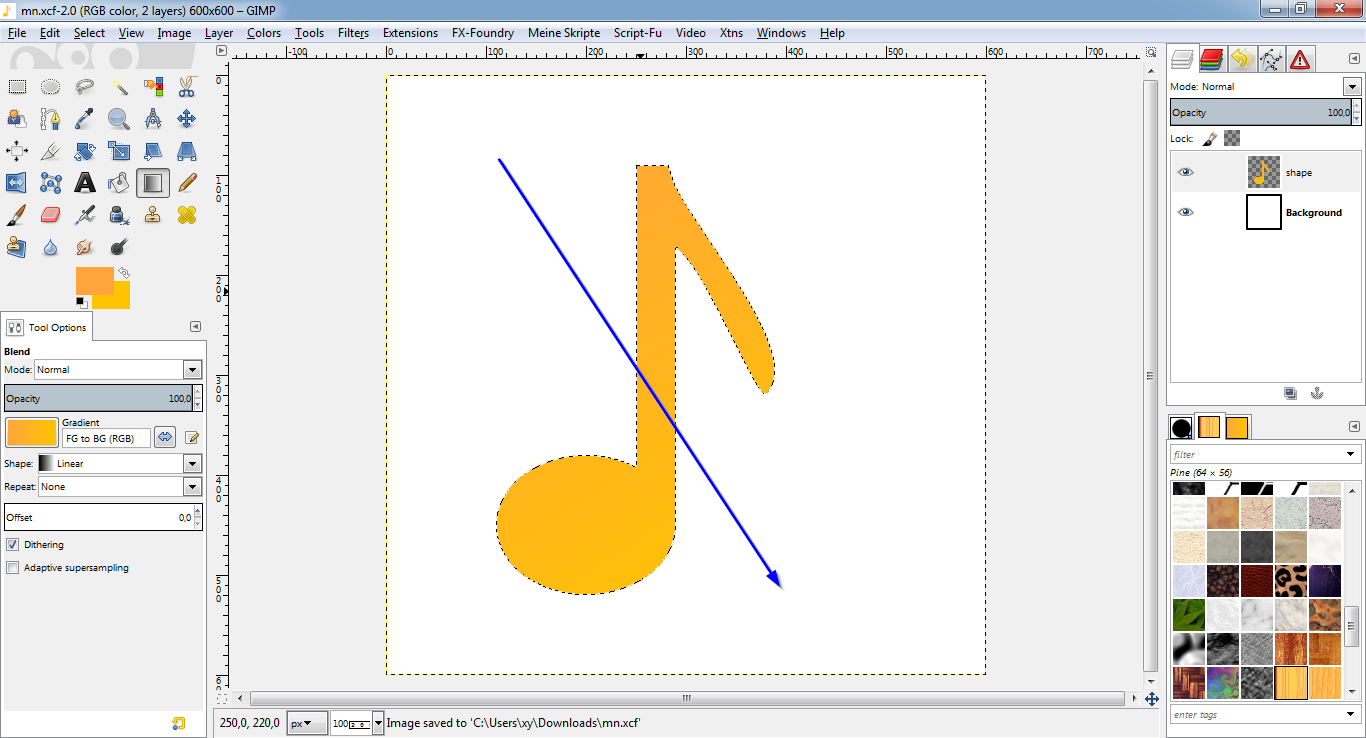
* Drag a diagonal linear gradient from FG #ffa53c to BG #ffc400 - see below:
* New layer "reverse".
* Select -> Shrink, 3px.
* Do the same diagonal linear gradient, but in the opposite direction.
* Select -> None.
* Duplicate the layer and move it below the "reverse" layer.
* Colors -> Colorize, lightness -100.
* Filters -> Blur -> Gaussian Blur, 5x5px.
* This is what it should look like:

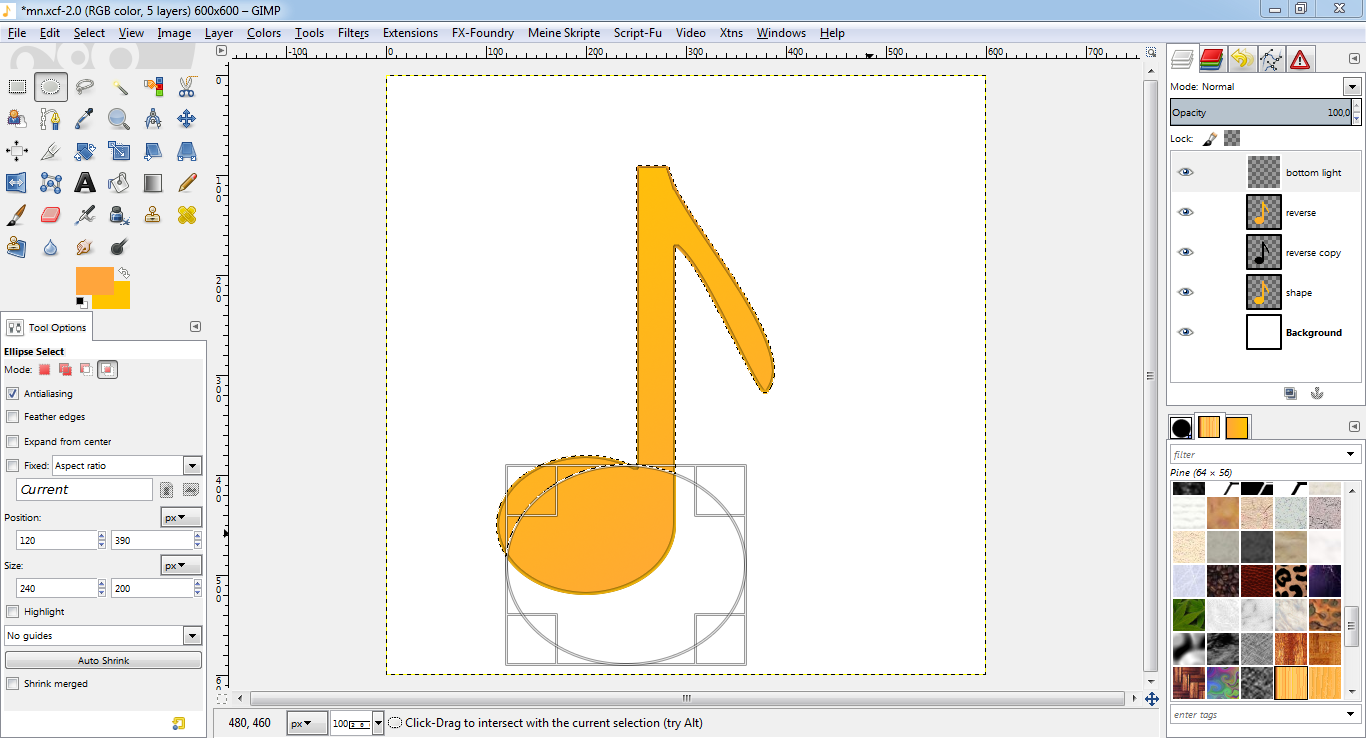
* New layer "bottom light".
* Path "note" to selection.
* Subtract an elliptical selection and the stem from the note, see
below:
* Select -> Shrink, 3px.
* Fill selection with white (#ffffff).
* Set layer mode to "overlay" and lower its opacity to about 75%.
* Select -> None.
* This is what it should look like:

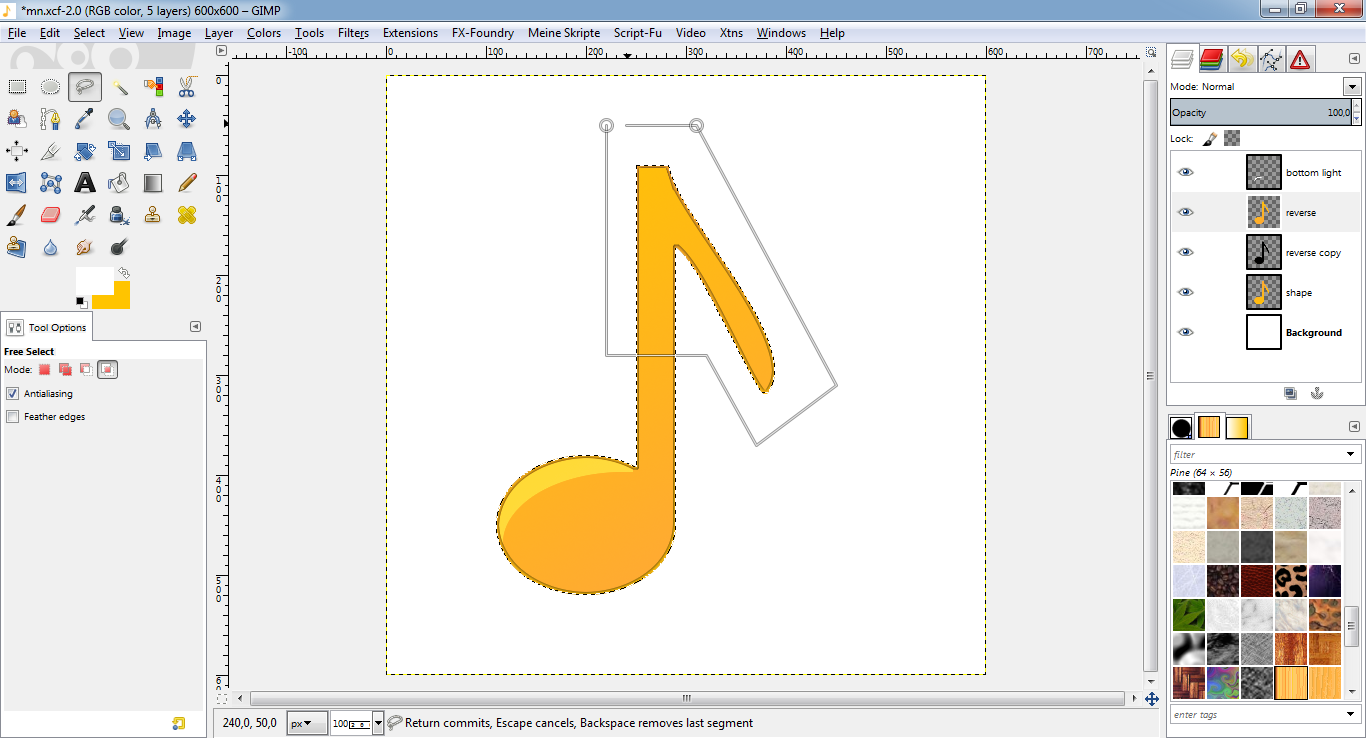
* Select "reverse" layer again.
* Path "note" to selection.
* Using the free select tool in INTERSECT mode, create a selection as
seen below:
* New layer "stem light" on top of all layers.
* Select -> Feather, 30px.
* Select -> Shrink, 3px.
* Drag a diagonal linear gradient from FG white (#ffffff) to transparent
like above.
* Select -> None.
* This is what it should look like:
* Duplicate the "shape layer".
* Colors -> Brightness-Contrast, contrast -50.
* Filters -> Blur -> Gaussian blur, 10x10px.
* You may play with other effects like adding a drop shadow or whatever.
* This is what it should look like:

DONE!
Congratulations, you have successfully completed the tutorial! Now it would
be a wise decision to save your work under a new name for later changes or
whatever.
If you find any errors or something I could improve, feel free to comment!
dietmar