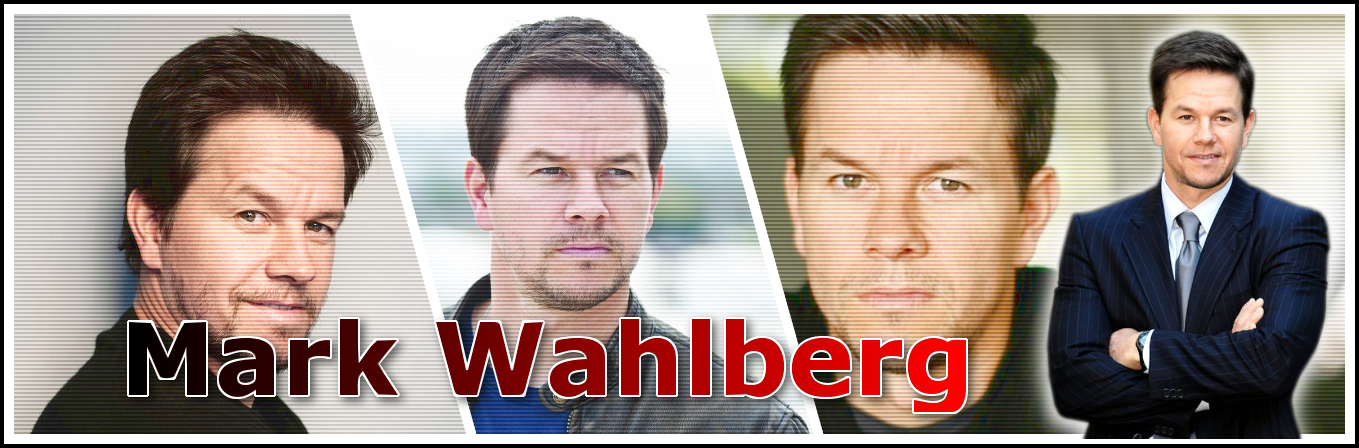
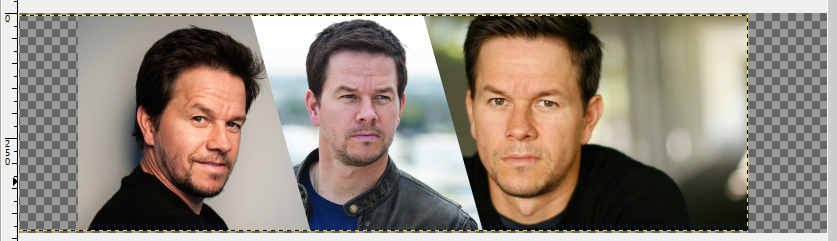
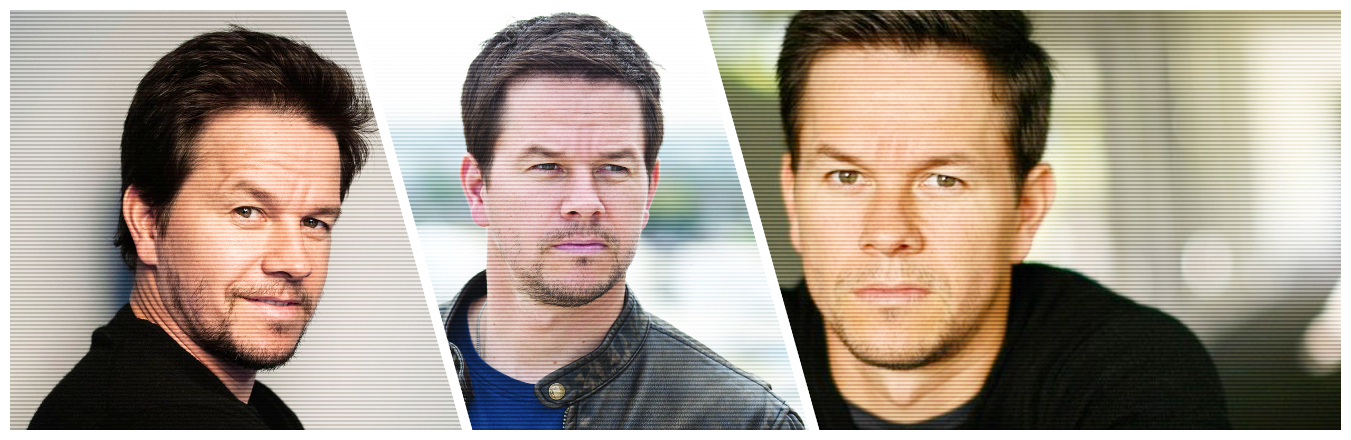
Comic Strip CollageI just copy images from the web.
Bring it into GIMP as different images.
Scale them all to have the same height (for example 430, because the smallest image i have was 430, plus 430 seemed nice with scan lines when they're scaled up 200% like the tutorial showed for scan line).
0. Then File->New and give it a big width (having a larger width is okay since we're gonna crop it later anyways) and the same height as above (430)
This is where I will paste in my images and move around and cut and stuff.
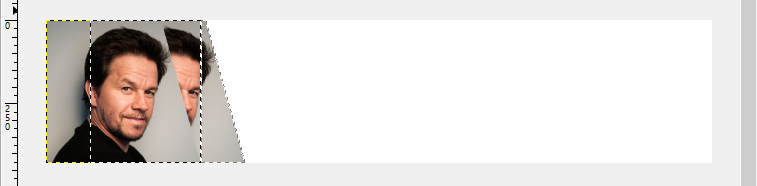
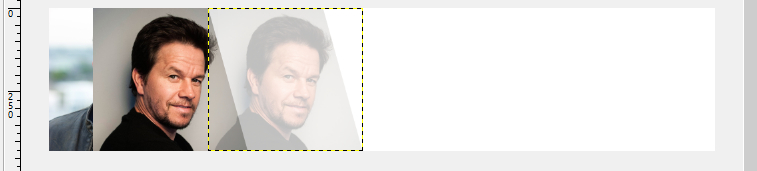
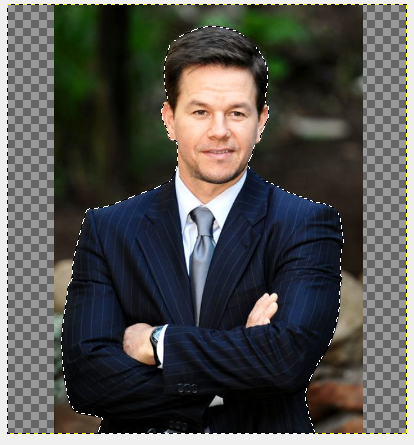
1. Then I copy the first image I want and paste it in my New working area as Layer
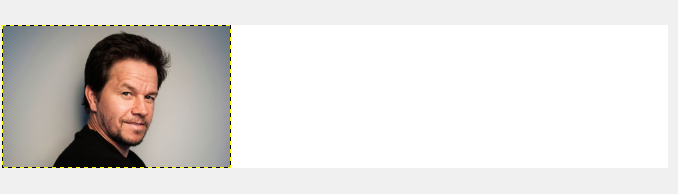
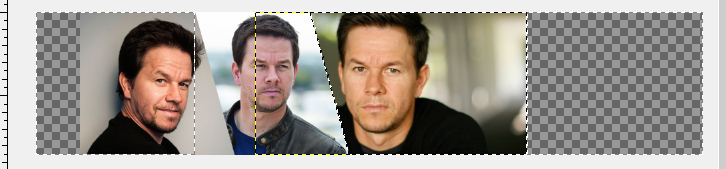
2. Use the Free Select tool to select what I want (holding Ctrl key while moving the mouse will make it snap to jumps of angles so that you have nice 90 degrees and so on )
When i was selecting, I went outside of the upper border and lower border, that's okay because when you're done your selection, it automatically only select what's on your canvas.
as long as you have you're happy with your vertical line and your angled line of the selection, the it should be good.
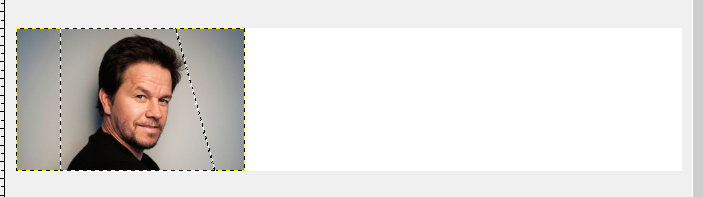
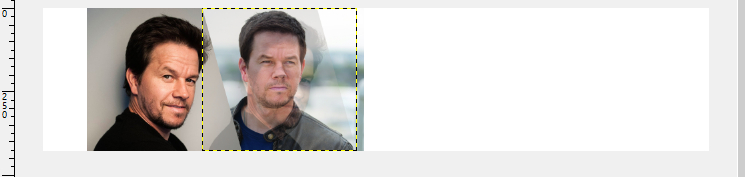
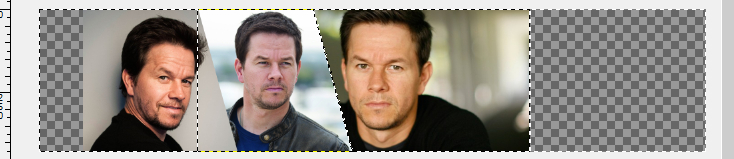
3. Ctrl-i then Ctrl-x to cut away and left with the part I wanted
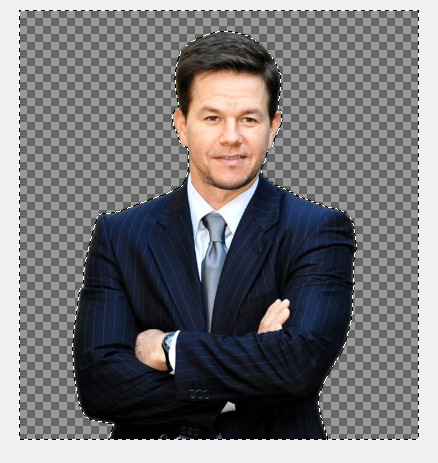
4. Now Ctrl-i to select the wanted part of the image, Ctrl-c to copy it, then Paste as New Layer.
This layer is used for reference only to help us move images around and used as selection reference to cut out similar angled cuts.
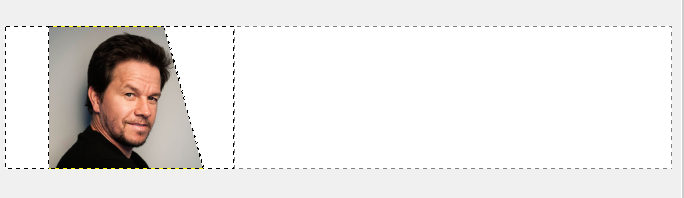
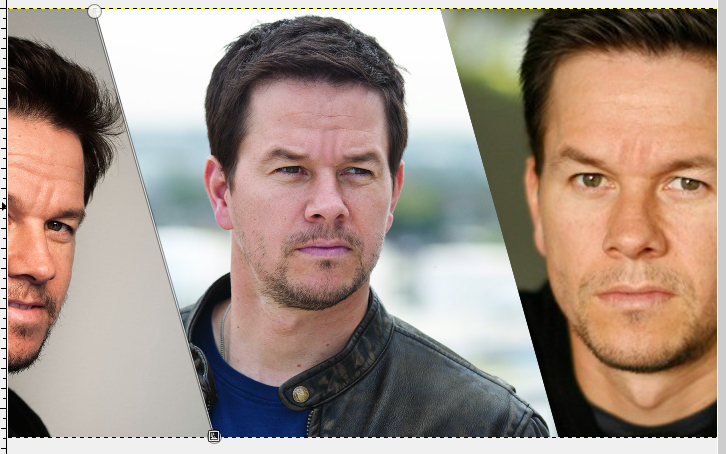
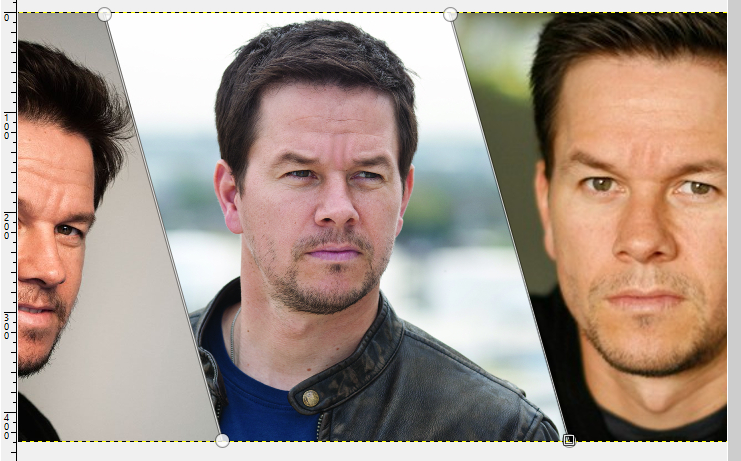
5. Now move this newly pasted layer just so that its top left meets the top right of the layer below (or if you want it wider you can move it over the right more it's up to you, the important thing is we'll use the angle right side as reference)
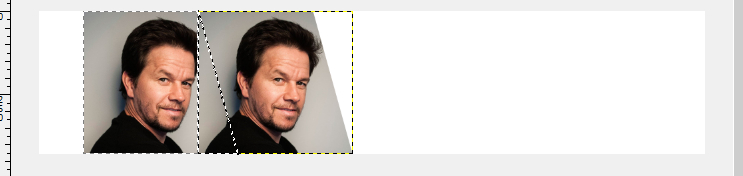
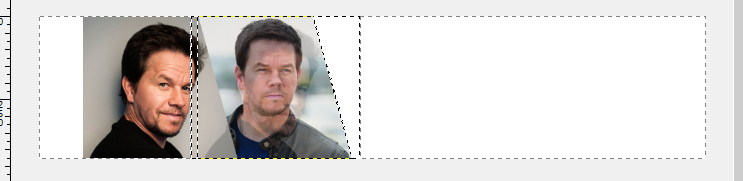
6. Copy the 2nd image you want to bring in and Paste it as new Layer
7. Move the this new layer below the other 2 layers so that it's just above the background
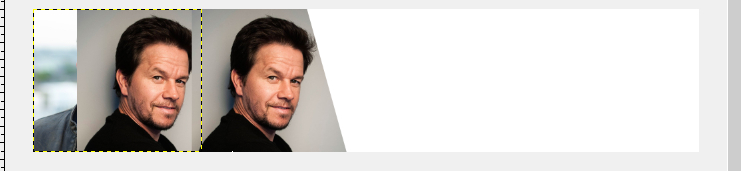
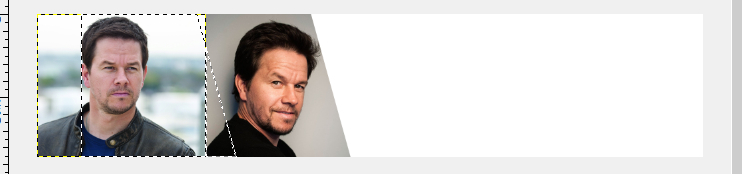
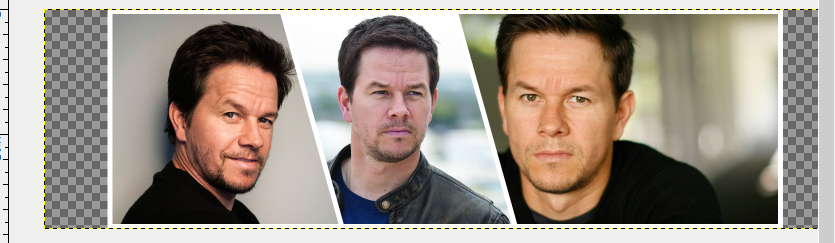
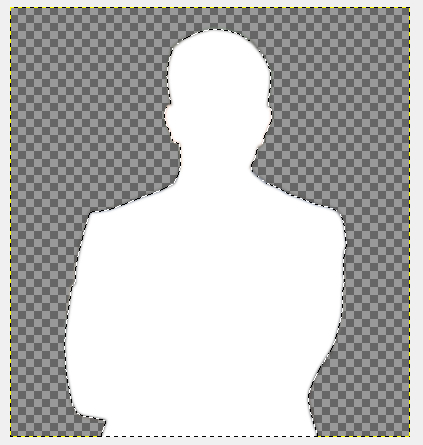
8. Select the layer that contains the copy (reference layer that was created in step 4) of first image, turn its opacity down to 25 so that we can see what's happening behind it for next step
9. Move the layer that contains the 2nd image (from step 6) to fit inside the 25% Opacity area.
10-a. Select the layer with Opacity 25%, right click on the layer and select "Alpha to Selection",
Then click on the layer with 2nd image that we just moved,
Ctrl-i, Ctrl-x to cut way at the layer that containts the 2nd image
Depending on how you did step 5, if you made the reference layer move more to the right you might have to subtract the left side of the selection before you Ctrl-x...but basically you're using the reference layer as a helper to help you cut away at the 2nd image with the same angled side as the 1st image
10-b. This step is optional if you have more images, then repeat step 5 to step 10-above
11. I only have another image i want to bring in so i copy it and pasted as New Layer
and moved the layer to be behind all other layers except background.
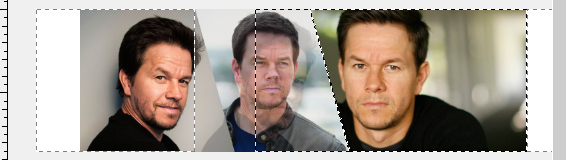
12. Toggle the visibility of the Reference layer (Opacity 25%) and the Background White layer
So that all wanted images are visible
13. Right click any of the visible layers and select "Merge Visible Layers"
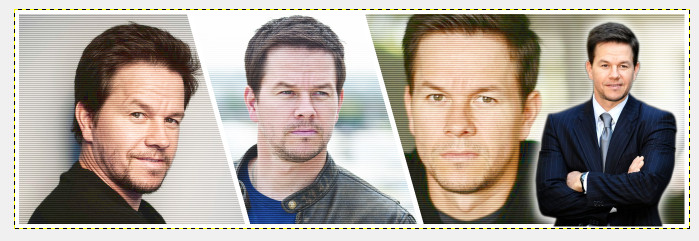
Now I am left with one image that has all wanted images
--------------------------------------------------------------------------
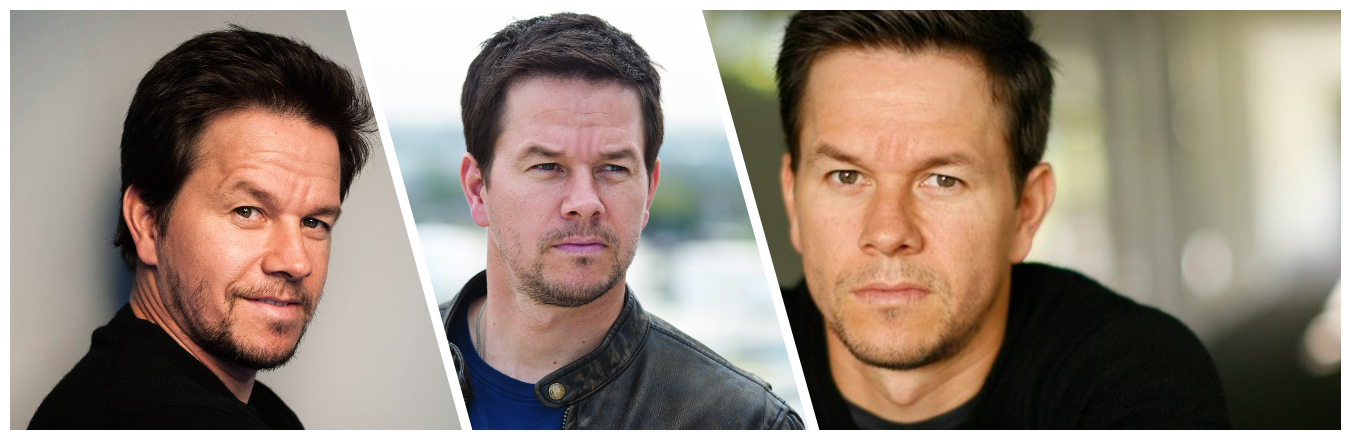
Now how to create white lines.A. click on the layer that contains all the images we have merged, right click and choose "Alpha to selection"
Then menu item Select->To Path. This will create a path that borders our image
B. Now click on the Path Tool, Make 2 clicks like shown below
C. To start a second Path for the 2nd angled line, Shift-click (Shift-click will start a new path) the first point and click the 2nd point.
D. Menu item Image->Canvas Size change then change the Height to 430+10 (for example we're using 10 as our line width for stroke path later)
And change the Offset Y to 10/2 (so that the image will move to the middle of this new canvas size) then click Resize.
E. Make sure White is selected as foreground color,
Create New transparent Layer to draw white lines on
then select the Path that borders our image (from step A) right click, and select "Stroke Path" (stroke with width of 10 px)
then select the Path(s) that were created in steps B and C, right click, and select "Stroke Path" (stroke with width of 10 px)
Now you edit it however you like (Image->Autocrop Image,Merge Visible Layers) and apply other effects as you like (see below for more optional steps).
---------------------------------------------------
Additional optional steps to get to finish productF. Create a white filled layer on top of all other layers. Filter ->Distort->Erase Every Other Row
Scale this layer to 200 percent.
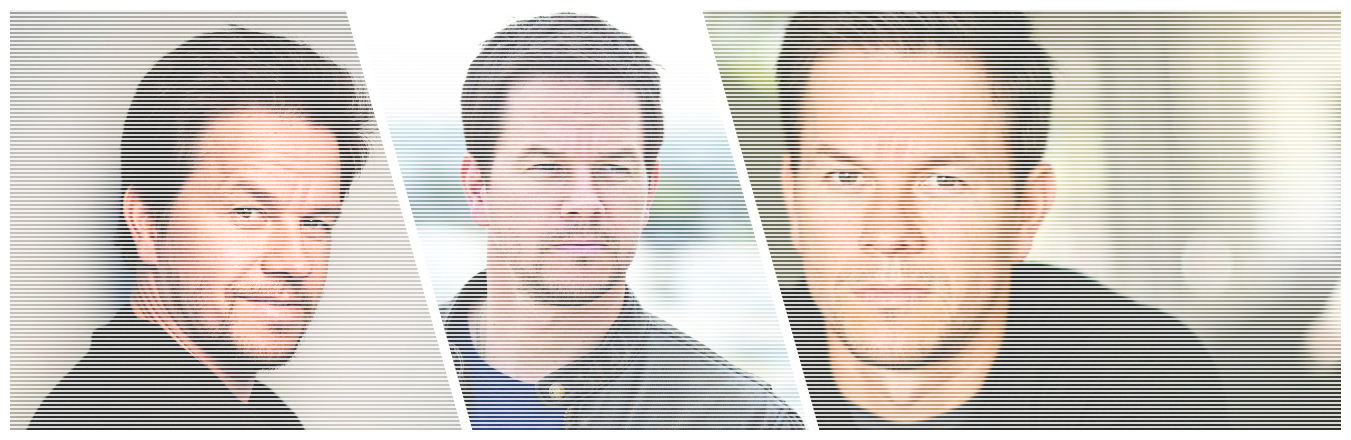
G. Set the layer mode to Overlay and Layer to Image Size it.
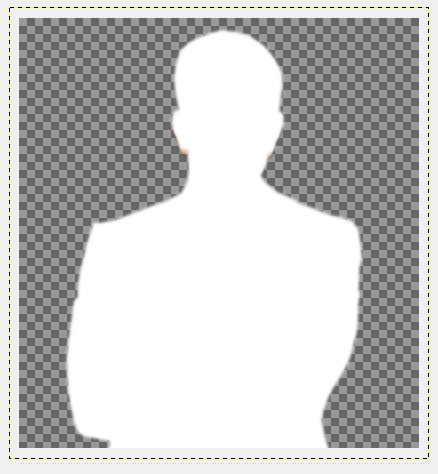
H. Open another image (scale it to the same height as the master piece we've partially created above ie.430 px )
Free Select around the object/person you'd like to put in foreground for our master piece.
Feather the selection by 5 px
I. Ctrl-i,Ctrl-x
J. While the selection is still active, create a new layer on top, Ctrl-i to invert selection again and use the Bucket tool to Fill
The selected area on this new layer with White (white silhouette)
K. Select None, Scale the white silhouette layer to 105 percent
L. Filter->Blur->Guassian Blur with 30px blur radius
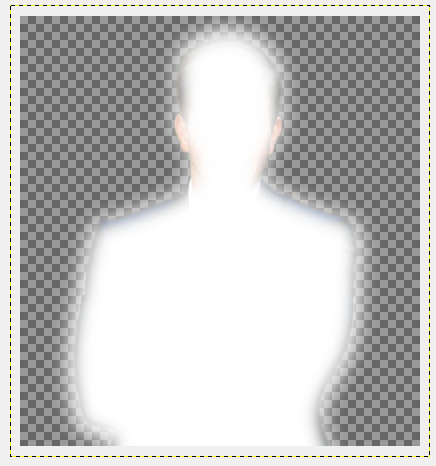
M. Layer to Image size the blurred layer, move the layer behind the other layer. Merge Visible layers
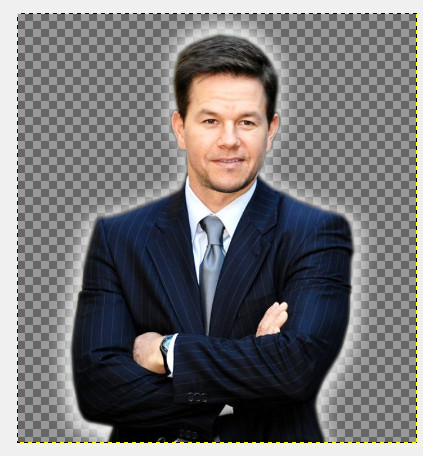
N. Ctrl-a to select All, Ctrl-c to copy this image with white glow and Paste it to the master piece as new Layer and move it to desired position.
O. Select the layer with many composed images, and brighten it, and desaturate it a little (This is step is totally up to your liking and is optional)
--------------------------------------------------
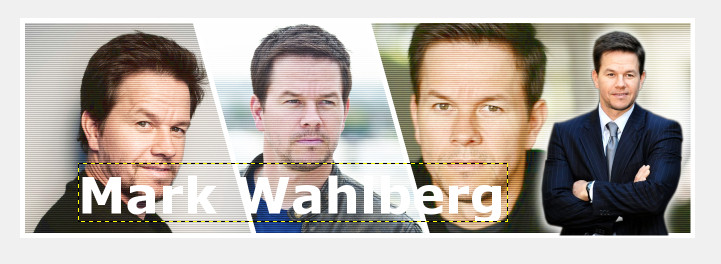
Additional steps to add some textP. Add any text you'd like (here I used the default font and bold and size 100)
Q. right click on the text layer and Alpha To Selection, then Select->To Path to save the text as a Path to be used later
R. Select two colors of your choice for background and foreground, and use the Blend Tool and drag across the Text to create gradient Text
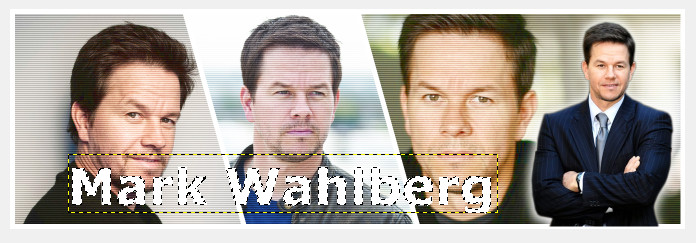
S. right click the text layer and Layer to Image Size it. Select->Grow by 2px.
Then find the path of the text that we've created from step Q, right click it and choose "Subtract From Selection"
Then change the background and foreground color to the same color (here I use white to create white border around the text)
Use the Blend Tool to drag across the text (Because it's blending from one color to another color which is the same it'll just be a solid color for our border, If you wanted to you could select 2 different colors)
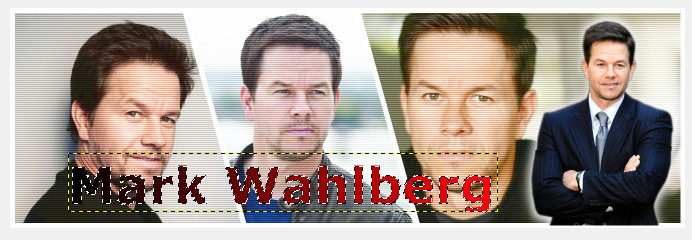
T. Select->None then Filter->Light and Shadow->Drop Shadow (defaults should be fine) and OK.
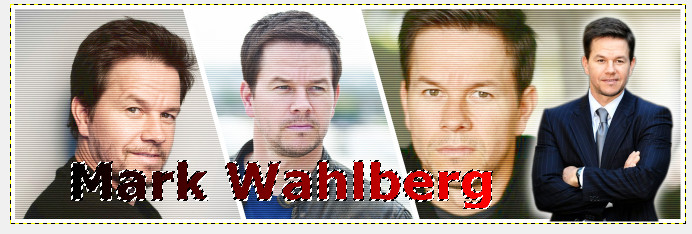
U. Merge Visible Layers, Layer To Image Size. Here's the finished product

-----------------------------------------------
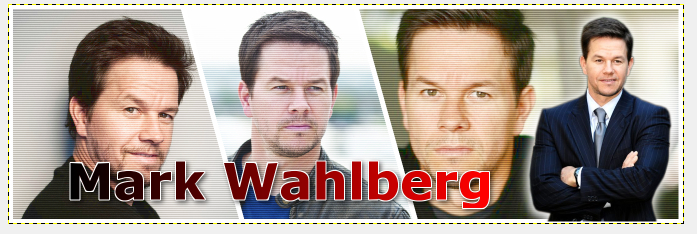
Optional black borderV. Image->Canvas Size then add 8 to Width and Height (because I want a 4px border) and set Offset X and Offset Y to 4 then click Resize.

W. Create a pure Black layer and move it behind our master piece layer. Merge Visible Layers. and we're done.