
i'm so glad i managed to write a tutorial on this that actually worked

! nice job, lyle - i can actually see paisleys in there in spite of all those deviations
.
thanks issabella for the pdf - that's very helpful of you
.
here's my promised second posts, with some explanations of the previous tutorial and another tutorial of a fail-proof way of g'micking and gimping up some paisleys!
i know most of you either knew this already, or have figured it out anyway, so you can stop reading. but there are always those who are lazy or impatient like myself and don't want to figure things out for ourselves, but just want to get some nice paisleys already! well, i thought i'd try to be helpful to you, whoever you may be
.
like i said in the tutorial, what actually makes the paisleys is the "whirl and pinch" step. in order to get paisleys using the whirl and pinch, you need an image with at least one circle, or roughly circle-shaped thingy. in the old kpt tutorial that i tried to recreate above, the idea was to get two of those "thingies", one big and one small, and they would both turn into paisleys after being whirled and pinched, but there's no need to do things exactly like that tut.
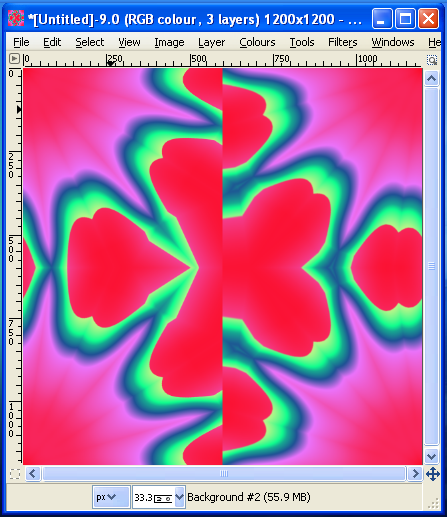
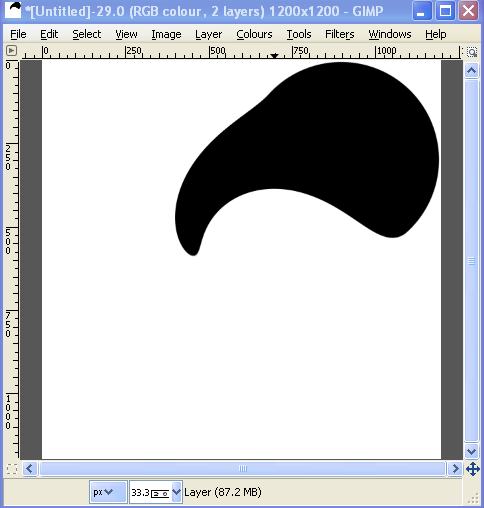
here, for example, i started with one black circle on a white layer. the diameter of the circle is half of the layer size. i offset the layer by x 300, y -300, and used the same settings on the whirl and pinch filter as in the tutorial above. that gave me a nice black paisley.
now, if i think that shape looks rubbish and not at all like the paisley i was after, there are two ways to change it.
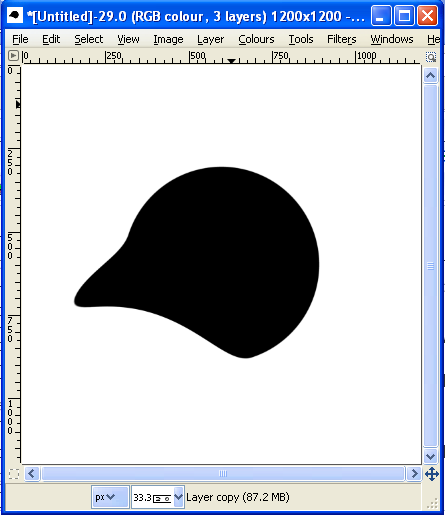
first, i can change the way i offset the layer before i whirl and pinch. in the tutorial above i used an offset by x 400, y 800. if i do that on my black circle i get this result after setting it back in centered position again:
doesn't look much like a paisley to me! the thing is, you have to know how the whirl and pinch filter works. it makes a spiral of your image, starting from the center. so, to get the black dot looking more like a paisley you have to offset the layer so the black dot gets close enough to the center to be whirled, but not so close it touches the center. also, if you offset the layer so pieces of the black dot shows up on different edges of the image, that will affect the "head" end of the paisley and make it look less round.
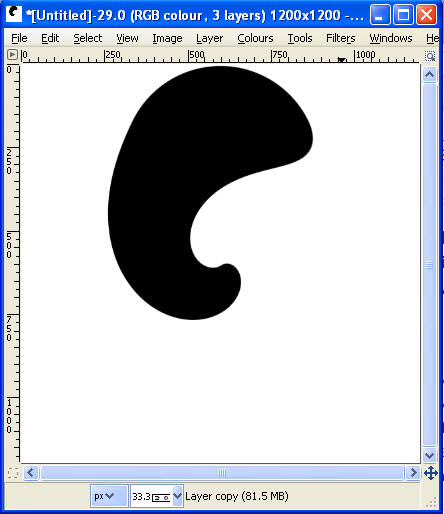
for my black dot, i chose to offset it by x 0, y -300, and i got this result:
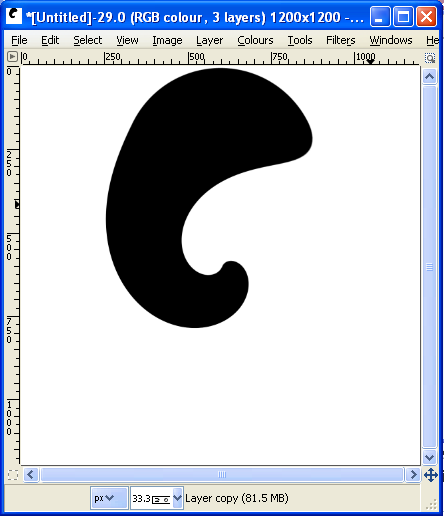
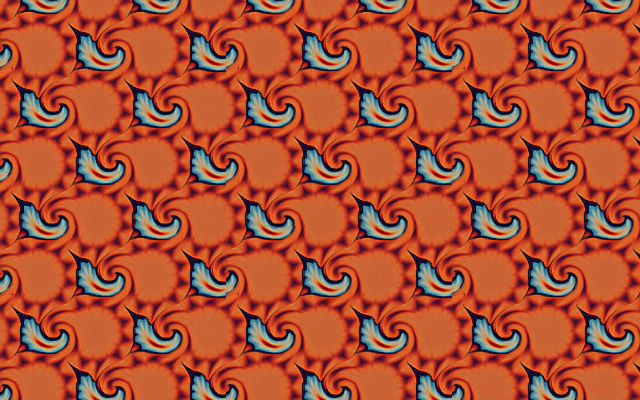
so, offsetting the layer is one way of getting a different paisley look. the other is of course to play with the settings on the "whirl and pinch" filter. i explained above, in the tutorial, that the pinch and radius amounts may distort the edges, so if i want a seamless black-on-white paisley pattern i will just stick to playing around with the whirl amount settings. for example, here's what i get with the same offset settings as last time, but a whirl amount of 250:
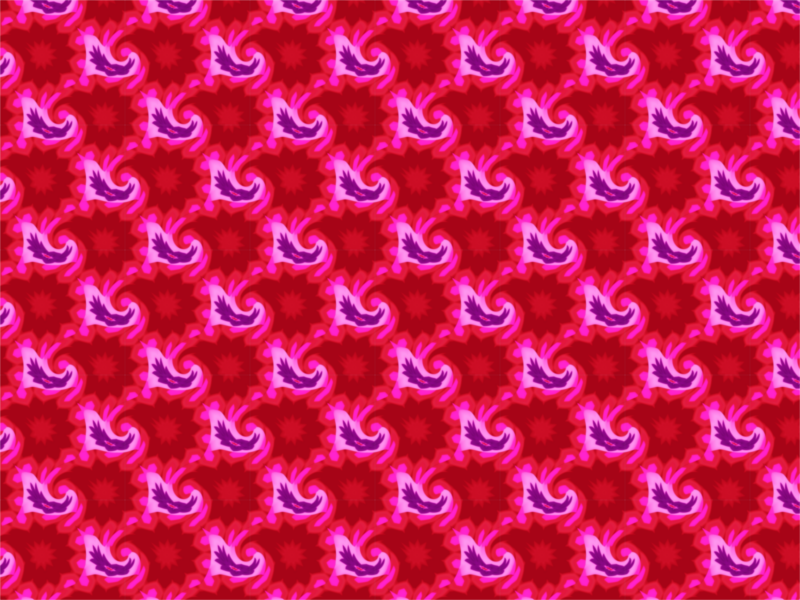
i hope this carries my point: you can't just trust to the settings the tutorial above gives, you have to see what offset and "whirl and pinch" settings work best on
yourimage.
now, i promised to tell you what to do if you didn't get anything that looked good. here's what i would do:
1. (assuming you start on a 1200X1200 px, 300 ppi canvas:) go to either "g'mic - arrays & tiles - concentric circles", "g'mic - arrays & tiles - annular steiner chains (for this, you'll need at least a colour fill on your active layer to make it work)" or "g'mic - patterns - twisted rays" and generate a circle pattern. set the output to 'new layer'.
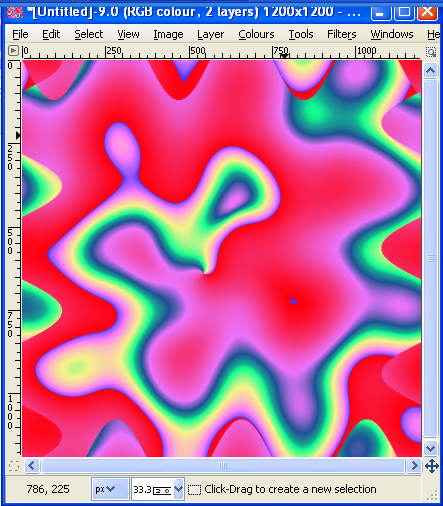
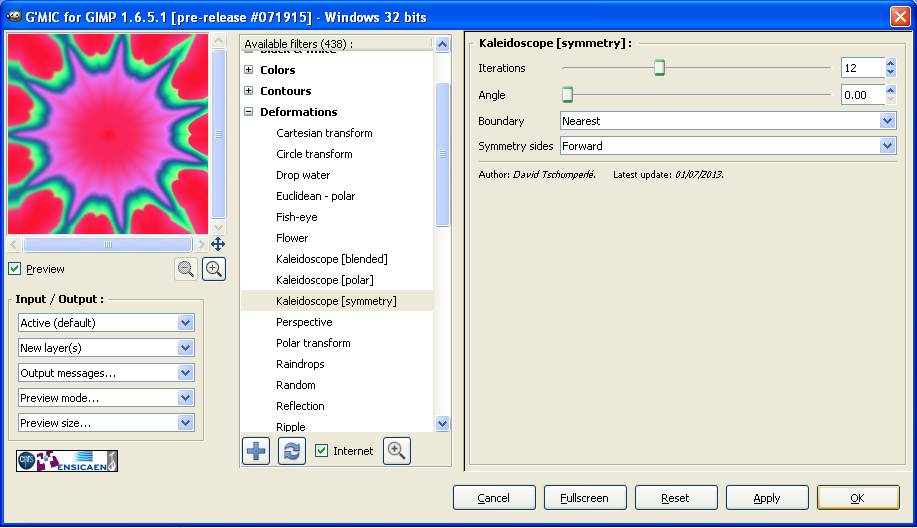
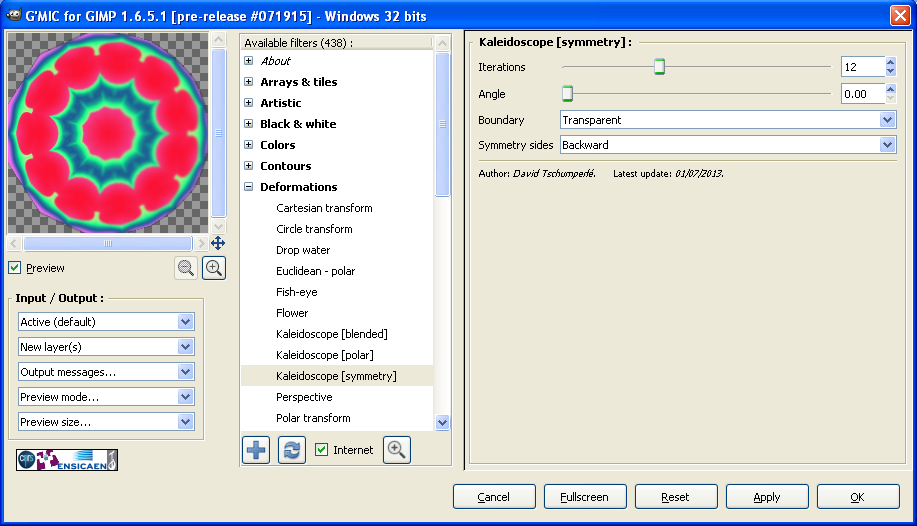
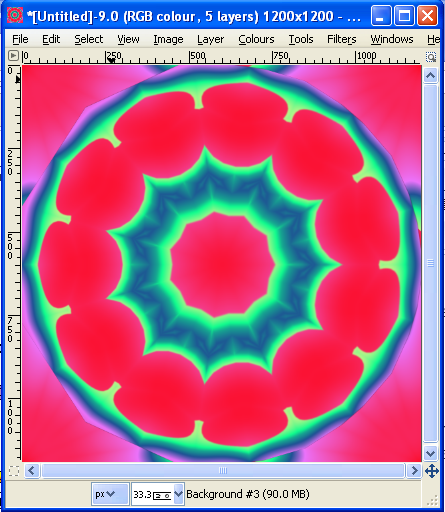
(if you want additional variations on the pattern, go to "g'mic - deformations - kaleidoscope (symmetry)" and use any setting you like for the iterations, but set boundaries to 'transparent' and output to 'new layer'. merge new layer down.)
2. duplicate the layer and scale one layer to 450X450px, the other to 550X550px.
3. make a horizontal guide at 250 px and a vertical one at 900px. then move the small circle so the centre of it snaps to where the guides cross.
4. move the big circle to 25 px from the lower edge of the image, and 25 px from the left edge of the image.
5. merge the layers and make the layer image size.
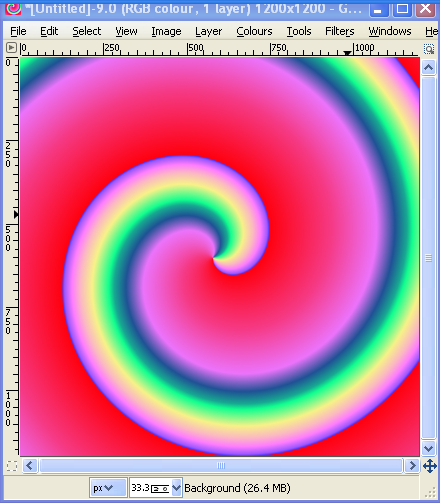
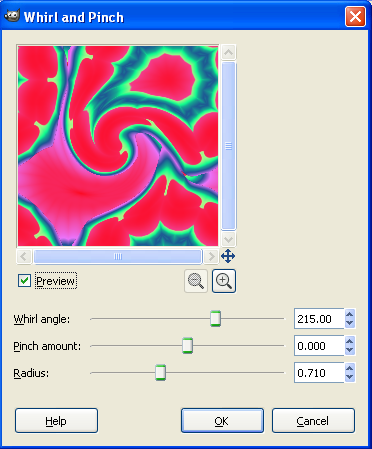
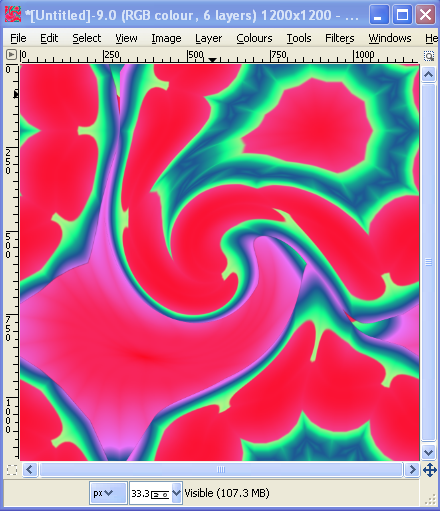
6. now, run the "whirl and pinch" filter with these settings: whirl angle 250, pinch 0, radius 0,710.
7. that's the paisleys taken care of. now make a gradient on sawtooth repeat a couple of times on a new layer and move it down below the paisleys.
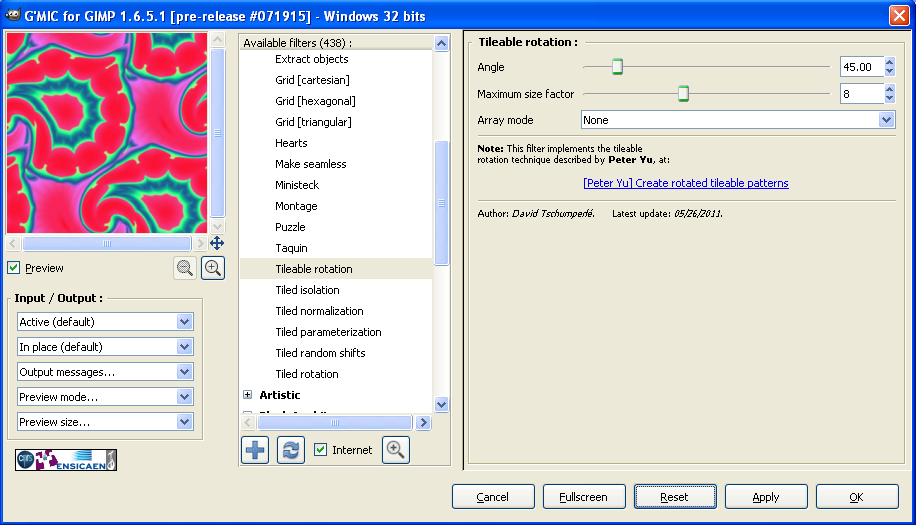
8. go to "g'mic - deformations - cartesian transform" and run it on your gradient layer, then rotate the layer 90 degrees clockwise and run the g'mic filter again.
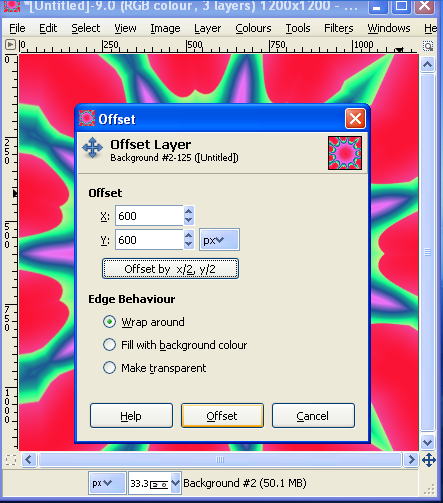
9. offset the gradient layer by x/2, y/2.
10. run "whirl and pinch", same settings as you used before on your gradient layer.
11. offset the gradient layer by x 300, y 300.
12. now, merge the layers if you are happy with the result, or make additional tweaks to them, for example by putting a colour layer over the background if it's too distracting.
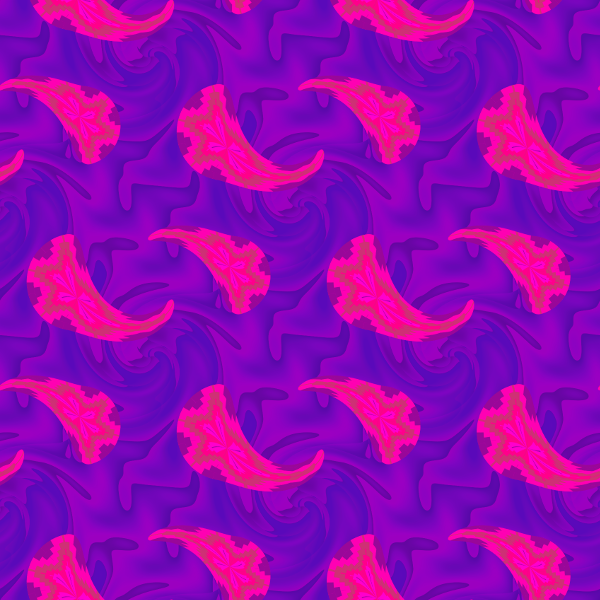
this process, followed exactly, always gives you a seamless paisley pattern and it could be scripted too if your inclinations lie that way.
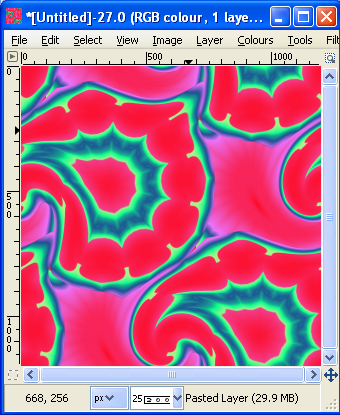
here's my pattern the way it looks tiled:


 is it just the shirt he's taking a risk with, you mean?! ties are a nuisance, and i guess bow ties would be even harder. how about a bolo with a pewter paisley clasp? that certainly would complete the outrageous, risk taking look