How to Make a Grayscale Brush
Grayscale brushes use the Foreground color. You can also use Color with a gradient with grayscale brushes as you can with colored brushes.
A grayscale brush can be black or gray. A black grayscale brush makes the brush opaque. A gray brush makes the brush less opaque and allows the background to show through. The lighter the gray the more the background shows through.
I will demonstrate a single grayscale brush. Keep in mind that you do not have to make your brush with the same font I used, nor do you have to make it the same size. I made the tutorial giving the font and measurements I used just as guidelines.
- Open a new image that is 200x200px (you can make it any size you want) and fill the background with white.
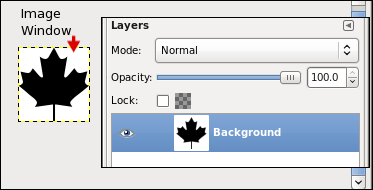
- Make a new transparent layer. I will demonstrate with a simple dingbat leaf shape. It's from the WM Shapes 1 font that can be found here: http://www.dafont.com/wmshapes1.font
- Make sure your Foreground color is black.
- Select the text tool
 . Browse to the wmshapes1 font, click the image window and type a lowercase y to get the same leaf shape. I sized mine 75. Move it to the center of the image. No need to be exact.

- Save the image as leaf and allow the xcf extension. Put it where you can find it so that you can use it to make an animated brush later.
- Press Ctrl + D to duplicate the image and close leaf.xcf. Now you have another untitled image and that's what you want.
- Click the y layer (leaf layer) and Image > Autocrop Image.
- Right-click the leaf layer and choose Flatten. That will merge the leaf layer to the white background layer and remove the alpha channel. The name of the layer will be bold type.
- The last step before saving your brush is to make it grayscale. Image > Mode > Grayscale.
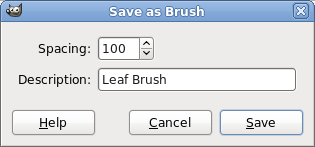
- Save your brush. File > Save As > make the filename leafbrush.gbr, browse to the /.gimp-2.6/brushes folder and click Save. The Save as Brush dialog will come up. Use the Spacing and Description I put in mine.
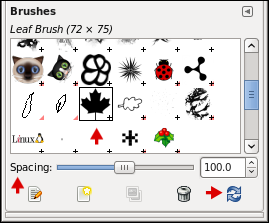
- Now that you have saved your brush, you need to refresh your brushes. Windows > Dockable Dialogs > Brushes. Click the Refresh button
 at the bottom of the dialog. Note that the Spacing is at the bottom of the dialog window too. You can go there to change the spacing of your brush.
Now you are ready to paint with your brush.
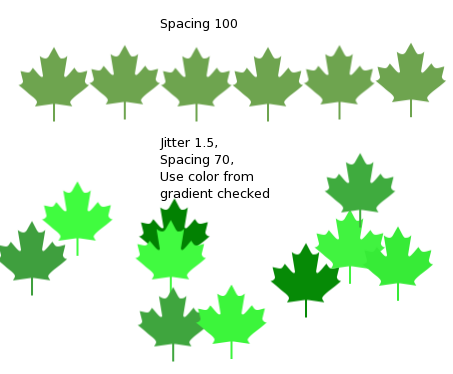
Here is an image of the brush in action. The top row is the default brush settings with green as the Foreground color.
The bottom row: Apply jitter was checked, Use color from gradient was checked and the Spacing was changed.
I will make a completely new tutorial for making an animated grayscale brush. It will be more complicated and involve using paths and rotating paths.