This is a frequently asked question about gimp. This works if your background is one color; it will not work on multiple-colored backgrounds.
Be sure your image is RGB mode: Image > Mode > RGB.
This is the method I use when the background is all one color and I want semi-transparent pixels (antialiased) around the image. Make sure your background color is white. If the picture background it is a color other than white I use the Color Picker and store the color as the foreground color. Do NOT add an alpha channel to the layer. If the layer name (usually named Background) is not bolded, right-click the layer and choose Remove Alpha Channel - the layer name will be bolded.
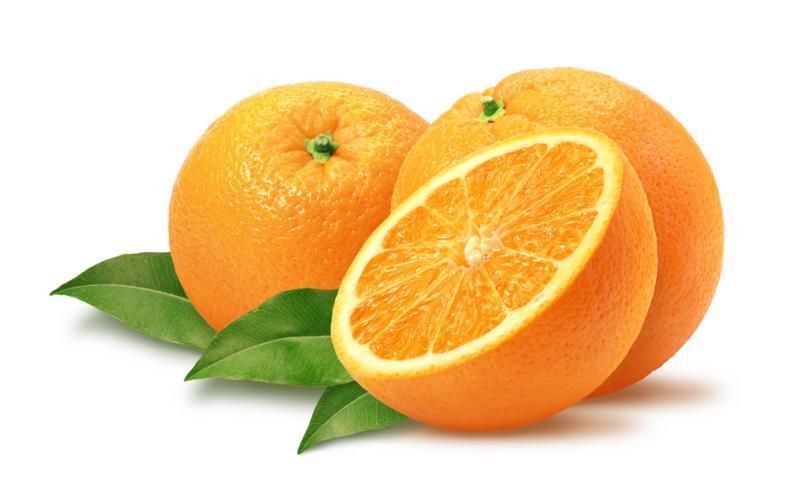
This is the original picture.

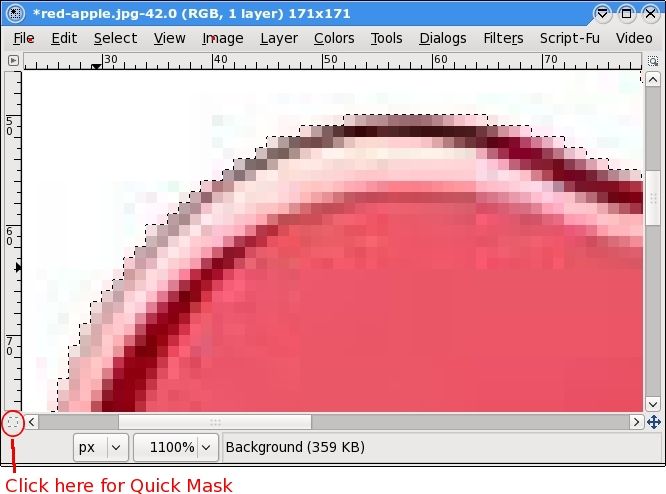
Use the fuzzy select tool and click the background. If you notice there are small places not selected in the background try raising the Threshold, re-click the background and see if that gets those stray pixels. If not, select Quick Mask, zoom in and find those pixels and paint them with a white brush by clicking the switch tool on the color selector. When you are finished, close Quick Mask, and switch the colors so that the background color is white again.
This is a high zoom picture of the background in the picture. You can see the stray pixels that seem to gather in pictures. You don't want those.
Make sure your background color is white and Delete. Those off-colored pixels are gone. That is because there is no alpha channel and gimp chooses the background color to replace what you delete.
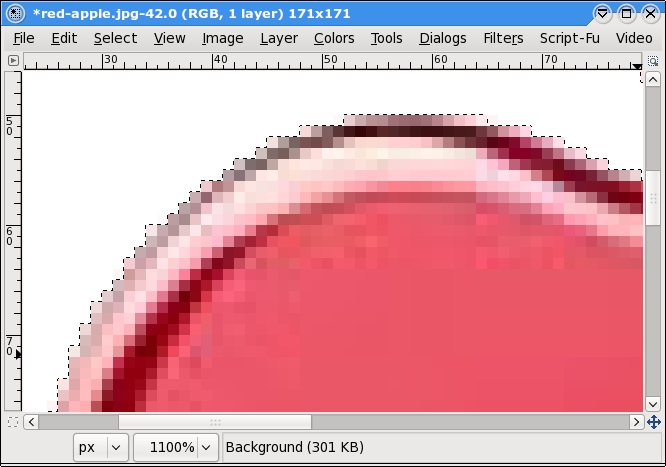
Click Select > Grow and make it 1 pixel. Your selection now has included one pixel of the actual image in the picture. If you have a background other than white that you saved, click the foreground color box and copy the color number.
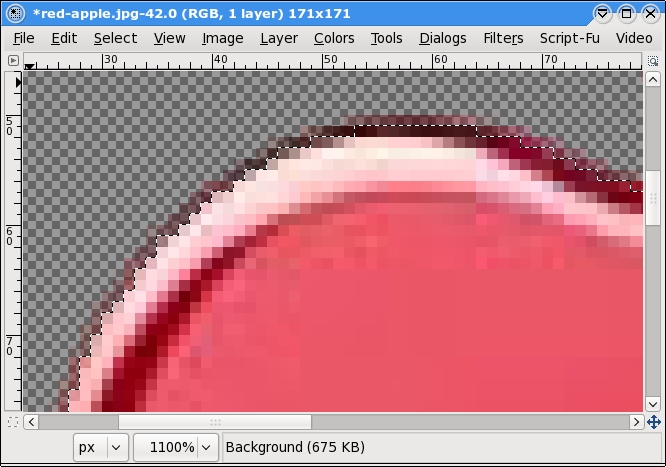
Colors > Color to Alpha > Click the color bar and delete the color number in there and paste the number you copied from the foreground color. (Don't try to fudge and run the default white color in Color to Alpha first - you'll have a mess.) Click OK. Back to Color to Alpha, click the color bar one more time and change the color to white (ffffff). Run Color to alpha again and your background is now transparent. You can see in the zoomed in picture that the selection is inside the actual image. When you do this, the outer row of pixels becomes semi-transparent.
Here is a screen shot of the apple after running Color to Alpha. You will notice that your layer name is no longer bolded. If you notice that the semitransparent pixels around the image are colored and you want them uncolored (if there is a black stroke around the image especially), while the image is still selected, Colors > Desaturate (I usually use the lightness selection but experiment). You can Undo (Ctrl + Z) and try a different selection in Desaturate. Those colored pixels will be come shades of gray.
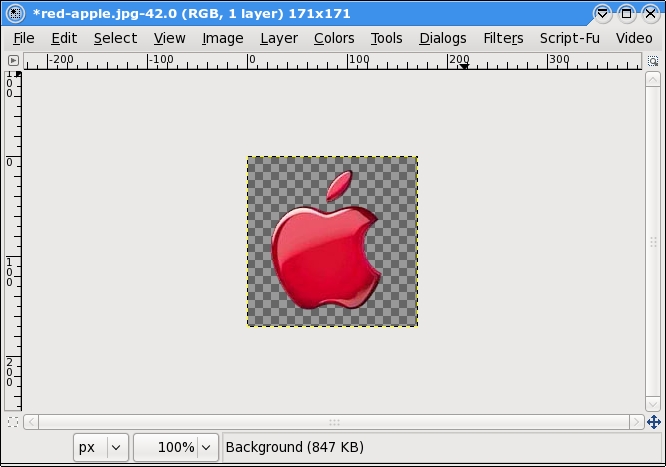
Here is a png image of the apple with a transparent background.

Keep in mind, this is not the only method of removing a background. I use this one a lot and it works well for me.


