This is not a tutorial, but rather a guide for those familiar with GAP. Hopefully it will provide enough insight into how the original animation was done.
Original Animation
 1.) Image Parts
:
Guides usedVertical Guides added at 90, 140, 340, 390
Horizontal Guides added at 140, 190, 240, 340
Front of Envelope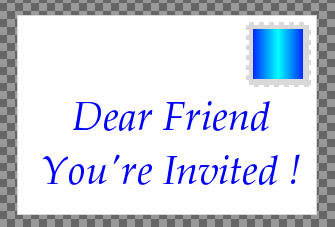 Back of Envelope Full
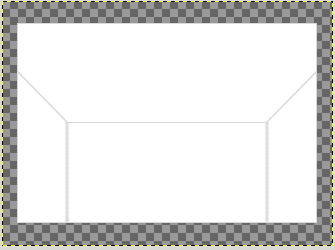 Back of Envelope Bottom
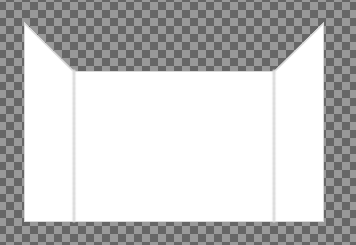 Envelope Flap
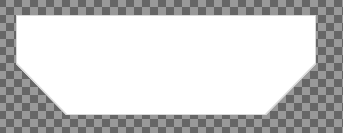 Back side of Envelope Front (Inside the envelope)
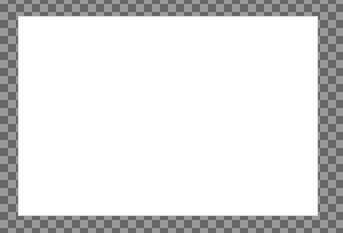 Envelope Flap Up
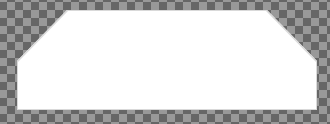 Invitation
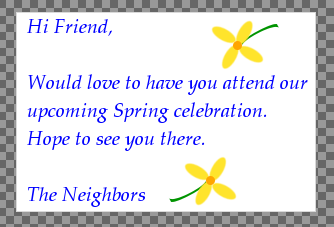
All of these objects, while different in size were enclosed centered in a 480x480 layer. One copy of the envelope flap was centered horizontally, but it's upper edge was placed on the horizontal guide line at 240. That is for the purpose of making an animated flip from it. Map Object rotates all items from the center axes of the image.
I used a 1 pixel grey border about the various parts to give then separation during the animations.
2.Animation PartsIntroduction Explanation:
This is simply a 10 frame animation, as are most of the separate animations. The first five frames use a Move Path with a Handle at Center and X and Y positions at 240 each (center of a 480x480 image) to Scale the Text from 5% Width and Height to 100% Width and Height. I manually set the delay on frame 5 to 1000ms (which is 1 second) before moving to transitioning the text off of the background.
The next five frames, using a second iteration of Move Path, are a simple translation of the text from it's center position of X:240 Y:240 to a final position of X:635 Y:240.
Once this is done, I then use Frames To Image to create a multi-layered image file of that portion of the animation and save it as somename_I_choose.xcf. I repeat that for each of the separate animations being developed.
I then go back and delete the layers, except for the background layer using Frames Layer Delete in most instances. In one's where some frames have less layers than others, I use the Delete Layers function and delete all layers but one, and then remove all but the Background Layer and then using Duplicate Frames function, recreate the number of frames that I need before proceeding on to the next animation part.
Envelope Slides In Explanation:
A simple ten frame translation animation. Using Move Path and Handle Center, the Envelope Front is off screen and then moved to it's center position of X:240 Y:240. The off screen position was probably X:635 Y:240. Although the envelope itself is just 300x200, it's Canvas is 480x480. I'll leave the math up to you to see how I arrived at X:635 for the original placement.
Envelope Flips Over Explanation:
In this 10 frame animation, first the front of the envelope is placed into frames 1 through 5, that would be one instance of Move Path. The full back of the envelope image is placed into frames 6 through 10 using a second instance of Move Path. No movement is applied at first.
Then one would go back and using Frames Modify, and applying the Apply Filter On Layer(s) function to Layerstack 0 for frames 1 through 5, this brings up various filters one can apply. Map Object is used and Apply Varying is used. In the first instance, the Y-Rotation value is set to 0 degrees and for the last frame it is set to a rotation of 90 degrees. Also, I chose to not use any Light for these Map Object animations. That simplifies things with respect to colors. That is important since the final file is a GIF and it limited to only 256 colors.
Again going through the Frames Modify and Apply Filter On Layer(s), but this time applied to frames 6 through 10, still Layerstack 0, one again used Map Object with Apply Varying. 180 degrees over 10 frames equals 18 degrees per frame. The last frame, frame 5 was at 90 degrees. So the beginning Y-rotation value of frame 6 will be 90+18=108 degrees. The final value will be 162 degrees. I didn't follow the math exactly correct purposefully. If I had, the Y-rotation of frame 5 would have been 72, and frame 6 would have been 90, with it's final Y-rotation value for frame 10 still being 162 (and not 180). The final 180 value will be achieved by the next animation set.
A Flipping Up Flap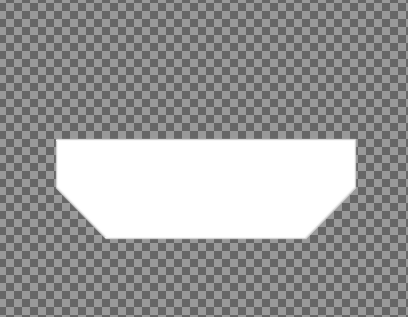 Explanation:
Before getting to the next animation, the flap flipping up animation was made separately, then added to the next animation step. This is a simple 5 frame animation applied against a separate Transparent Background. Use Move Path to first insert the Flipped Down Flap into each of the 5 frames. No motion at this point, just the flap.
Then using Frames Modify, Apply Filter On Layer(s), Map Object with Apply Varying, this time the Z-Rotation value is modified. 180/5=36. The first Z-rotation value to be used will be 0 degrees. The second value to be used will be -144 degrees (that is minus 144 degrees). The final -180 degrees flip up will be achieved in the animation after the following one.
Flap Flips On Flipped Envelope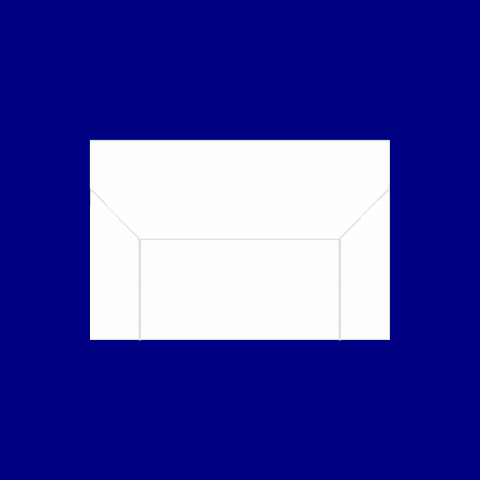 Explanation:
Move Path is first used to insert the Invitation Card into frames 1 through 5. Then Move Path is used a second time to insert the Lower Back side of the Envelope image into frame 1 through 5. Finally, Move Path using the Loop Step Mode and making sure to select the first layer of the Flipping Up Flap animation is selected from the drop down box for Source Image/Layer.
You will have to adjust the Y-value of the Flipping Up Flap.
Invitation Slides Out 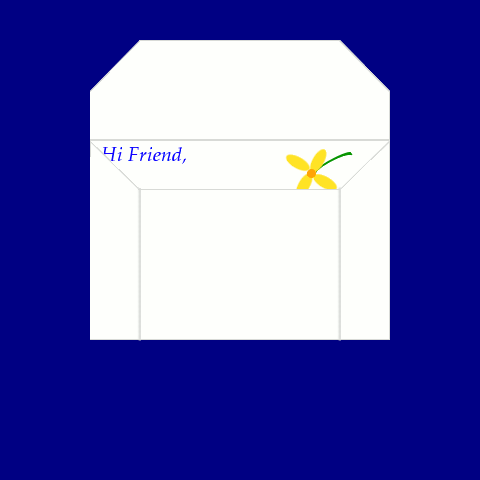 Explanation:
This is the most complex portion of the animation. The first part of the animation will be setting frames 1 through 5, using multiple request of Move Path. Frames 1 through 5 entail sliding the Invitation straight up and out of the envelope. You will need to include as layers, first the Back Inside of the Front of the Envelope. That is the white rectangle image. So the first instance of Move Path would be to add that image into frame 1 through 10. It will remain in the same layer throughout the animation, so although we are dealing with frames 1 through 5, some parts can be used in all frames at the same position.
Next instance of Move Path, we can add in the Flipped Up Flap image. This can also be added to frames 1 through 10.
Next instance of Move Path add in the Invitation image. This time, it will be moved from it's starting position of X:240 Y:240 to X:240 Y:30 (using Handle Center). And that is to be done over frame 1 through 5 only. This moves the invitation a total of 210 pixels. The envelope is 200 pixels high, so another 10 pixels clears the top of the opened envelope.
Next instance of Move Path add in the Bottom of the Envelope image. Not the full one, but the one with the cut out top portion. This also is to be added to frames 1 through 5.
In this case, that Bottom of the Envelope image is on the top layer. Beneath it is the invitation and beneath that, the up facing flap and the back of the front of letter. Cornfused yet?
Ok, that takes care of moving the invitation out of the letter.
Next instance of Move Path, add the Bottom of the Envelope image into frames 6 through 10. In this case, the top layer is going to be the Invitation. That is so when we slide it down and rotate it slightly, it is above all parts of the envelope.
Next instance of Move Path using Handle Center insert the Invitation at the position it was in frame 5, which is X:240 Y:30. Then after Adding a Point, move the Invitation to it's final position of X:240 Y:250 and a Rotation value of 20.00 degrees.
The Envelope Exits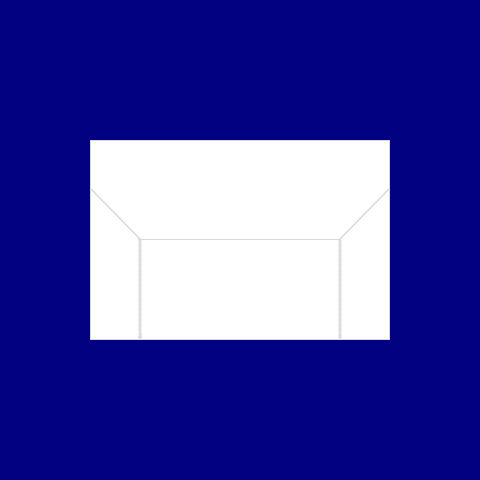 Explanation:
Simple ten frame animation where the Full Back Side of the Envelope image exits stage right. This is done with one instance of Move Path.
Putting It All TogetherOpen a 480x480 image with a Transparent Background. Name it some_background_of_your_choice_000001.xcf. Using Duplicate Frames, make a total of 70 frames.
Add each separate animation, one at a time (remember each separate created animation was to be saved as a separate multi-layer XCF file) into the appropriate set of layers.
You may wonder about the animation for the invitation returning to the envelope. Here, with Move Path opened and your Invitation Sliding Out animation XCF open, you want to use Loop Reverse under Step and select the 10th frame of the Invitation Sliding Out animation. This will reverse the animation, placing the invitation back inside the envelope.
Do the same with the flap closing. Reverse the flap opening animation.
Finally, I went through and set all frames at 100ms, and manually set the one's where I wanted pauses to either 1000ms or to give one time to read the invitation, I set that frame to pause 3000ms.
Finally, I will add that I did use
fencepost's stamp tutorial for the basis for developing the stamp on the front of the envelope. I like to provide credit where it is due.
Also, I used
saulgoode's animation settings script for batch setting of the timings of the animation frames.
Once again, this is a guide. It is intended for users who are familiar with Gimp and GAP. This animation while complex, is developed from multiple simpler animations. I would not recommend a beginner with Gimp and GAP to try this.
I hope this helps users familiar with Gimp and GAP to be able to reproduce this animation, or make a similar one. Thank you.