Pocholo wrote:
I want to say thank you for the tips and other methods to create an egg. You might be an experienced user as you're showing me those different technics, but I know most new users don't know how to work with them.
Out of curiosity, what are you calling "
most new users" and how do you know that?
The later is even more important as yesterday I read on another forum, that filters' developers do not have or too rare "return/opinion" on their filter, so I'm very curious on how you get that "most new users"? Do you have a number?
I could also add, if you don't teach them, they will not know.
Pocholo wrote:
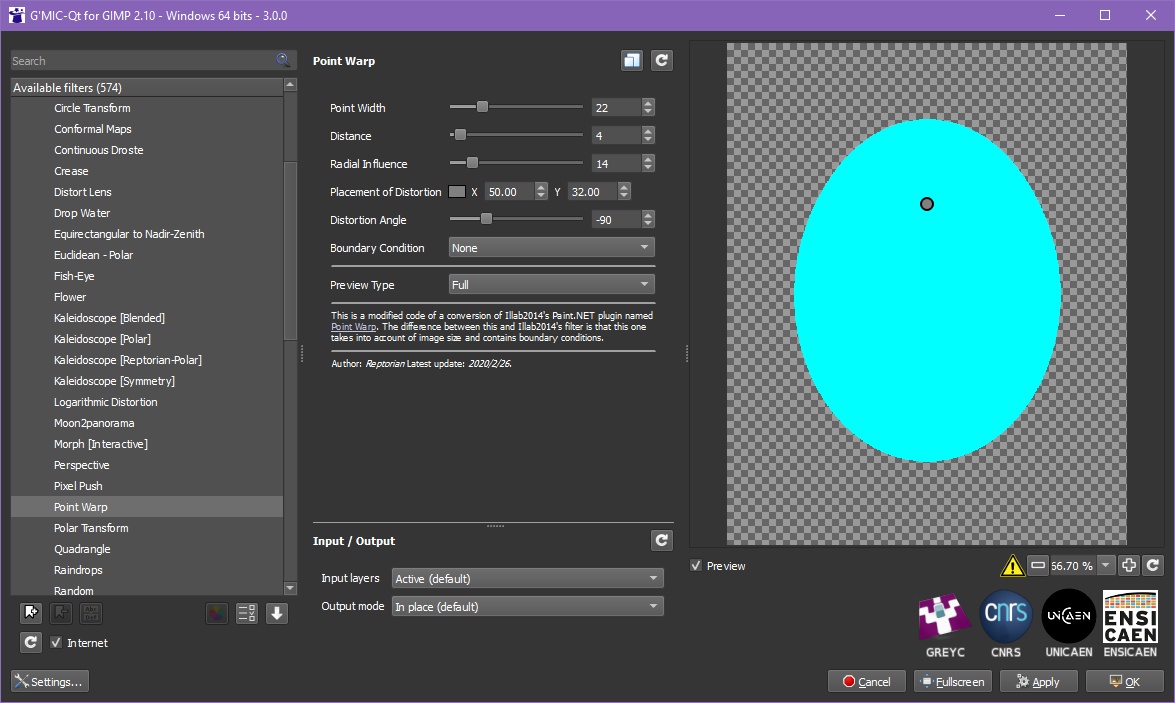
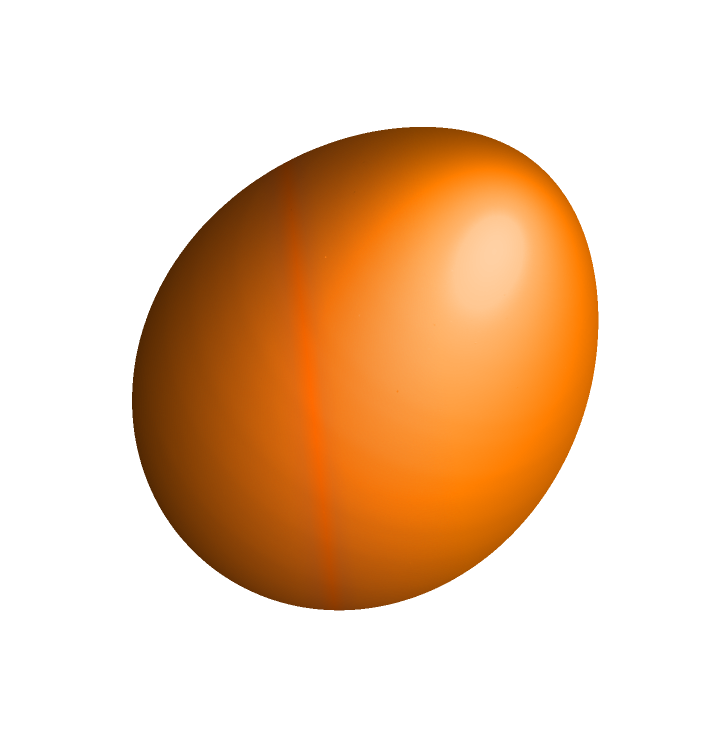
3. I guest I never new about the SamJ Egg plugin in G'MIC. That is a good help but is not exactly the shape I like as the illustration above. This shape is more like a cartoon egg shape.
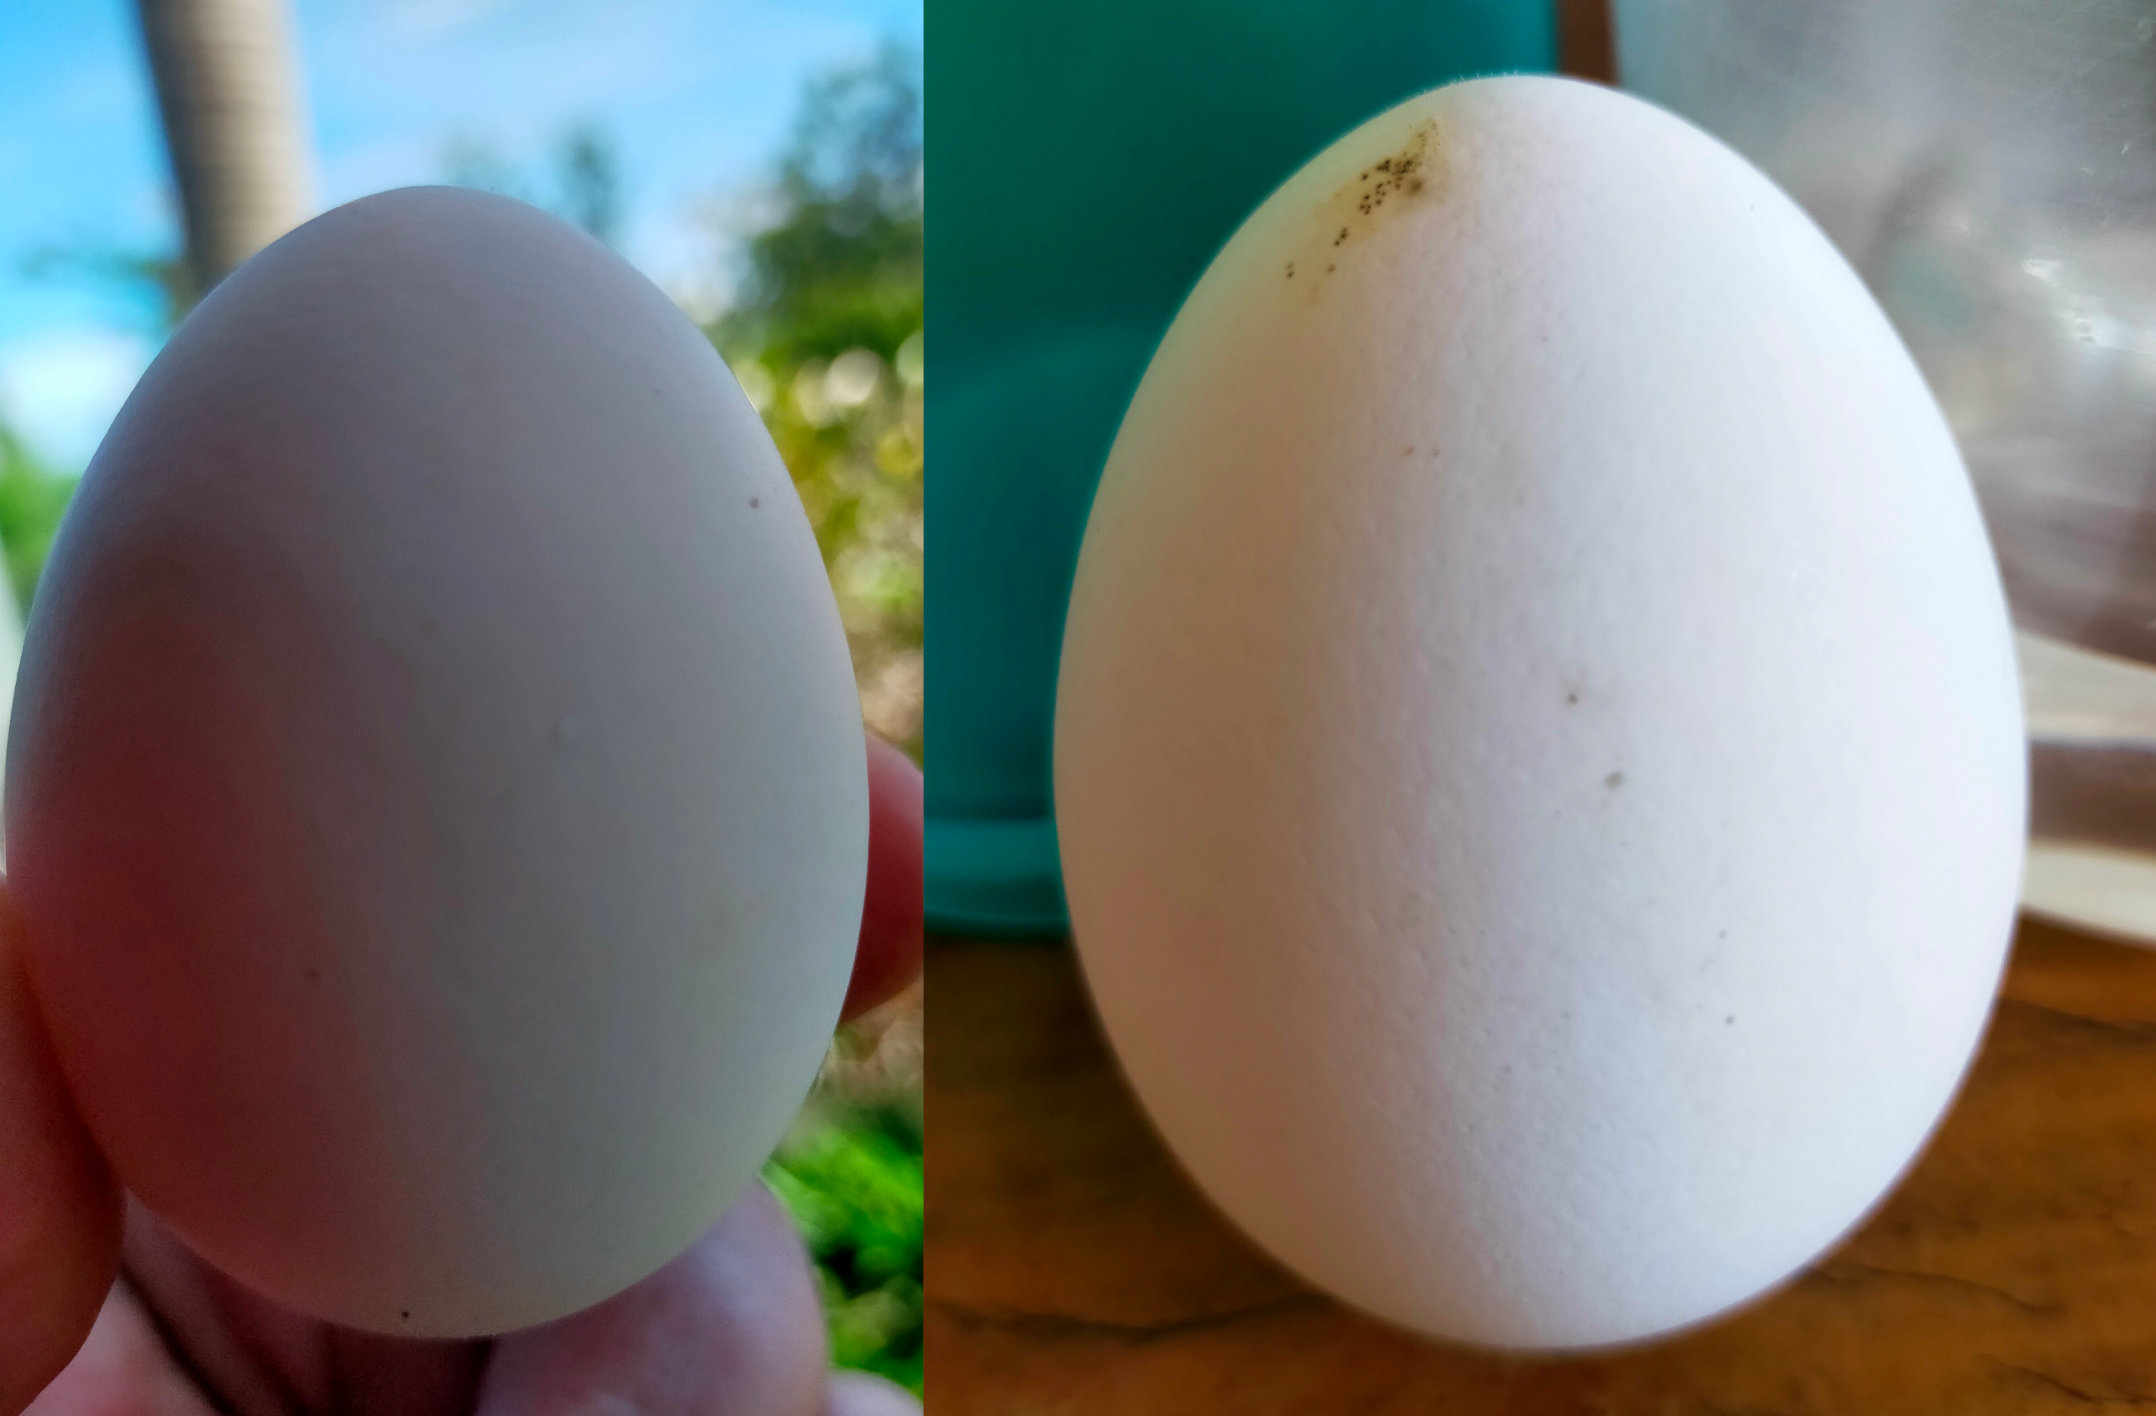
I did a photo of a
real egg to compare shapes (see below).
Pocholo wrote:
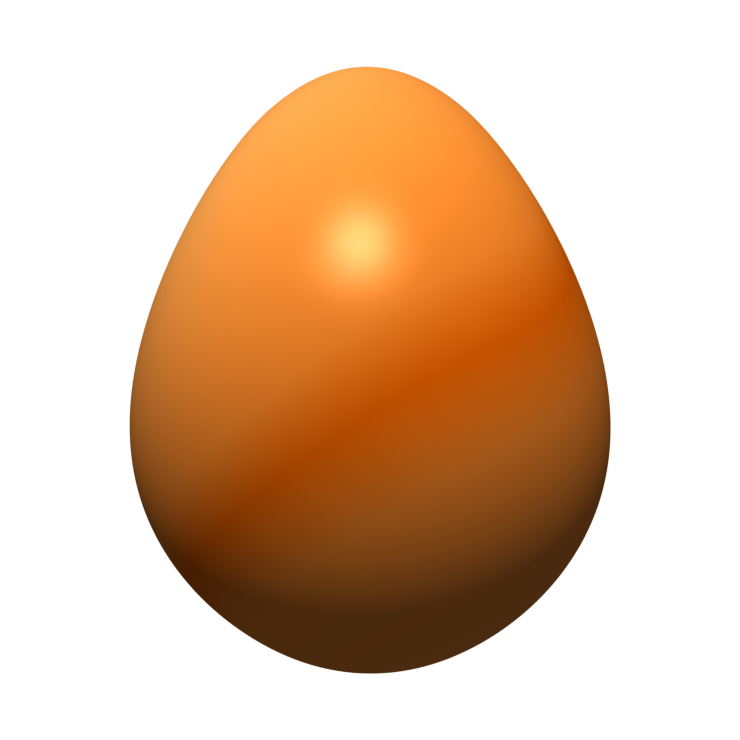
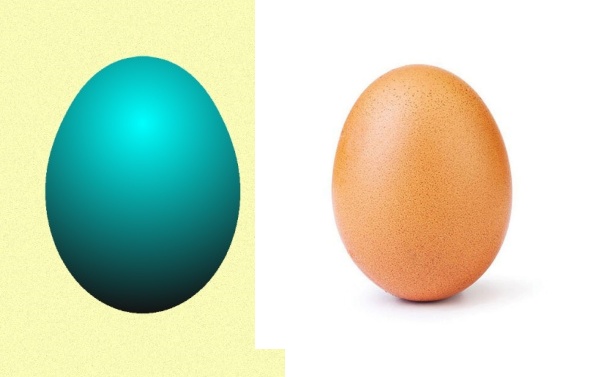
1. The first thing I want to tell you about the egg shape; not all eggs are created equal. As you see my egg Shape look more like the real egg shown in the other photo.
I do need to say that the egg you are comparing is the wrong "
real" egg...
This is an egg you've found on internet where that egg was heavily retouched by photographer Serghei Platonov, resized to fit Instagram format by Chris Godfrey => thus you don't know if it was slightly flattened on top or whatsoever during all these processes between different people...
So to do a comparison with a true REAL egg, I just went to my fridge and look at an egg... (and made a picture with my phone)
Egg taken from my fridge (bought at the wet market)
Attachment:
 egg.jpg [ 239.68 KiB | Viewed 3580 times ]
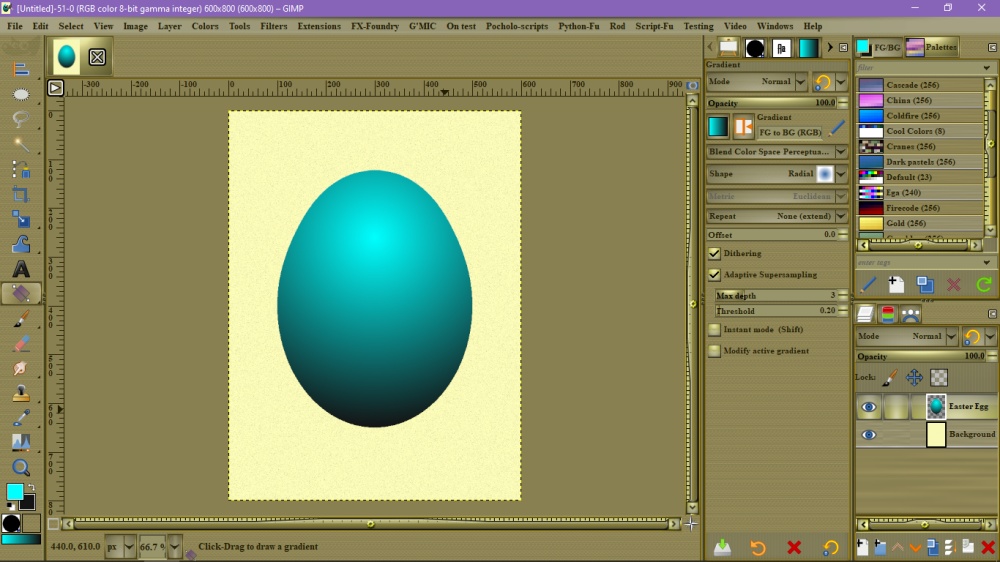
Now I can say that my egg shape look more like the real egg, and it was made with the wonderful the Samj's filter.
Having said that,
Serghei Platonov did say it was a
bird's egg, without specifying what kind of bird, and I fully agree that eggs from different birds' species will have different shapes, you are right.
Where I cannot agree, is you made a comparison with an overly post processed photo, resized by some else than the original photographer and tell "
As you see my egg Shape look more like the real egg", IMVHO if you don't know how it was processed, it cannot be a "real" egg

Pocholo wrote:
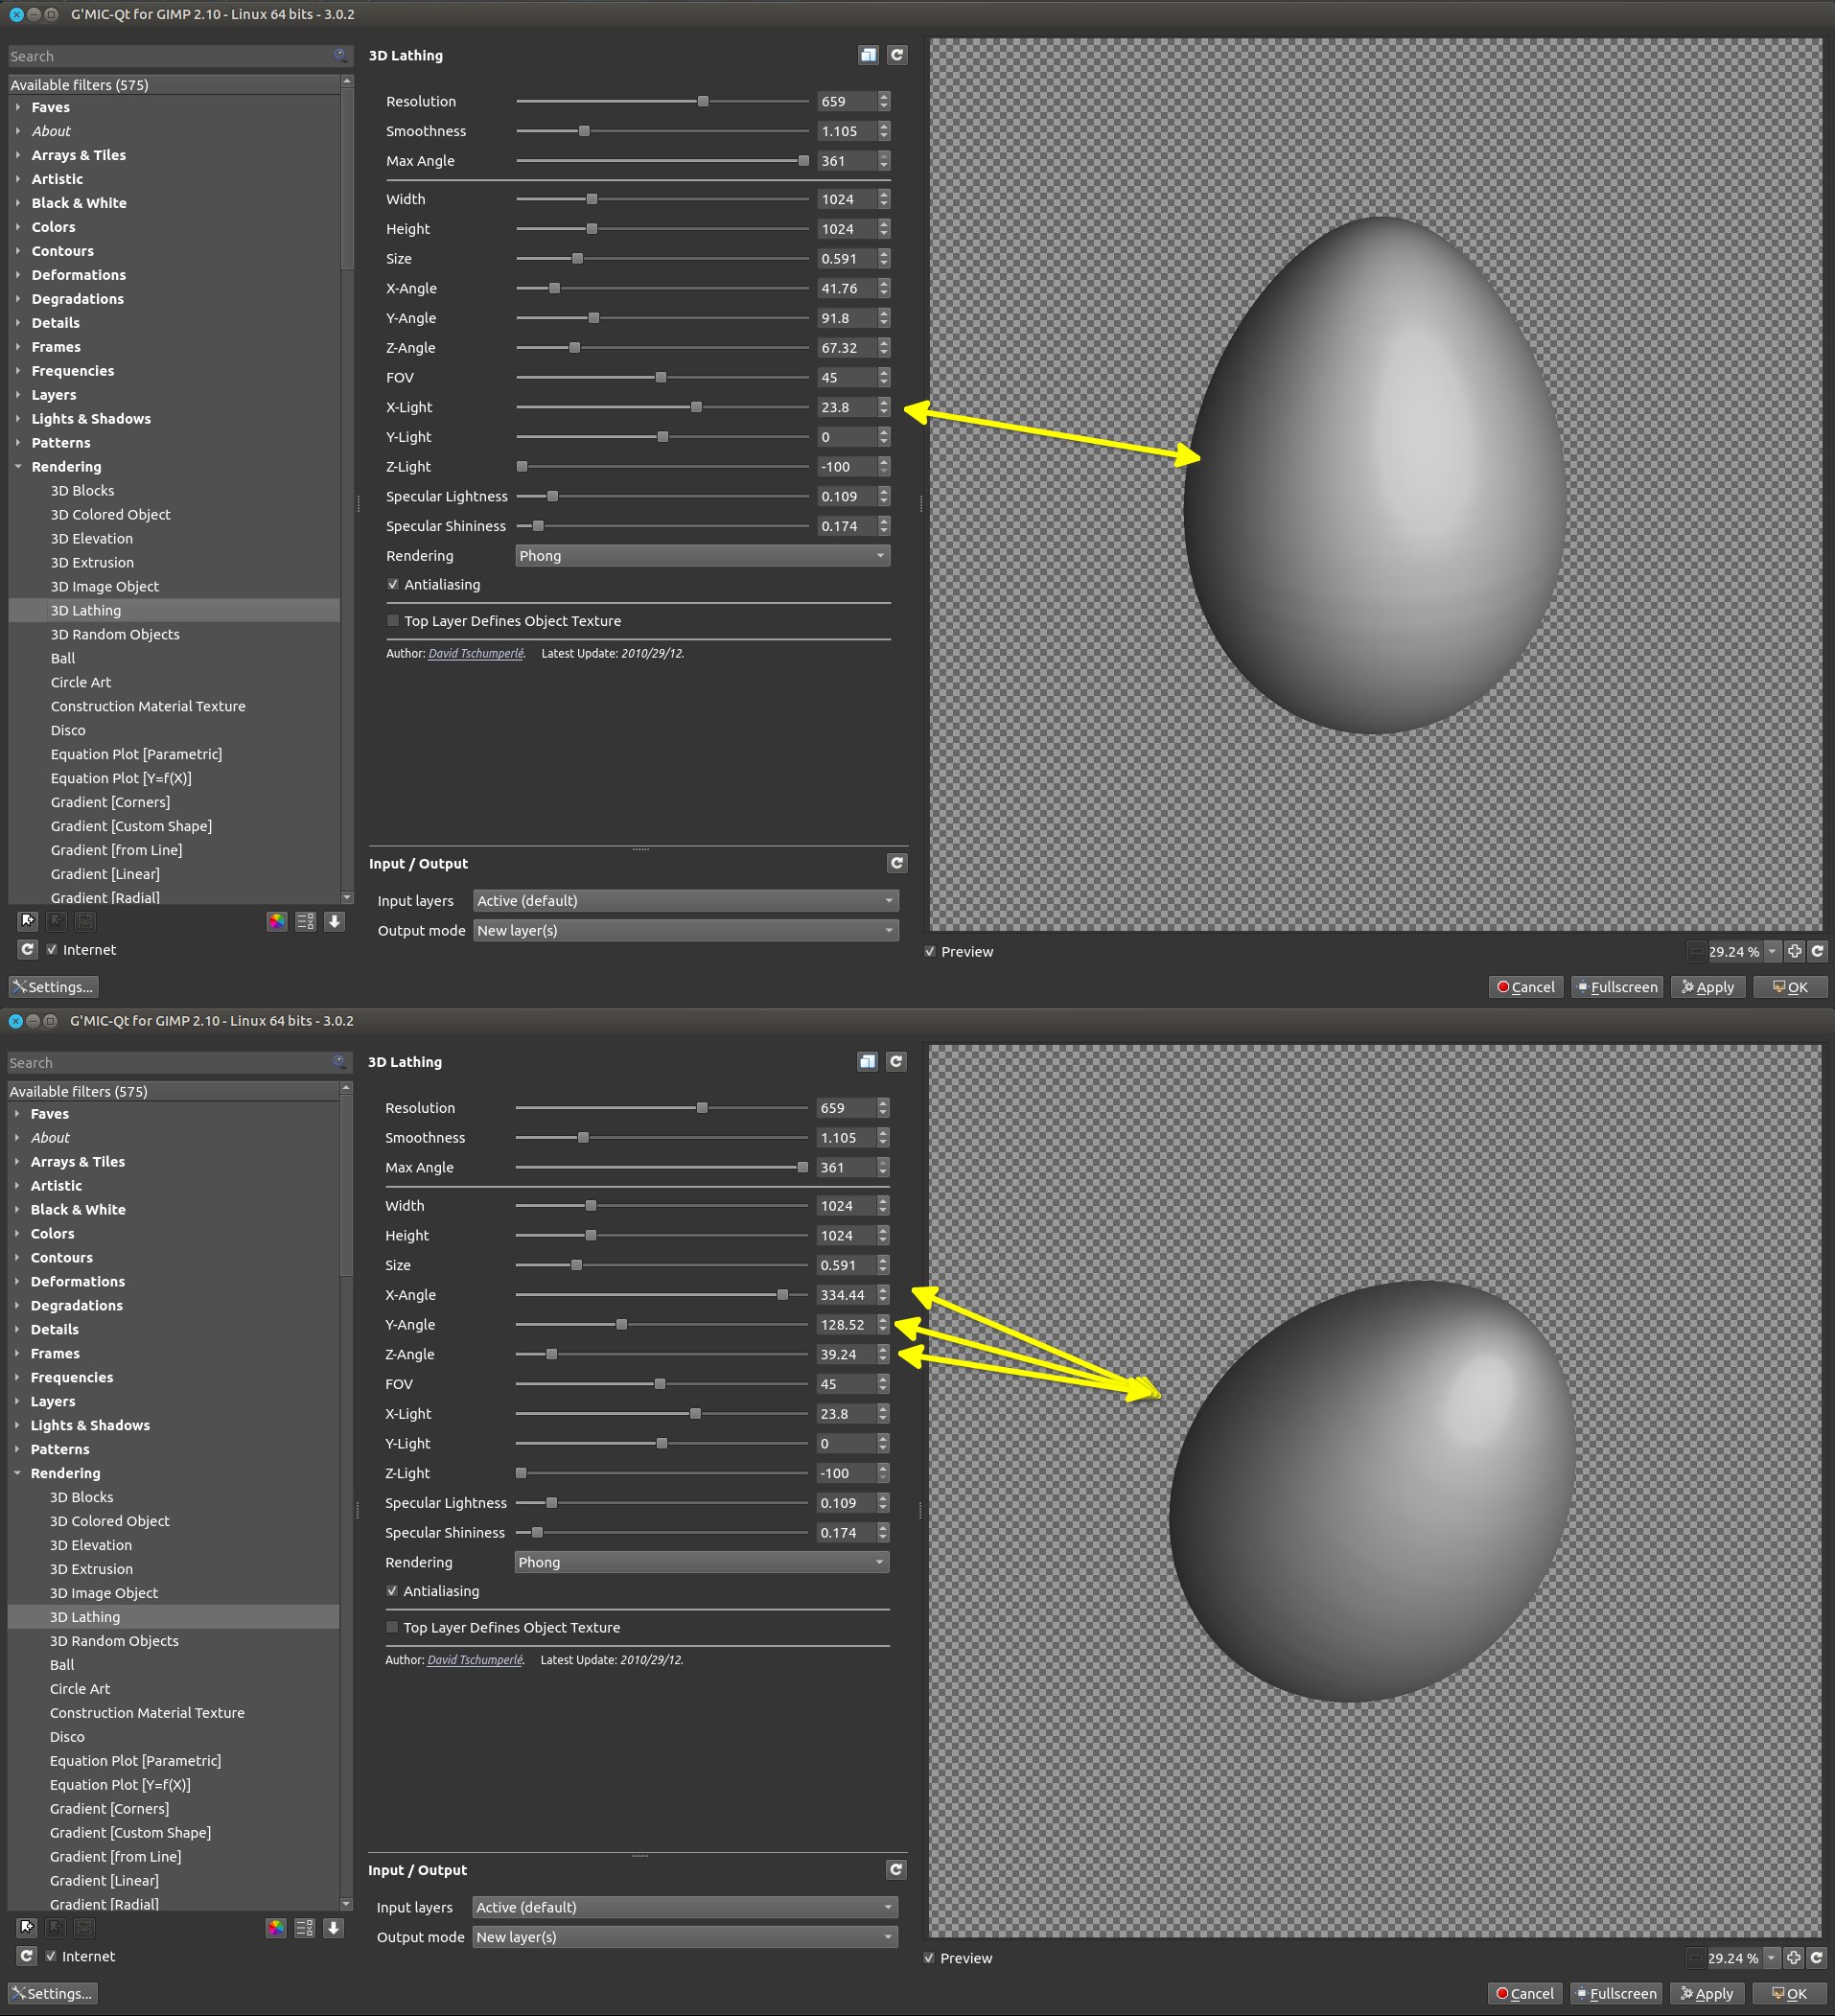
2. Second, I try to make it simpler for new user that don't have to use so many calculation and set up
That's an excellent thought to try to make it easier

but I'm not sure what you call "easier" with so many steps, let say it's a point of view.
You said about the filters I've used "
to use so many calculation and set up", no...

you did not even try it, I'm a kind of

If you have tried the first starting method
with default setting, just clicking OK's button => done. More simple that that you can't.
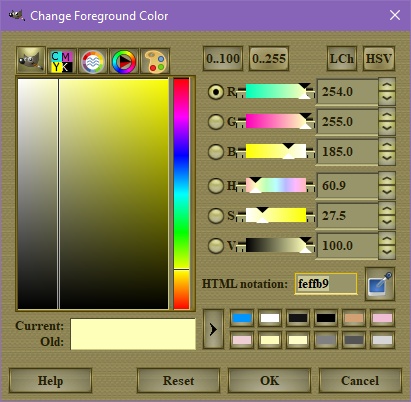
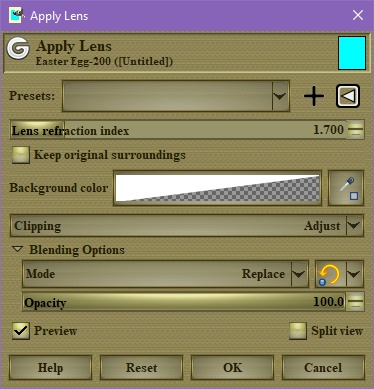
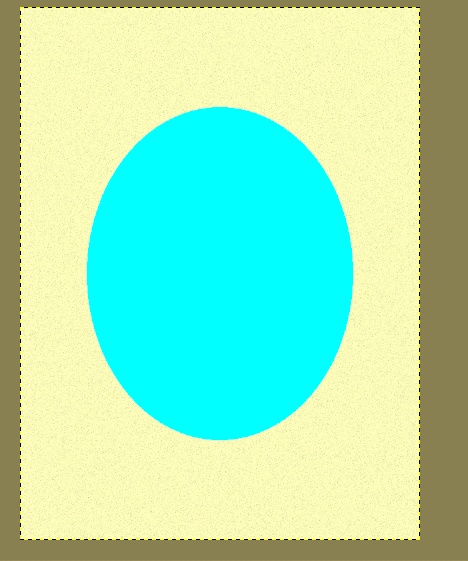
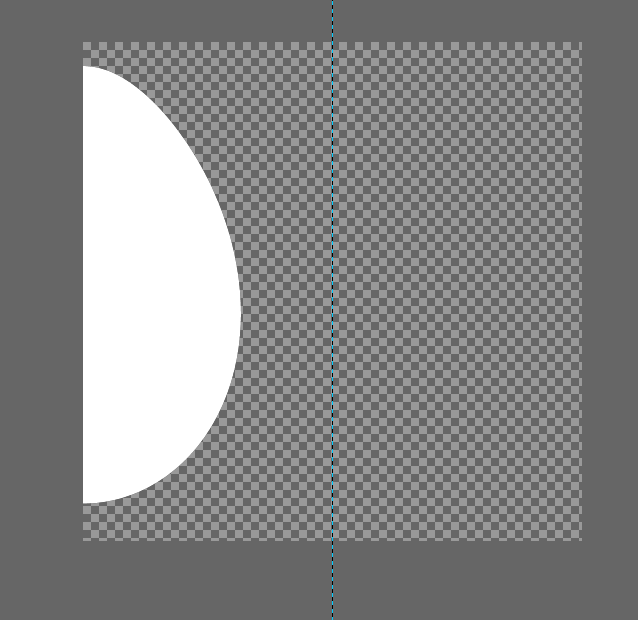
the second starting method, just select "Sphere" and check transparent background, click OK => done.
Please, where are the calculation?
Pocholo wrote:
**PS. This is not a contest discussion, so you don't have to explain yourself anymore. I think you should make your own post on How to's tutorials so everyone can benefit from your knowledge.
Have no worries, I like it, I like to exchange ideas, doing some searches, compare clues or methods, and so on...
For example I learned a lot about your "real" egg, I was not aware that 55 millions sheep liked it on Instagram

I also learned who was the true photographer, who was the person who put it on Instagram, who bought the full license to print on T-shirt (thus, you will not find it anymore
here) I also learned that an Indian guy pretended it was from him, and so.... that was very interesting


