It is currently Fri Apr 26, 2024 8:40 pm


All times are UTC - 5 hours [ DST ]


Post new topic Reply to topic  [ 5 posts ] 
Author Message
 Post subject: Displace Effect
PostPosted: Sat Jun 18, 2011 11:13 pm  (#1) 
Offline
New Member

Joined: Jun 18, 2011
Posts: 3
GIMP Version: 2.6.11
Operating System: Windows
OS Version: XP - SP3
GIMP Experience: Beginner Level


Hello I just started using Gimp today and im getting the hang of some of the tools on there :)

One thing that is troubling me is that i cannot figure out how to do this effect http://www.youtube.com/watch?v=E1qmjyaYJTo the displacement effect/ Disintegration.

Could someone please post a comment here for a step by step tutorial thank you in advance : )

Sorry if wrong section


Share on Facebook Share on Twitter Share on Orkut Share on Digg Share on MySpace Share on Delicious Share on Technorati
Top
 Post subject: Re: Displace Effect
PostPosted: Sun Jun 19, 2011 12:38 am  (#2) 
Offline
GimpChat Member
User avatar

Joined: Feb 13, 2011
Posts: 83
Location: It's Cold in Wisco!
1. If the person doesnt have a background like my image i used, then make a background. If the person does have a background then duplicate the image and make a selection around the person using path tool or lasso or whatever and do select>invert and click delete, this should leave a cutout of the person.
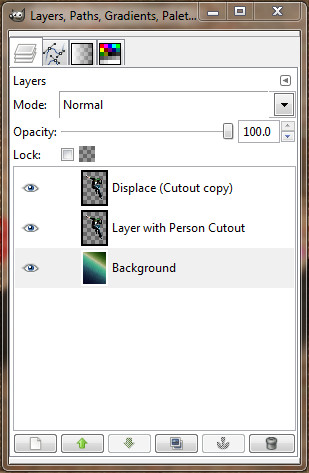
2.Duplicate the cutout, i renamed my duplicated layer, "Displace (cutout copy)"
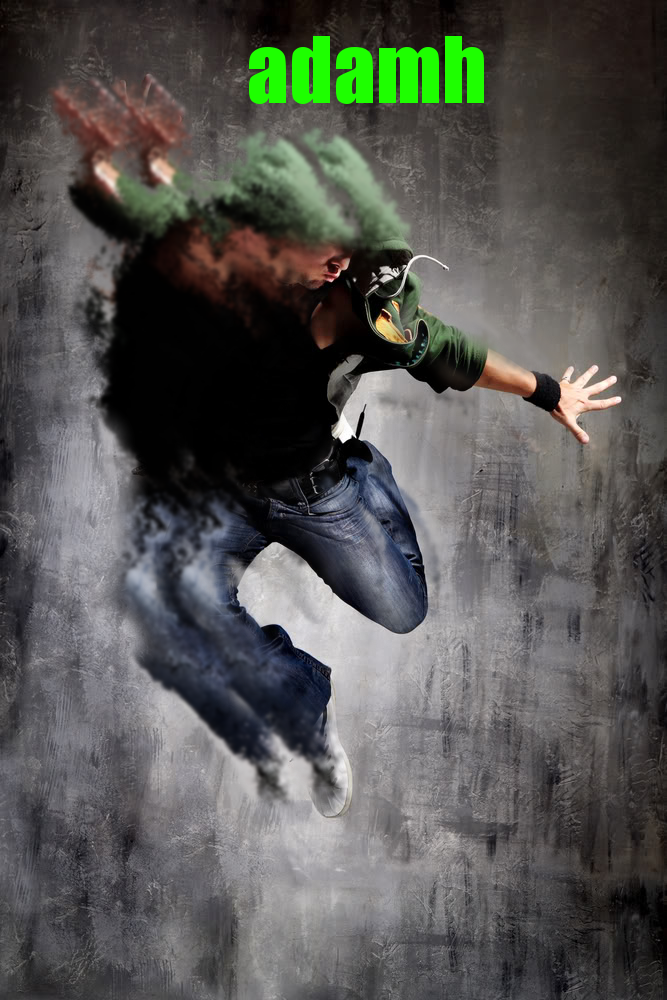
Original Image
Image

Layer dialogue
Image

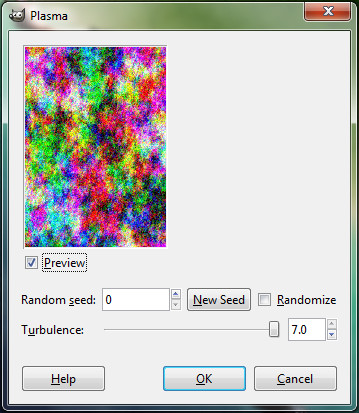
3.Next make a new layer and go to Filters>Render>Clouds>Plasma and use these settings

Image

4. Now on your "Displace (cutout copy)" layer, go to Filters>Map>Displace, you can use default settings.
Make sure you have the plasma layer as your x and y displacements

Image

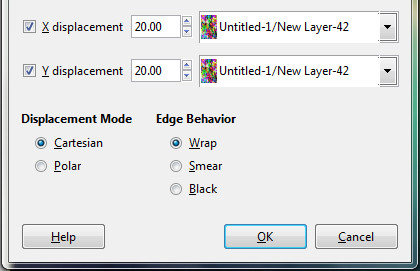
5. Turn visibility off on Plasma layer or just delete it.

Image

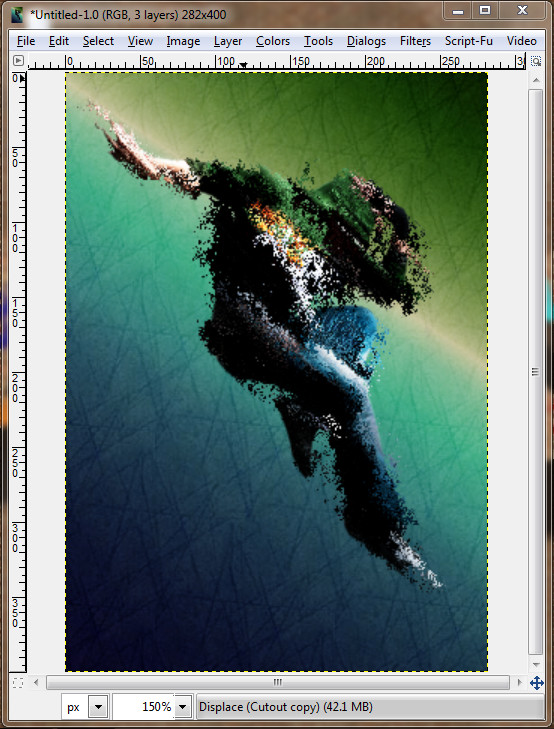
6. Use the eraser tool to erase parts of the "displace (cutout copy)" layer.
Note: At this point you should have 3 layers. Background, Original cutout, and displace (cutout copy).

Image

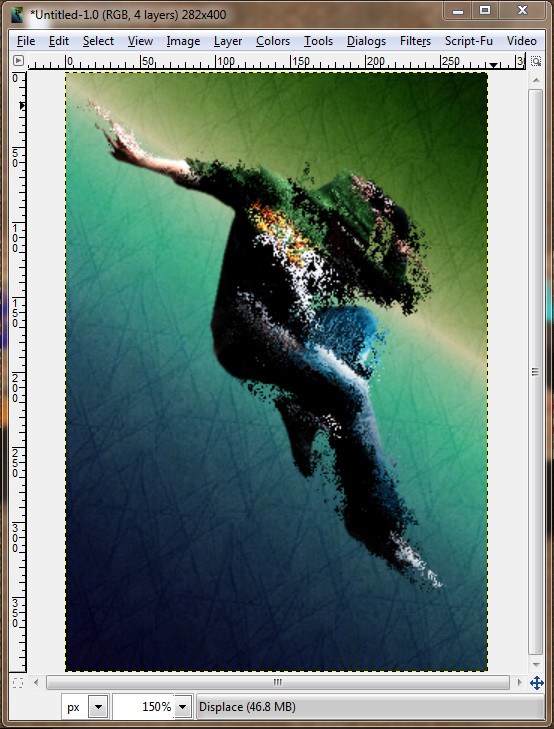
7. Your done now, you can do some final touches then flatten image.

Image


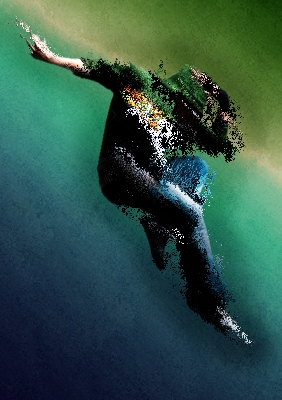
I hope i was of assistance! I remember doing this tutorial when i was a gimp beginner and searching youtube for gimp tuts and what not. Have fun and definitley try to expand your gimp abilities!:)

_________________
Image


Top
 Post subject: Re: Displace Effect
PostPosted: Sun Jun 19, 2011 8:39 am  (#3) 
Offline
GimpChat Member
User avatar

Joined: May 16, 2010
Posts: 14709
Location: USA
Moved to tutorials.

_________________
Image
Edmund Burke nailed it when he said, "The only thing necessary for the triumph of evil is for good men to do nothing."


Top
 Post subject: Re: Displace Effect
PostPosted: Sun Jun 19, 2011 1:06 pm  (#4) 
Offline
New Member

Joined: Jun 18, 2011
Posts: 3
Image

thoughts?

Also thank you alot Fish :)!


Top
 Post subject: Re: Displace Effect
PostPosted: Tue Jun 21, 2011 4:31 pm  (#5) 
Offline
GimpChat Member
User avatar

Joined: Feb 13, 2011
Posts: 83
Location: It's Cold in Wisco!
I love it! Did you blur it at all? It gives it a pretty good effect!

_________________
Image


Top
Post new topic Reply to topic  [ 5 posts ] 

All times are UTC - 5 hours [ DST ]


   Similar Topics   Replies 
No new posts Script passes a 0 to the Displace plugin, and apparently it's an issue

0

No new posts Attachment(s) Don't work procedures plug-in-bump-map, plug-in-displace

2

No new posts Attachment(s) How to acheive this kind of effect (the holographic effect)

5

No new posts Attachment(s) What is the name of this effect?

17

No new posts Paper Cut Out Effect

0


* Login  


Powered by phpBB3 © phpBB Group