This tutorial will be a little hard to follow if you base it all on text in the directions, so base your progress on the pictures in each step. And by the way, i did not rename the layers or add a video to this tutorial. The only things you will need for this tutorial are a photo of old paper.(Lined paper,newspaper, etc. But not plain paper)
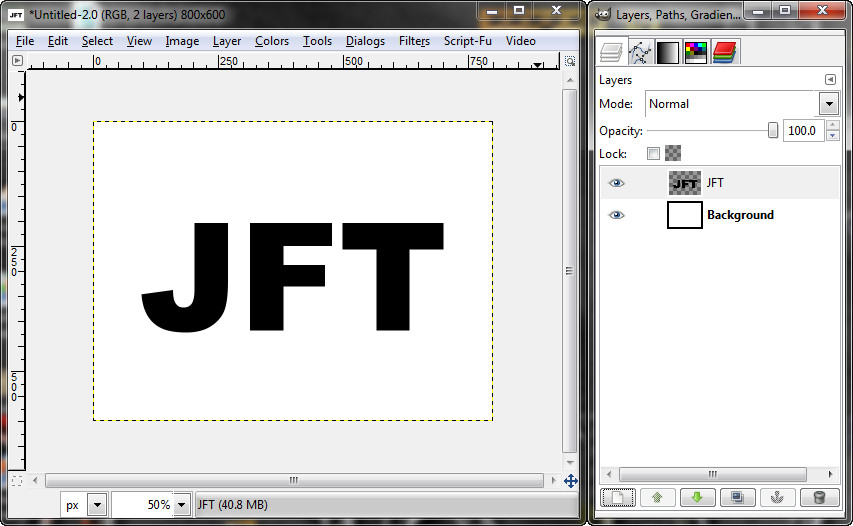
1. Open a new 800x600. Place your text. Make it bold, i am using arial heavy at size 300.
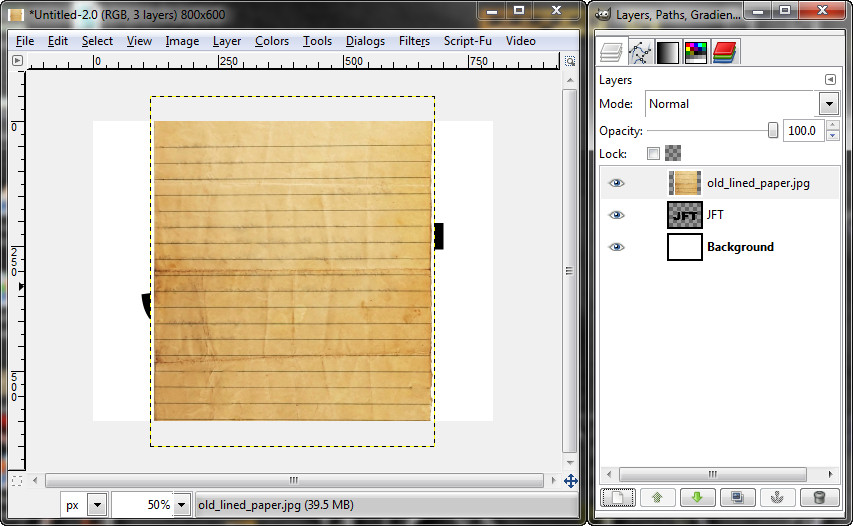
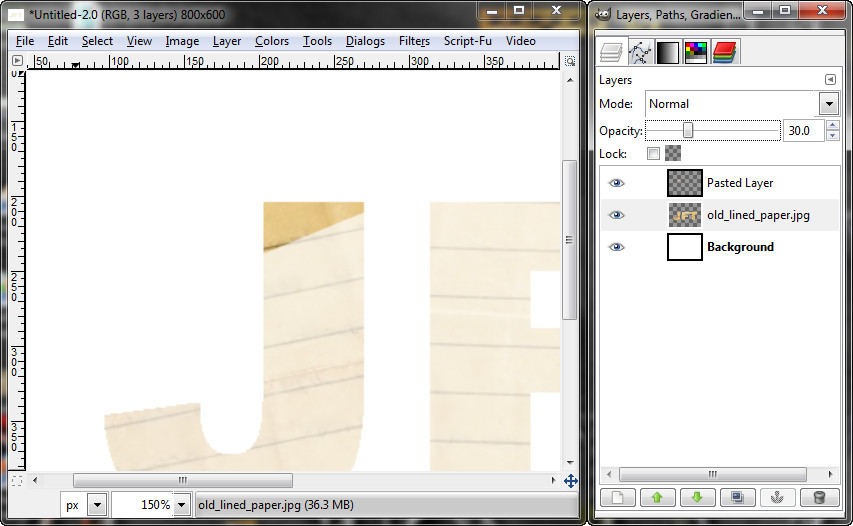
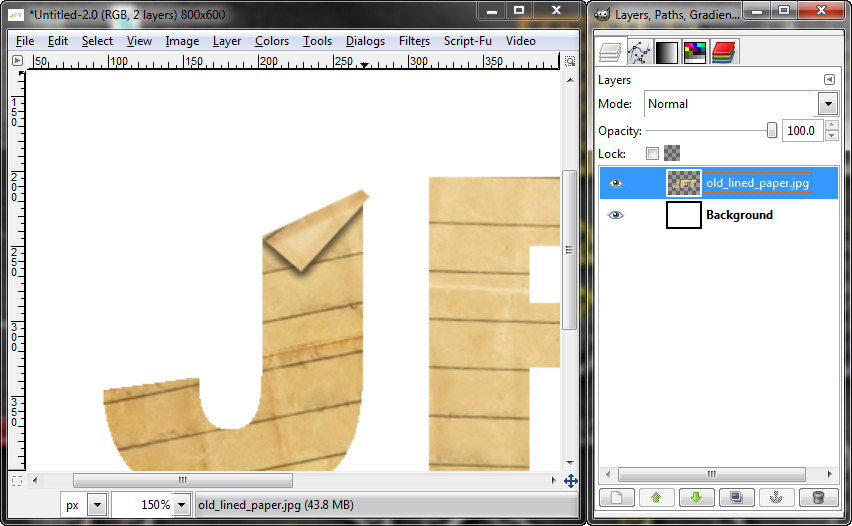
2. Add the paper stock.
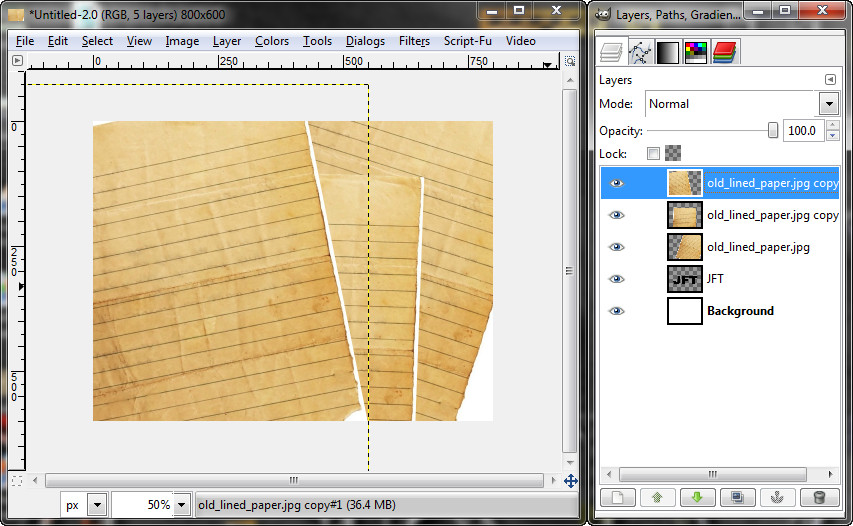
3. Duplicate the paper layer. You want a new piece of paper for every letter. Then move the paper to cover the letter you want. Rotate it so the letters look different from eachother.
4. Using the fuzzy select tool, select the first letter. Go the paper layer that pertains to that letter (keeping the selection active). Then do Select>Invert and Edit>Clear. Then Select>None.
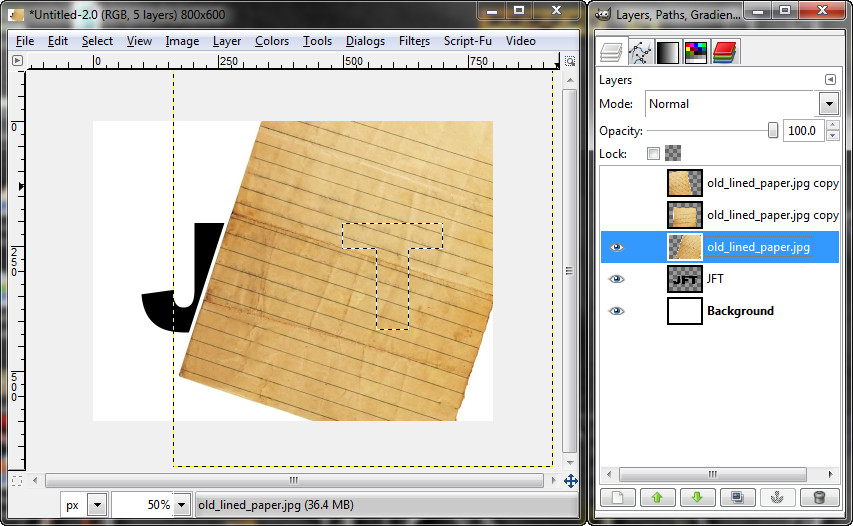
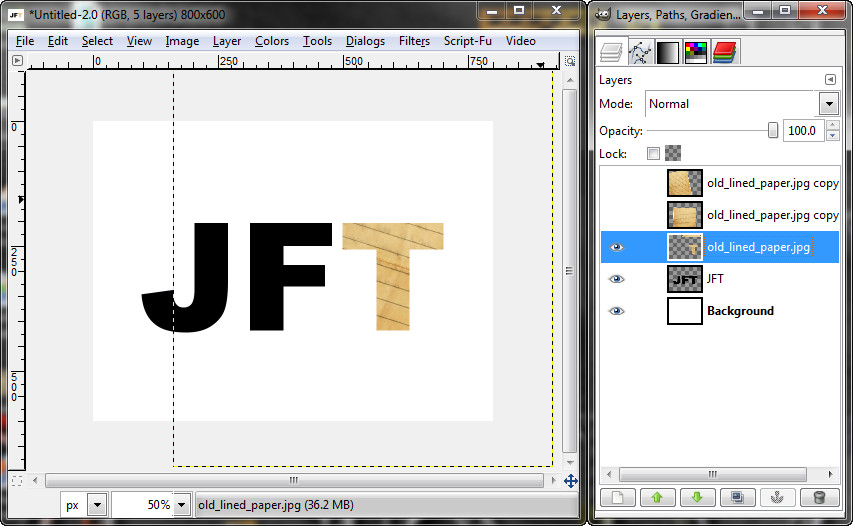
5. Repeat step 4 for every letter.
6. Merge your new letters together and go to Layer>Layer to Image Size. Then Delete your original text layer.
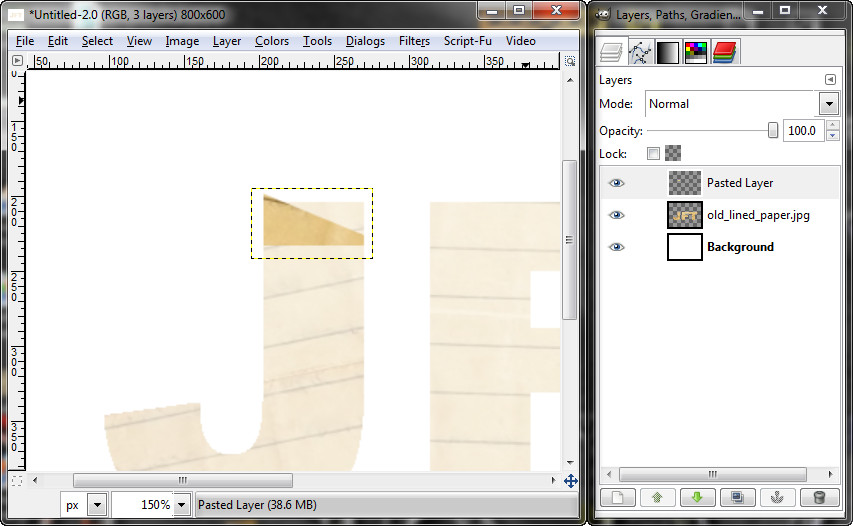
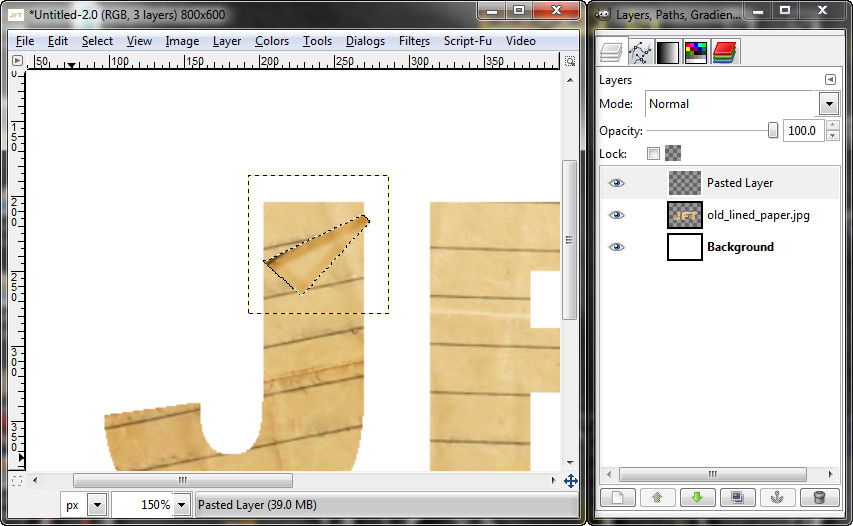
7. Now time to start the folds. First make a path on the corner or where ever you want the fold. It should look similar to this.
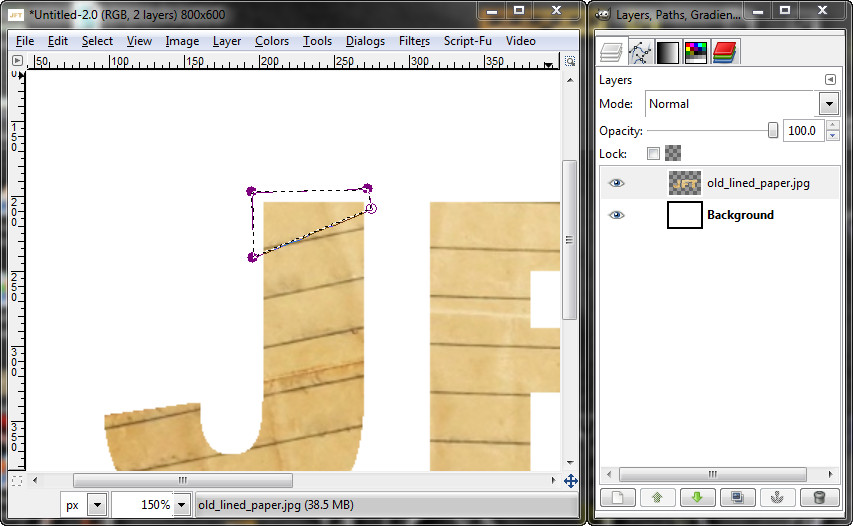
8. Do path from selection. Then Edit>Copy, and Edit>Paste. Click the new layer button to make this pasted selection a new layer. Now after this lower the opacity on your Letters to see the corner piece better.
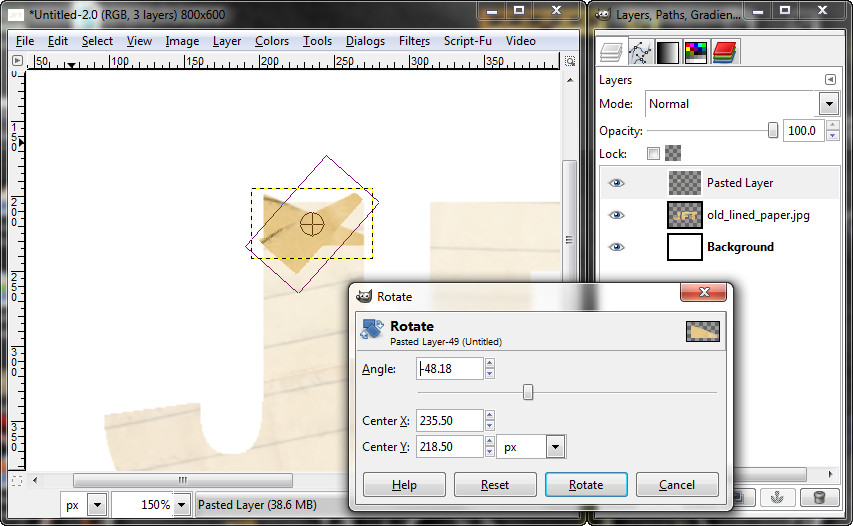
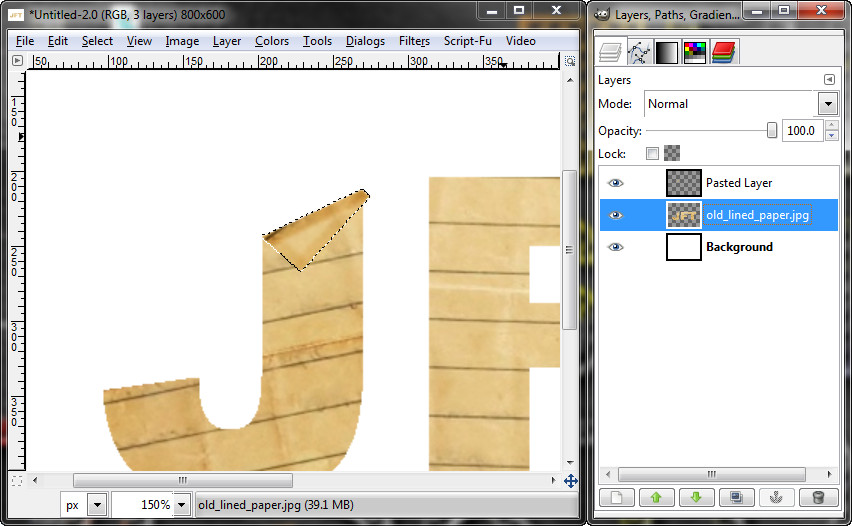
9. Go to your pasted layer (the corner piece) and flip it vertically.
10. Use your rotate tool to rotate the corner piece to fit 2 or the verticies on the edge of the letter.
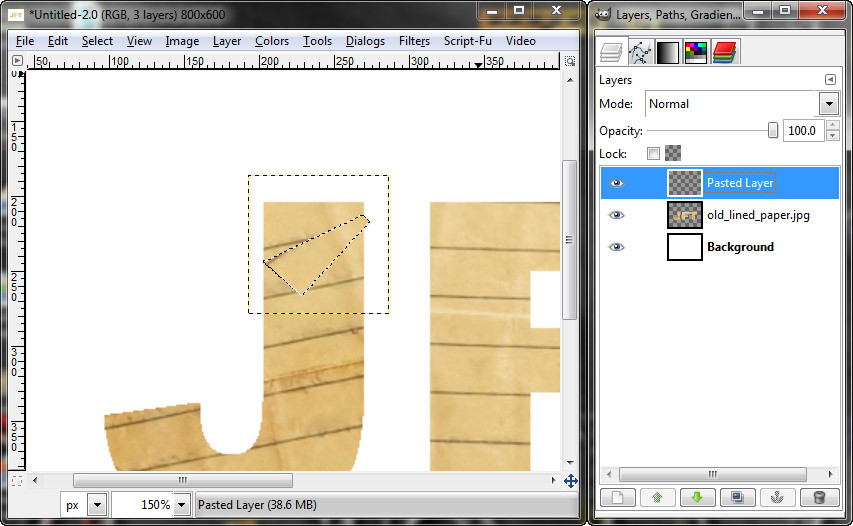
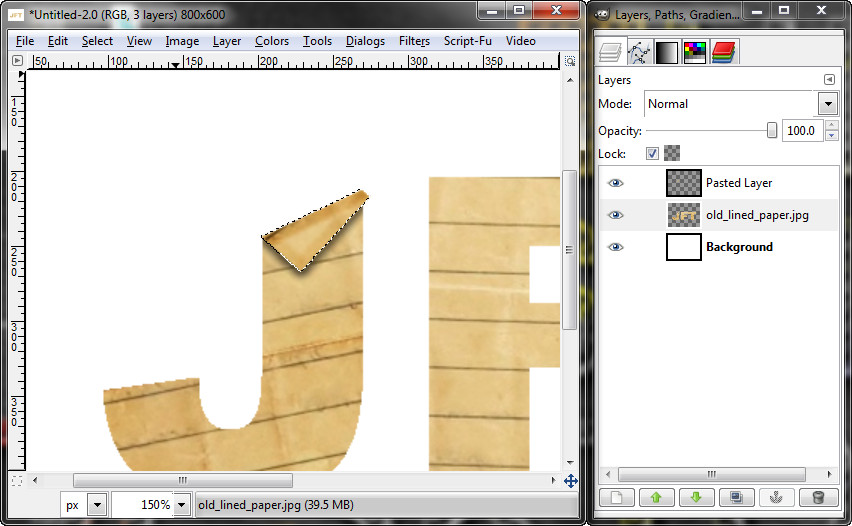
11. Alpha to selection on your corner piece. You will keep this selection active through step 14.
12. Use the dodge/burn tool to burn the midtones. Burn along the edges, burn the folded edge a little bit more than the other edges.
13. Now go to the paper text layer while still on the selection. Then Select>Invert. Then use the eraser tool with a hard brush to erase the side of the text where you took the corner from.
14. Now lock the alpha channel on your paper text layer. Go to this layer if you are not already there. While still on that selection from the end of step of 13, use the airbrush tool with a black foreground color and airbrush along the edges of the corner piece a couple of times. This will make a shadow to the folded corner.
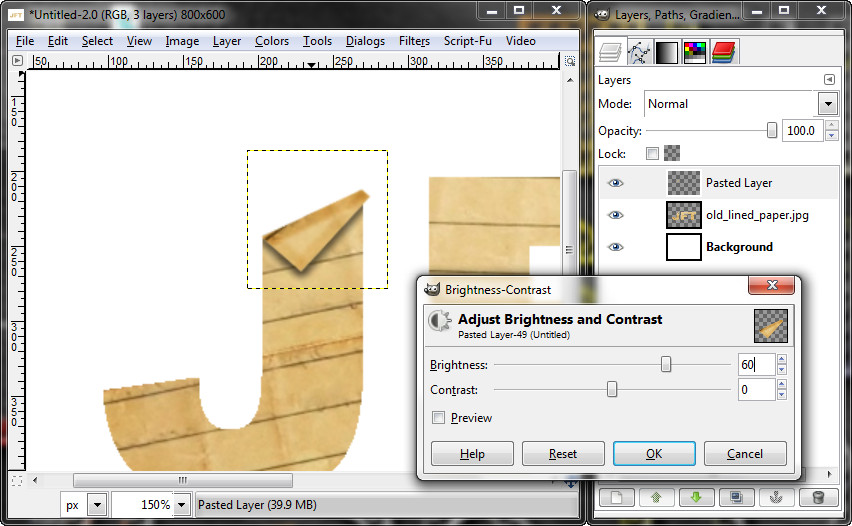
15. Finally you can turn the selection off. Then go to your corner piece layer. Go to Colors>Brightness & Contrast. Set the brightness to 60. Merge down.
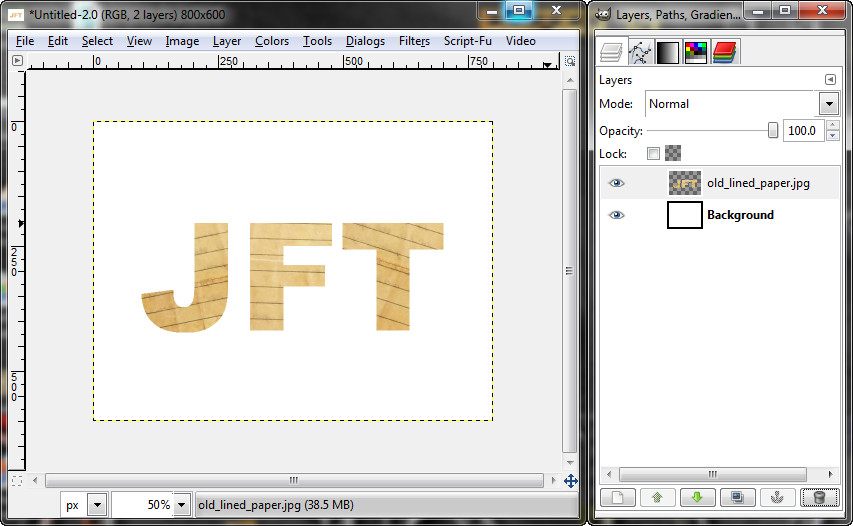
So far your image should look like this if you did it correctly.
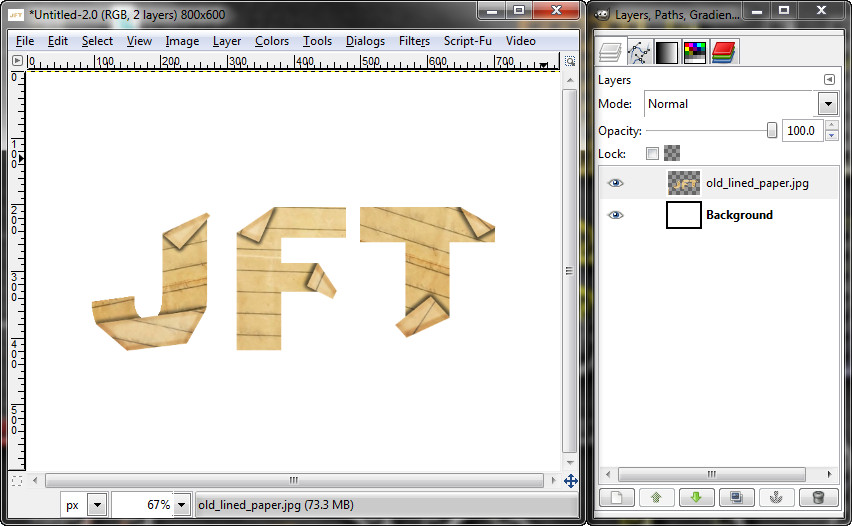
16. Now do steps 7 through 15 to the other letters. Use different regions of the letters.

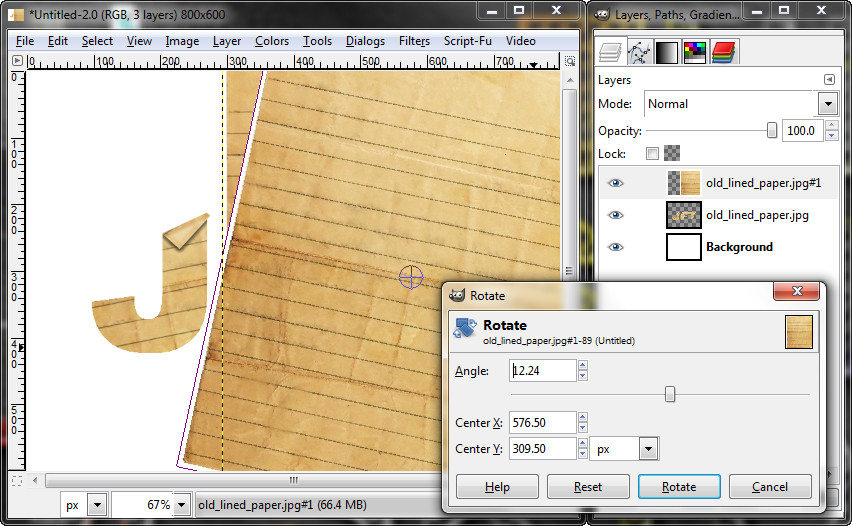
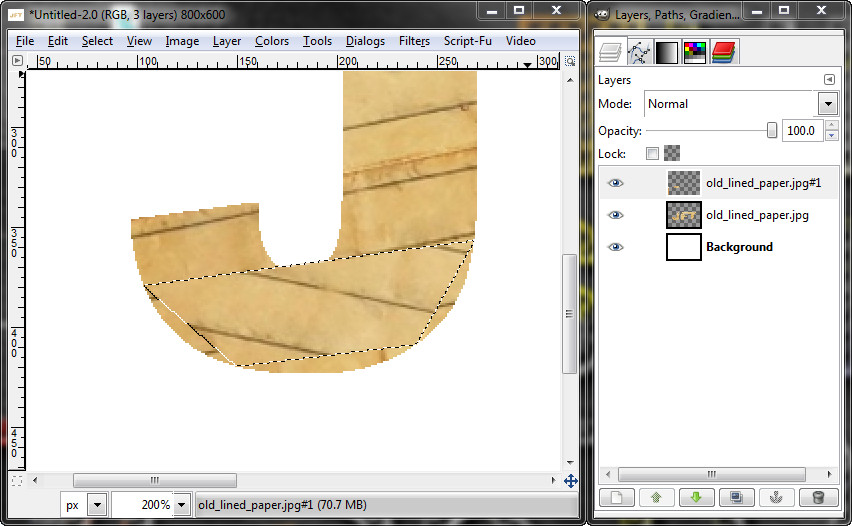
17. Now make a fold on the curve of the J. This should be used for the Curves or Arcs of the letters. (Ex: Letter U). The first step in doing this is to add the paper image we used before. Then rotate it so it looks like a mirror image of the paper letter "J".
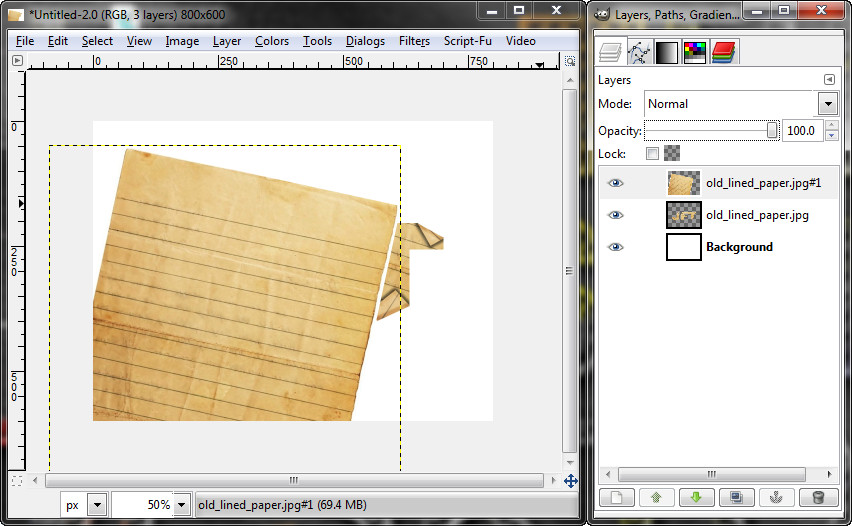
18. Then move the image over the Letter.
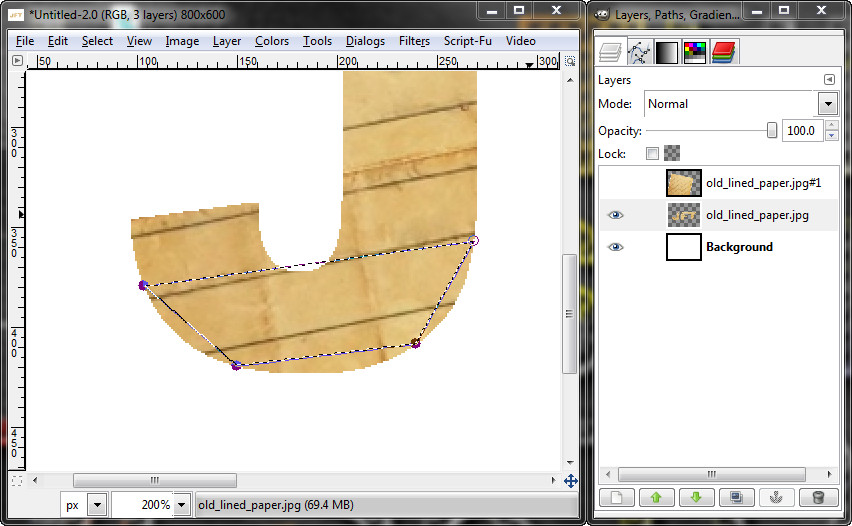
19. Turn the visibility off on the new paper layer. Make a path on the curve, it should look like a trapezoid. Then selection from path.
20. While keeping the selection active, go to the new paper layer and go Select>Invert and Edit>Clear. Then Select>None.
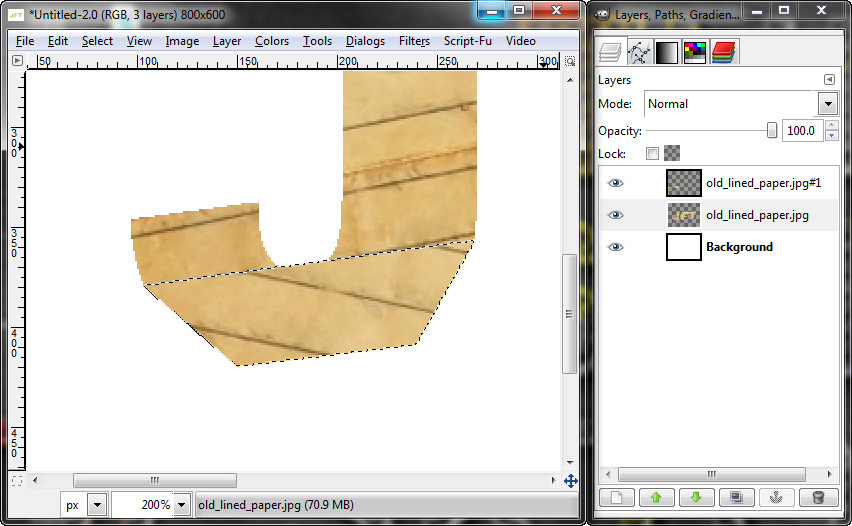
22. Now do steps 11 through 15 on the new layer in step 20.
23. Now add a background. I used the original Paper Stock with some other grungy stock to make this.
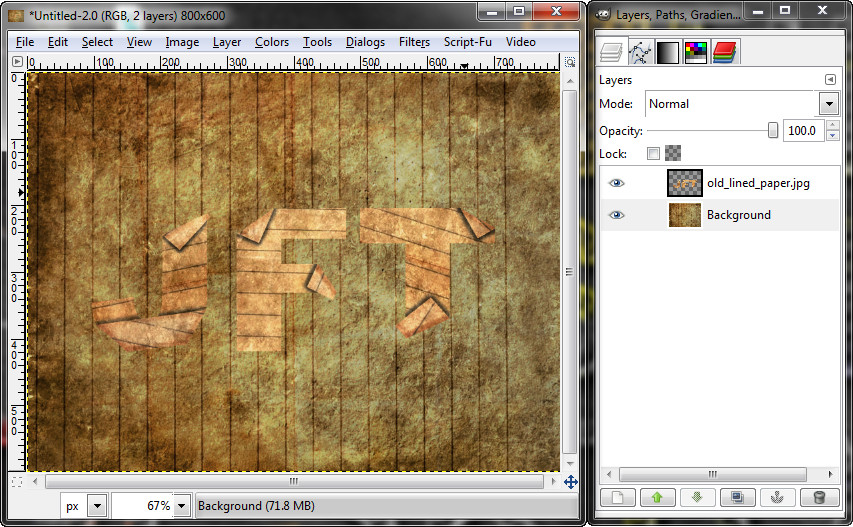
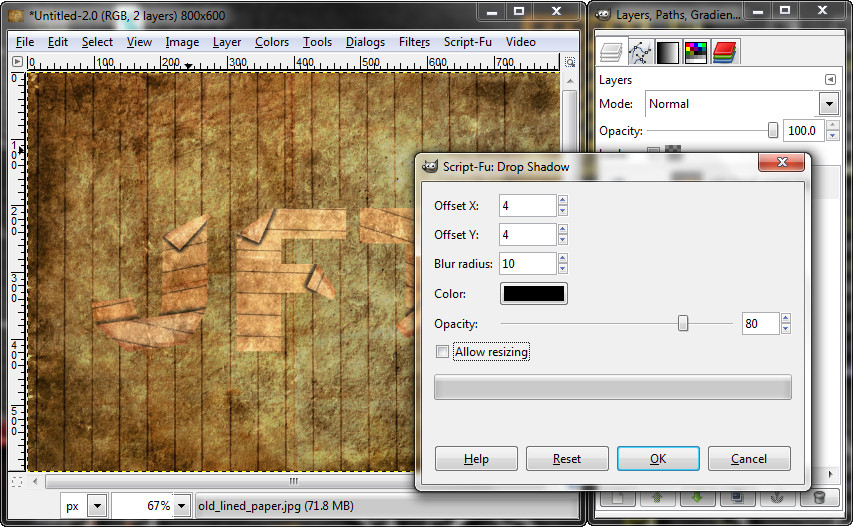
24. Now add a drop shadow to your text. Duplicate this and set both layer modes on overlay.
25. Add some final touches to your Image and you're done!