Keep in mind my colors, sizes, etc., are not carved in stone. I used Times New Roman Bold font because almost everyone has it. A prettier, fancier font would look nice. This is simply how I did mine and you may want to get more creative.
Note: After writing this tutorial, I discovered an easier and faster way to make checkered text. Look
here.

- Make a new image, 550 x 550 and fill with white.
- Foreground color Black. Times New Roman Bold text, size 95. Write your text. Center it in the image, right-click the text layer and do Layer to Image size. Duplicate the text layer and move the duplicate down below the white Background layer. (It's a spare for just in case). Right-click the top text layer and do Alpha to Selection. Select > To path (Another safety measure).
- For now, click the eye next to the black text to turn it off. Keep the selection.
- Activate the white background layer by clicking it.
- Make a new transparent layer and name it, red. Fill the selection with red (d90000). Keep the selection.
- With the red layer still selected, make another new transparent layer and name it, green. Fill the selection with green(48c700).
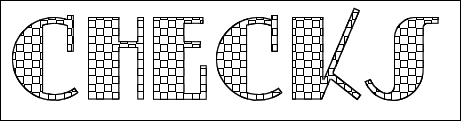
- Click the top black text layer to activate it and turn on the eye to the left of it. Select > Shrink 1. Press Delete. Rename the layer, hollowed text. You will see the green layer in the hollowed text. Keep the selection.
- Now is a good time to save your image. File > Save As. Name it checkeredtext and browse to where you want to save it, click Save. Ctrl + D to duplicate the image and close checkeredtext.xcf. If you make a mistake you will still have your main text layers and paths intact for another try at it.
- Make a new transparent layer and name it, hollowed checks.
- Make the Foreground color Black and the Background color White. Render > Pattern > Checkerboard > Size 6px. OK
- The text is black and white checks. Select > None.
- Colors > Color to Alpha. The color box should be White (ffffff). OK. You will see black and green checked text.
- Right-click the hollowed checks layer > Alpha to Selection. Select > Shrink 1. OK
- Press the Delete key. You will have hollow checks. Keep the selection.
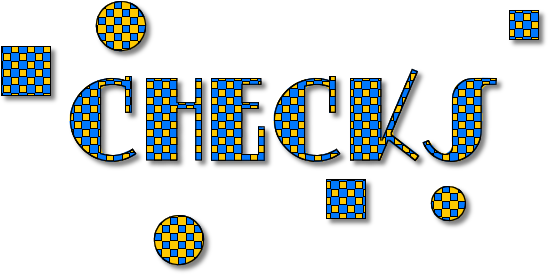
- Activate the green layer, and press the Delete key. Select > None. Now you will see green and red checks within the black checks borders.
- Turn off the eyes next to the white Background layer and the extra text layer at the bottom.
- The image below shows the layer positions with the two bottom layers' eyes turned off.
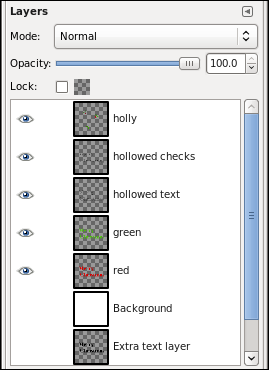
- Right click any one of the layers > Merge Visible Layers.
- Turn the eye back on next to the white Background layer.
- Click the top (checkered text) layer and make a new, transparent layer.
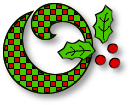
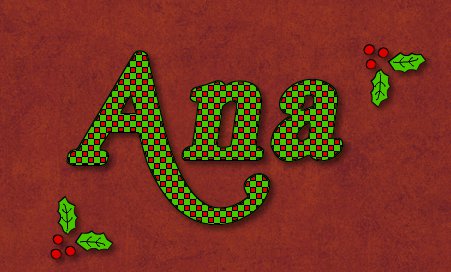
- Decorate with the Holly4 brush or any other brush. I've attached my animated holly4.gih brush below.
- Merge the holly down to the text. Add a drop shadow. Filters > Light & Shadow > Drop Shadow.
Offsets X & Y = 4
Blur Radius = 8
Opacity = 50
Finished. I hope you liked my tutorial. I've attached the xcf file so you can see the layers it if you wish; I added a readme layer that has the measurement details in it.
I've also attached a pdf file of the tutorial and the holly brush.
_________________


 thanks "O"
