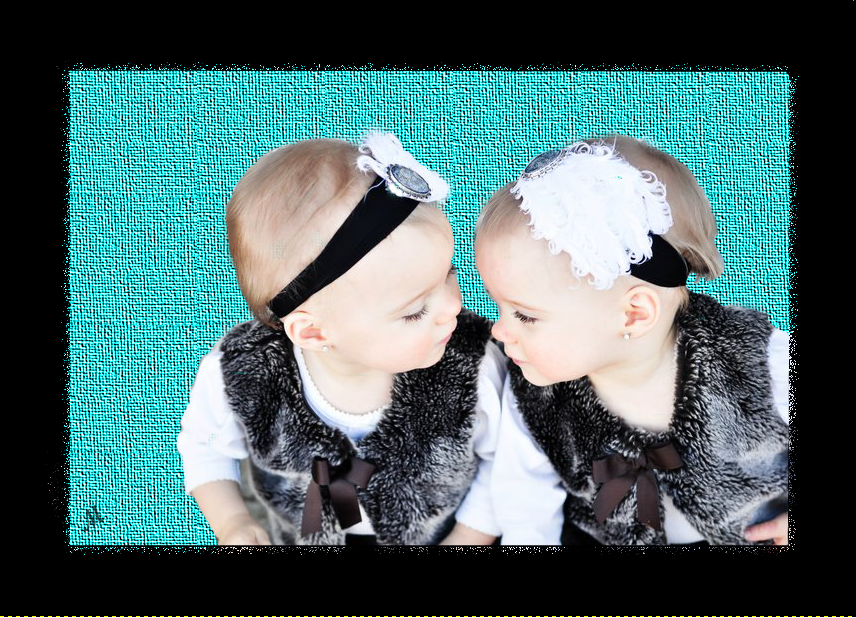
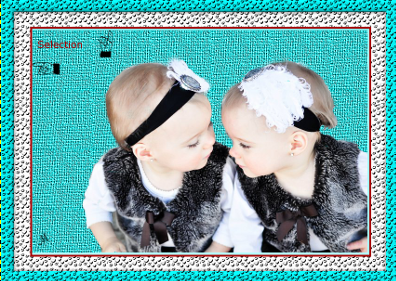
Basic Tutorial For Removing A Frame Using Quick MaskOnce again I am using my favorite twins photo.
In this tutorial I want to remove the existing frame and replace it with something else.

- Open an image of your choice, it will be named background.
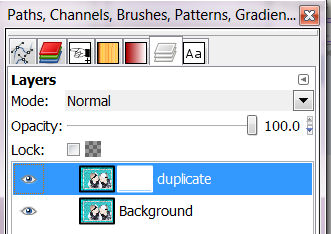
- Duplicate the layer

Name the layer Duplicate
- ( I like to use a duplicate in order to preserve the original layer.)
Turn the eye off on the BG to make it invisible
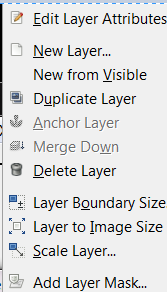
- right click on Duplicate layer, add layer mask.
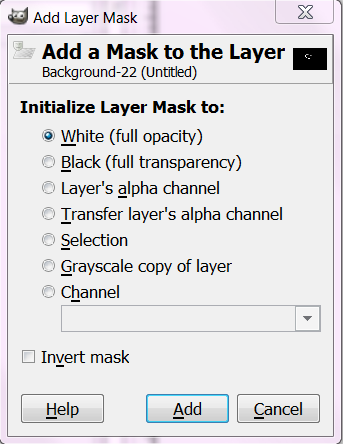
- When Layer mask dialog comes up, use default (white with full opacity)
- Set foreground color to black.
- Left click on mask to activate, (you will see a white square around the layer mask when selected.)
- Make a selection around your image, in this case I selected around the inner mat.
- fill selection with black, (you will end up with a transparent image
-CTRL-SHIFT to deactivate selection
- Colors > Invert (your image will be painted back in.)
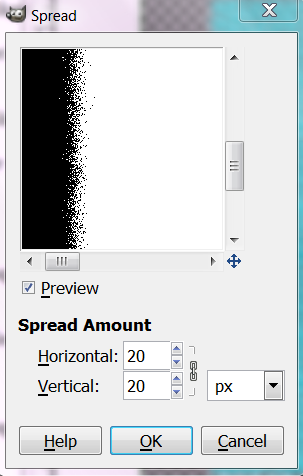
- Still working on your layer mask > Image > Noise > Spread (I used 20-Horizontal 20-Vertical
When you have your image the way you like, add new layer

, fill it will color of your choice. You can also use the color picker to select one of the colors in your image to use for a background, or use a gradient etc., then move the layer to the bottom of the stack.
Save as a XCF file if you want to go back to it or a png.
Sidenote:
Instead of using the noise filter, there is the wave, whirl and pinch, ripple, or even putting a different frame on it. experiment with different alternatives until you are happy with what you see.
There is always that famous Undo option (Ctrl-Z) until you get what you want.
I opted for a black frame to tie in the black in with the image