This is a text tutorial on how to remove the background from hair made from Jolie's video by the same name.
We will be using Layer Mask, Clone tool and the burn tool.
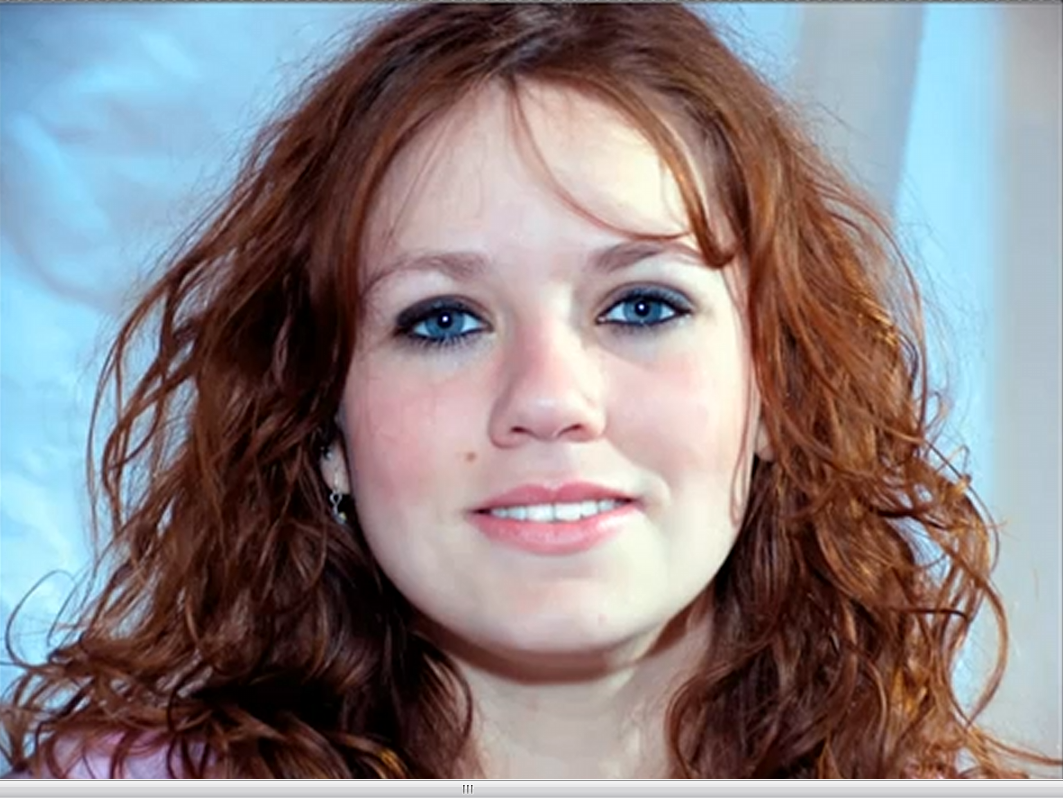
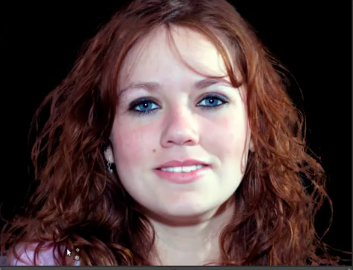
Ok, we will start by opening an image. I am using the same one that is in the tutorial because it is a nice one.
Right click on your layer image and click add alpha channel
- Duplicate layer. On this layer (the top one) colors > curves. Use settings in image below.

Play around with the curves until you get the background as white as you can get it, click OK
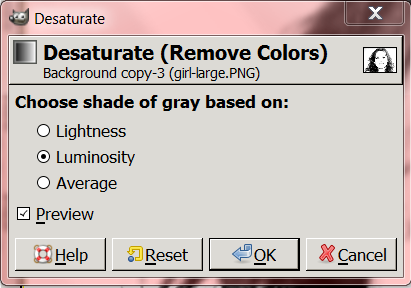
Same Layer > colors > desaturate > Luminosity > click OK (check image below)
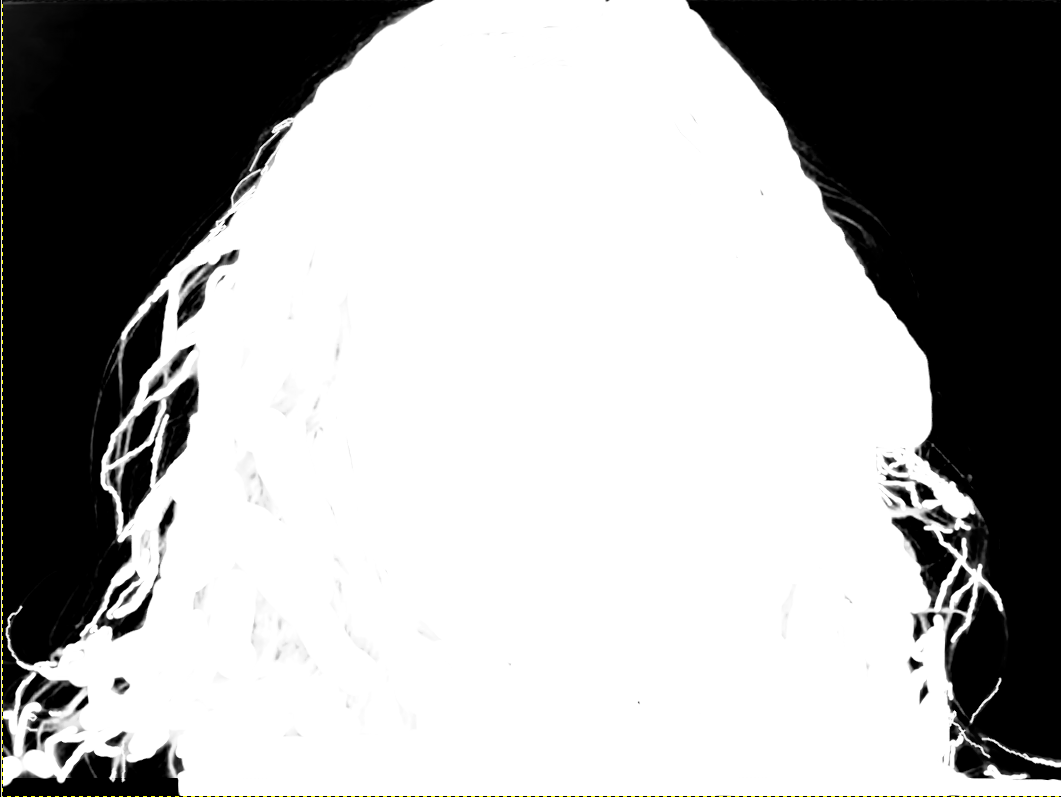
The layer mask will show everything that is white, the layer mask will shine through. Everything that is black in the layer mask will be masked. We want the face to shine through so we go to colors > invert > now her hair is white and her face is black.
Go to the paint brush tool,

make FG color white, Paint her face and neck white. Now paint all the gray areas of the hair white.
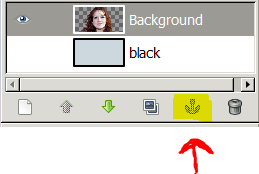
Go to the bottom layer > right click > add layer mask > white (full capacity) click add.. (check image below)
Click on top layer > edit > cut click on the layer mask > edit > paste.
A floating selection will be created in your layer dialog. Click on the anchor floating layer item below, so now you have created a layer mask (image below)
Make a new layer, fill with black and put it at the bottom of the stack. When you turn on this layer and zoom in,

you will see the gray areas still in the hair. We want to get rid of those.
To fix this, you can use the clone tool

to clone the edges.
Click on the image layer, not the mask (image below)

Ctrl click on a bit of hair, paint over the gray areas. (If it is too dark or too light, ctrl-click on a different area of the hair.
Take you time cloning. Zoom in again to see if you can see anymore background (the gray areas)
You can also use your burn tool

instead of, or in addition to cloning you can use this tool to fix the residual gray/blue from the background.


 Video from :


