This tutorial will show you how to create a sketch type image that gives you total control of detail.
Open Gimp and open any image - Be sure the mode is RGB - Colors>Mode>RGB
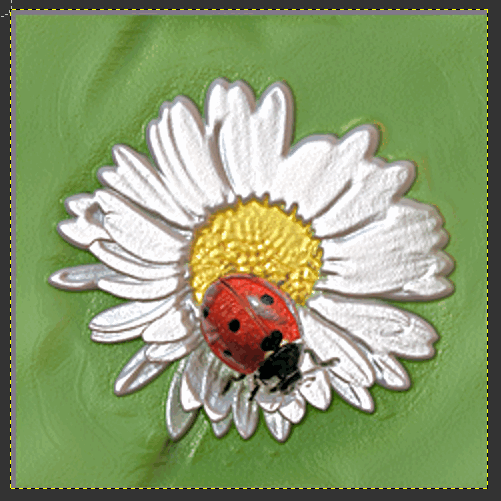
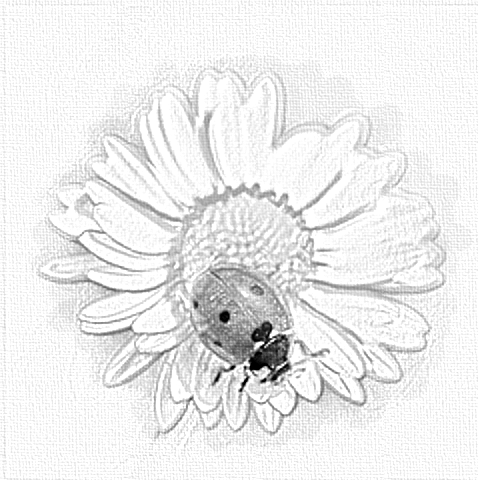
I am using this image -
1) duplicate the image and select the duplicated layer.
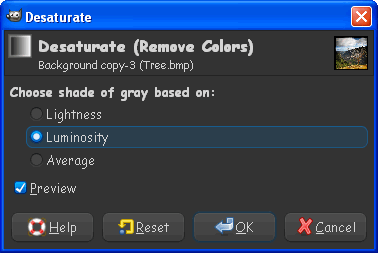
2) Go to Colors>Desaturate and make sure luminosity is checked, and click okay.
3) Duplicate the desaturated layer.Select the top layer.
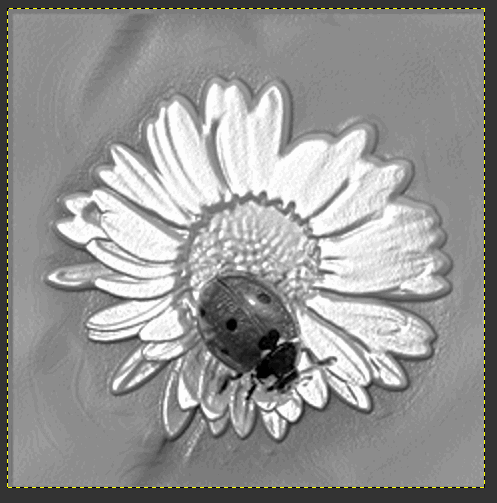
4) Go to Colors>Invert - we have now essentially created a negative of the image.
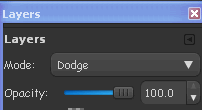
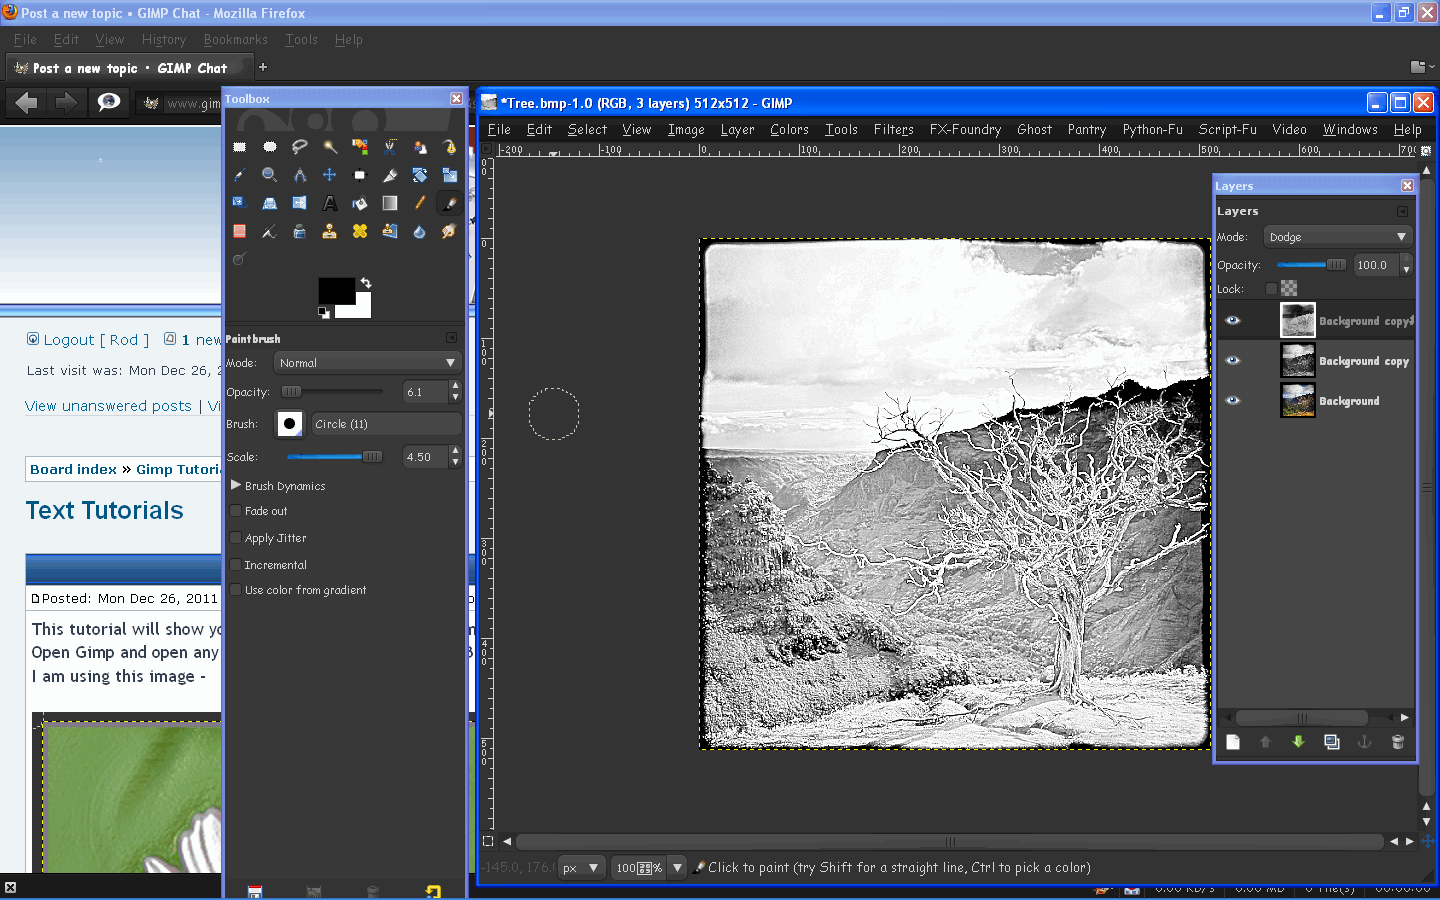
5) Change that inverted (should be top layer) to Dodge mode
The image should be mostly white with just a few spots.
6) Blur the top inverted layer - Go to Filters>Blur>Gaussian Blur and blur by 5.
Now you should see a bit more detail in the edges of the image.
7) Grab your brush - make sure your foreground color is black and the background color is white.
We need to paint with a size 10 or bigger brush at a opacity of 6.
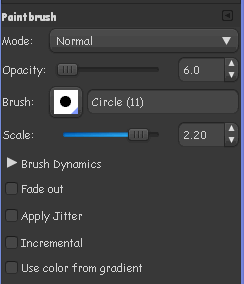
8) Okay begin painting in the detail of the lines in your image.Remember you have total control of the detail at this point.Create the detail on the subject or object you want the person that is viewing the art to focus on.
When you are finished painting in the detail we will add a paper background look.
First remember were painting with black to get the detail in.If you make a mistake change to white and paint the detail out.Easy to fix.

Also remember the more times you go over any area of the image with the paintbrush set to black, the darker or more defined the lines will become.
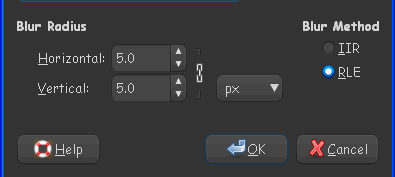
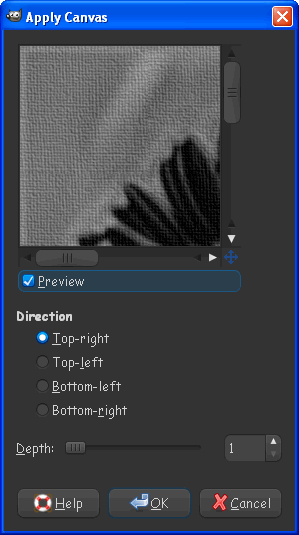
9) Now when you are sure you are done with the painting make sure your top layer is still selected , and go to Filters>Artistic>Add Canvas
Use these settings
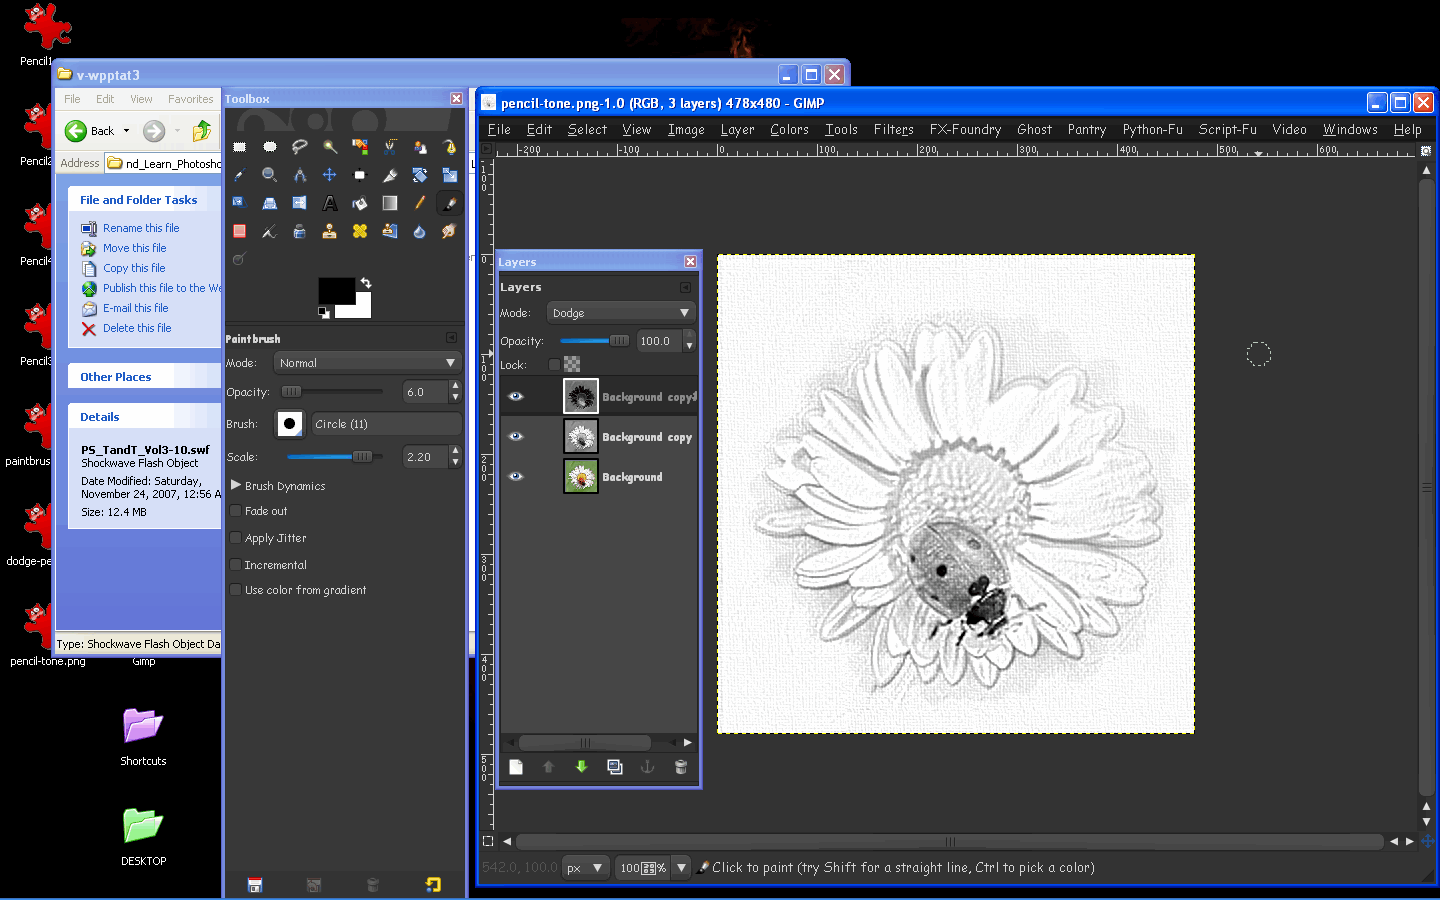
Your layers should look like this
Finished results
Another
Thanks for checking out the tutorial!