I saw a two step mini tut over at Gimp Talk and was (you guessed it) experimenting again and came up with an entirely different look.
Step 1. Open a new image and select the gradient tool. Set the gradient tool mode to "difference".
Step 2. Start clicking around in all directions about 20 to 50 times or until you get a sort of uniform look but not too dense.
Step 3. Go to Filters>Map>Bump Map and use the settings below.

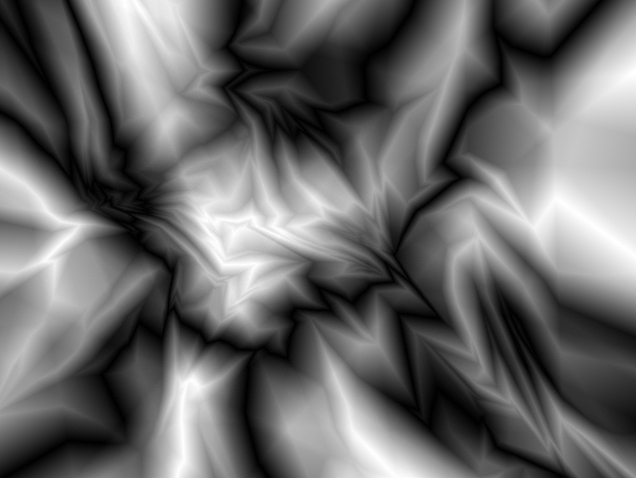
Not a lot of change in the image yet so I won't bother with a pic.
Step 4. Next is Filters>G'mic>Presets & Testing>Photocomix Smoothing and use these settings.
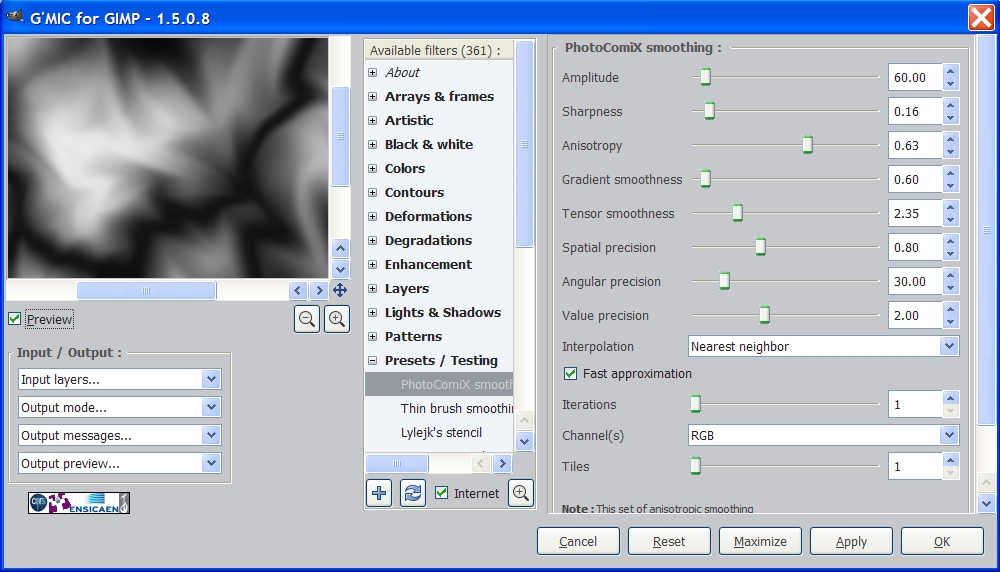
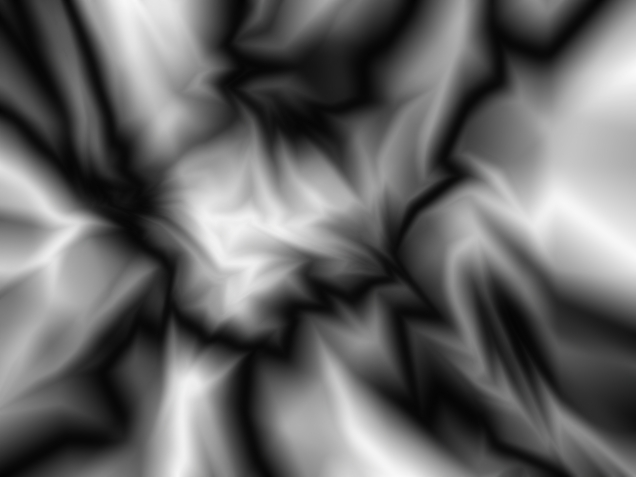
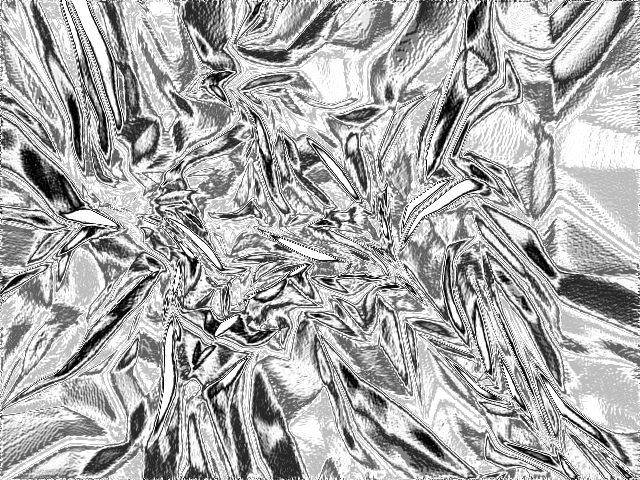
And you get something like this.
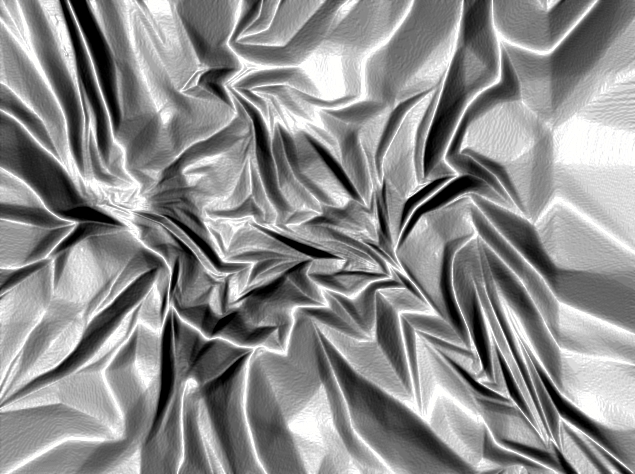
Step 5. Now Go to Filters>G'mic>Artistic>Watercolor and enter the settings shown here.
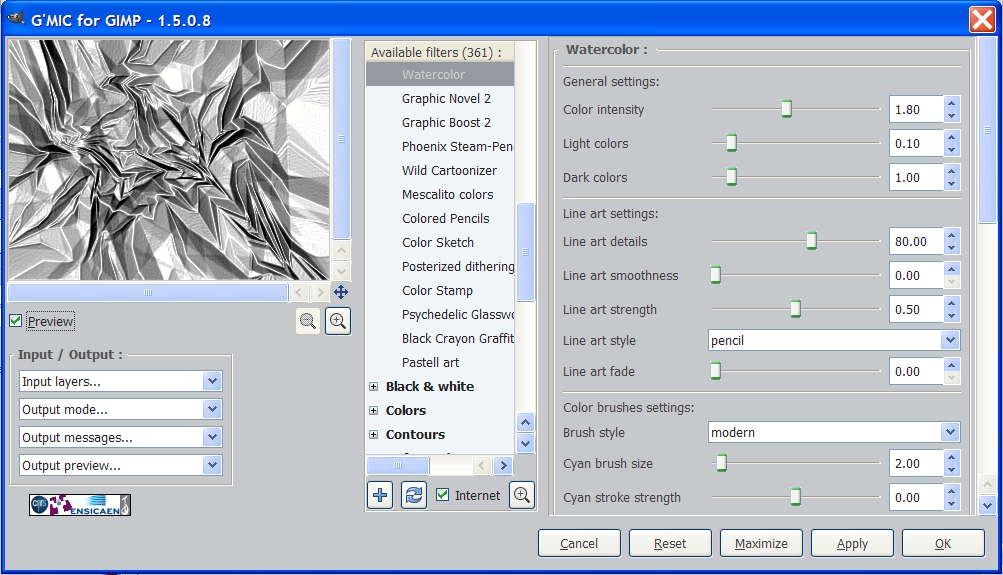
When the image renders, you will see a weird colored array and a new layer in your layers dialog. Just delete that new layer and you'll see the result of the watercolor filter.
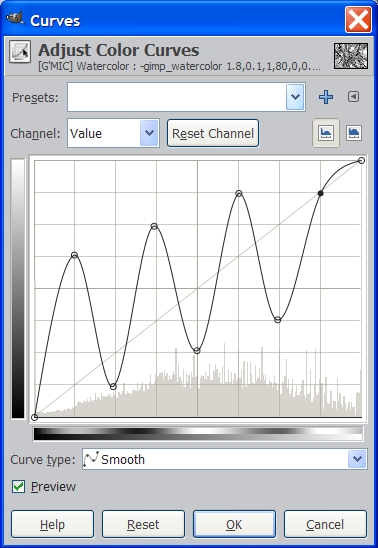
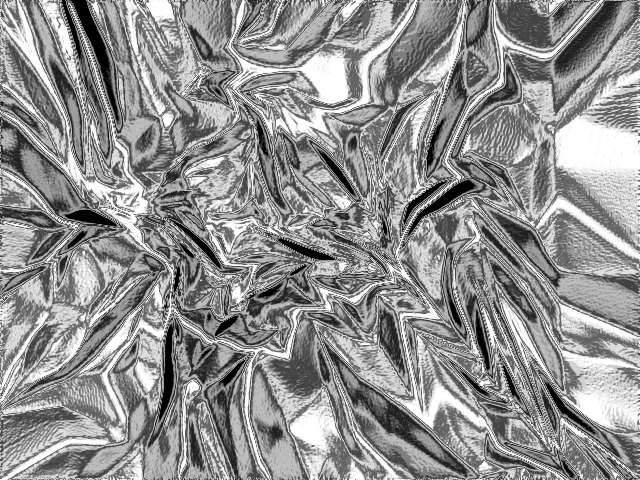
Step 6. Now go to Colors>Curves and use the "Medium Chrome" settings from the other foil tutorial I posted recently and slightly adjust the curves like so.
And we have an entirely new look to our foil.
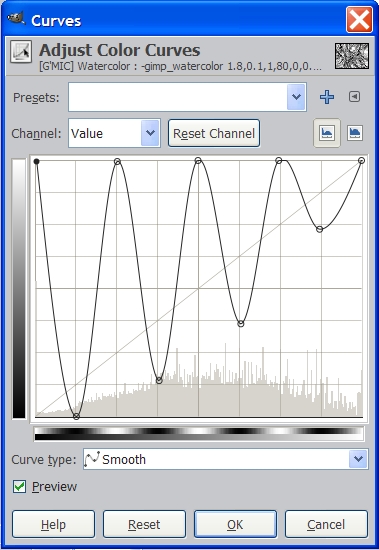
As an alternate you might want to try these curve settings as well.
I hope you have fun foiling around with this!


