This tutorial was a request for how to put snow on top of some letters, so I decided to make the whole sig into a tutorial. This one’s for you Annaica!
Step 1.
Open a new image 500 x 150 (Gimp Chat maximum signature size) and click on the Advanced options. Set the X and Y resolution to 600, and fill with FG color (black) then click OK.
Step 2.
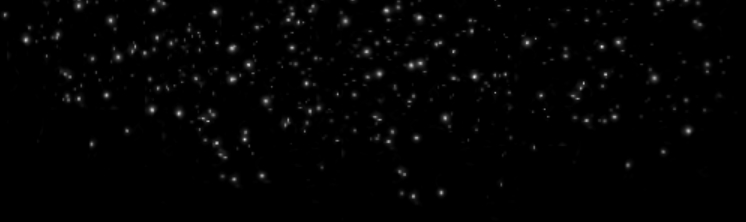
Select the paintbrush tool and use the attached “Kitra Starfield2” brush set to about .30 and paint in a few stars in the top 2/3 of the image.
Step 3.
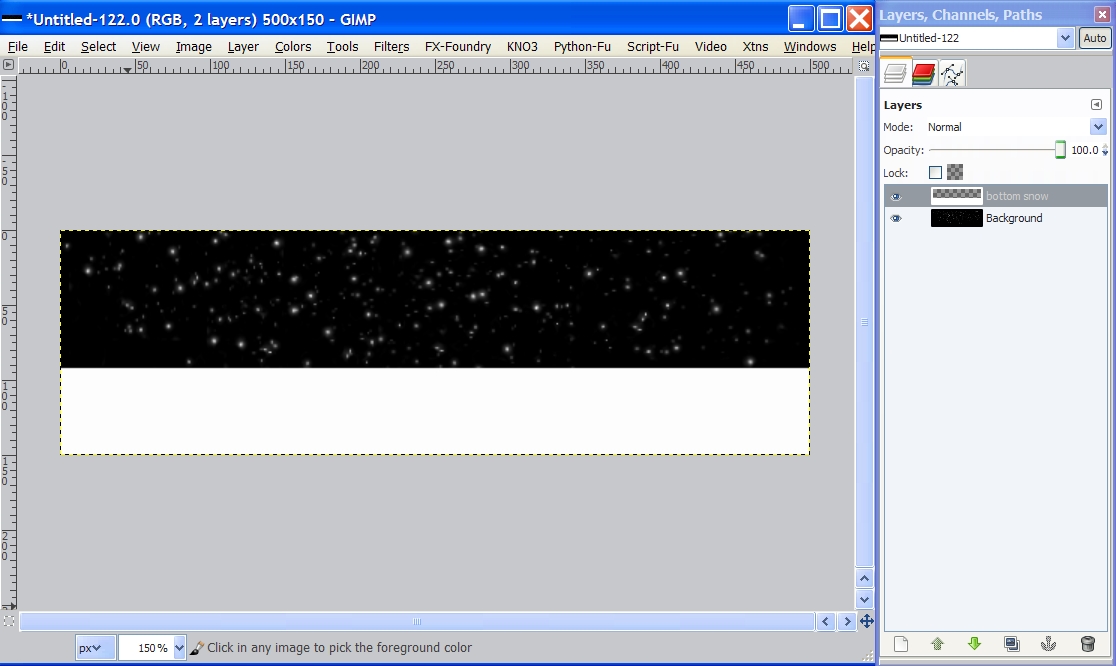
Right click the background layer in the layers dialog and select New Layer and tick the transparency button. Name it “bottom snow”. Using the rectangle select tool, select an area in the bottom 1/3 of the image. Now set your FG color to white (FFFFFF) and drag the white color over to your selection to fill it with white. We’ll come back to this layer later.
Step 4.
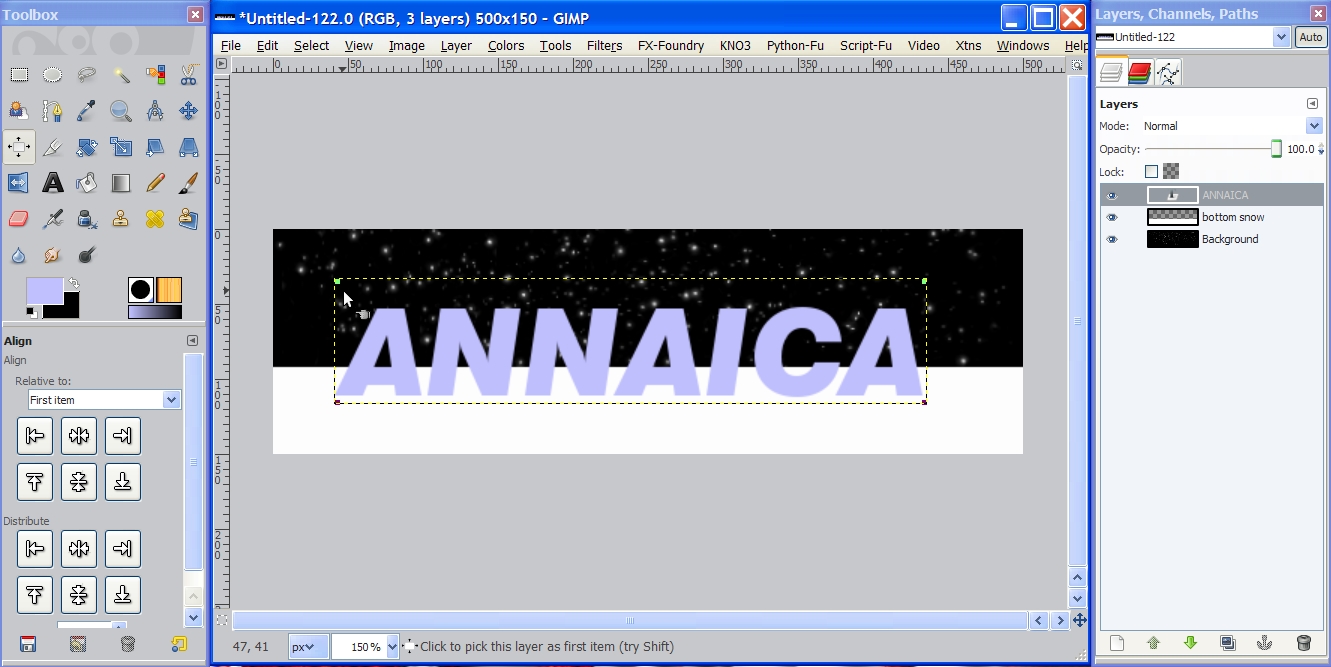
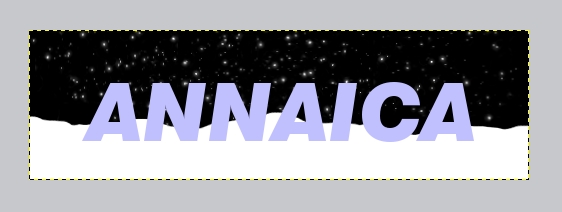
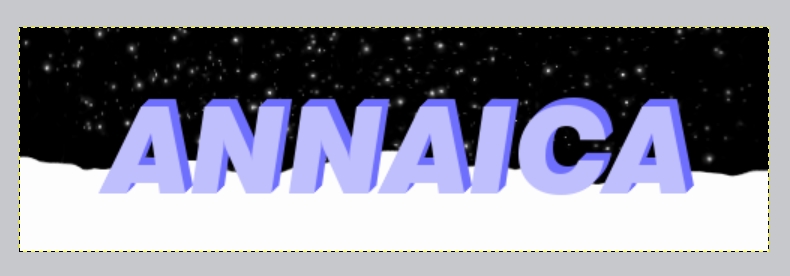
Type in some text. I used a Swiss 721 Blk BT Italic font set at 80 and a light blue color.
Use the alignment tool to center your text then right click on the text layer in the layers dialog and select “Layer to Image Size”.
Step 5.
Now click on the bottom snow layer to make it active and use the eraser tool and the circle brush to make it look like snow. The text gives us a better idea of what to erase.
Just keep playing around with it, painting in some white, erasing, etc. until you get it like you want.
Step 6.
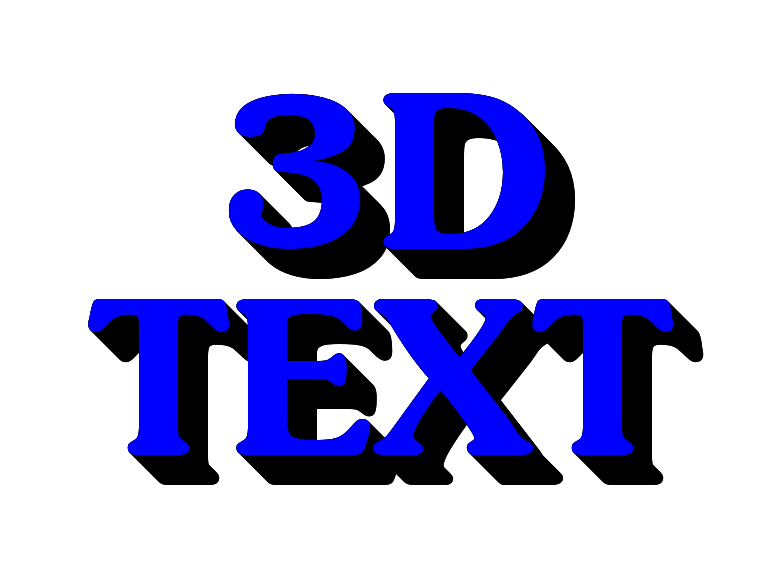
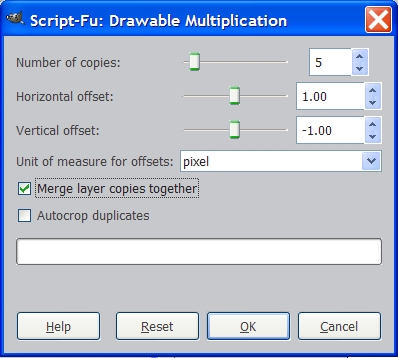
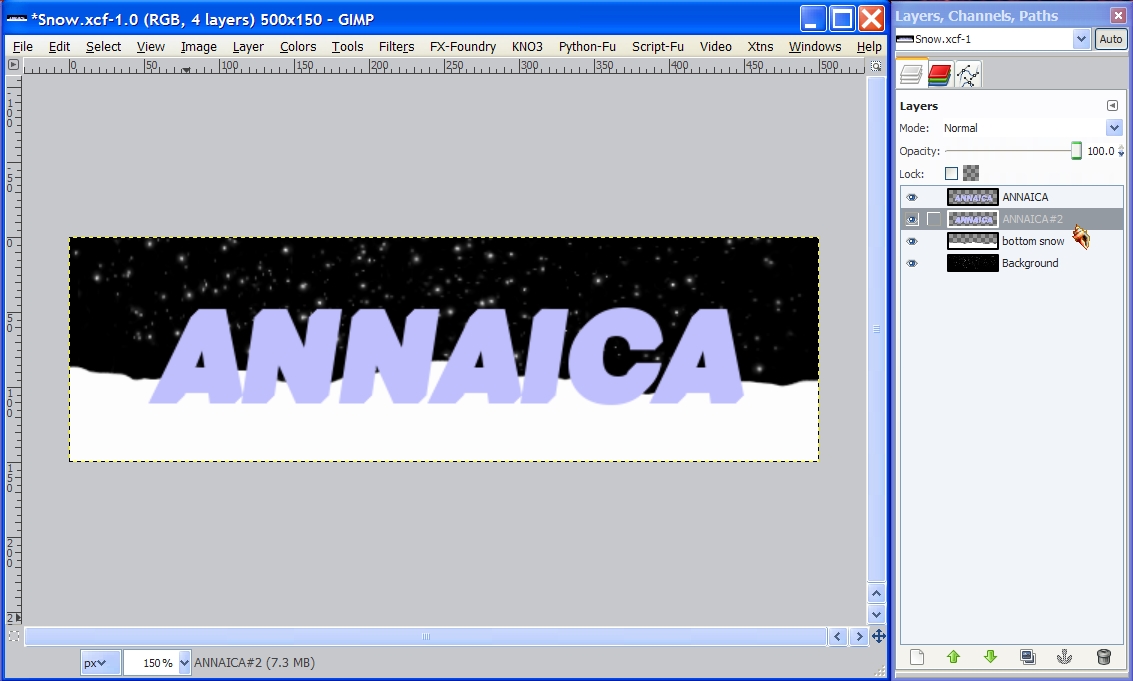
Select the text layer to make it active, right click and select drawable multiplication. When the dialog opens enter the settings as shown below and click OK. Once the filter has done its magic, you will see that a new text layer #2 has been created. Move this layer down below the original text layer. Now right click in the layers dialog and select Layer to Image Size.
Step 7.
Go to Colors>Curves and drag the middle of the line down just enough to darken the 3D portion or text layer #2 a little bit, like in the settings below.
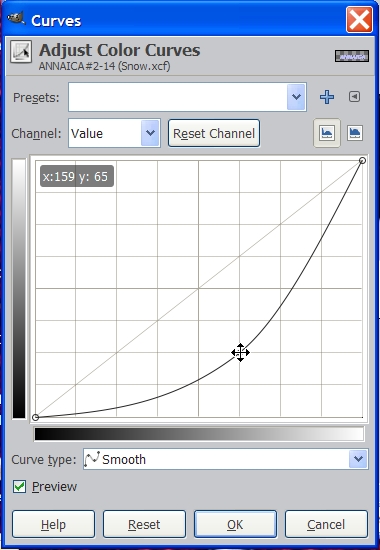
Now we can see the 3D layer a little better. You can also adjust the curves of the original layer as well if it looks too bright. Just make sure to keep the 3D layer a little darker.
Step 8.
Duplicate the top, original text layer one time and name it shadow. Right click and select Alpha to Selection. Make sure your FG color is set to black (000000) then drag the color to the selection in your image to color the text. Go to Filters>Blur>Gaussian Blur and set both values to 15 and click OK. Move this layer below the other two text layers so it is in the third position in the layers dialog.
Step 9.
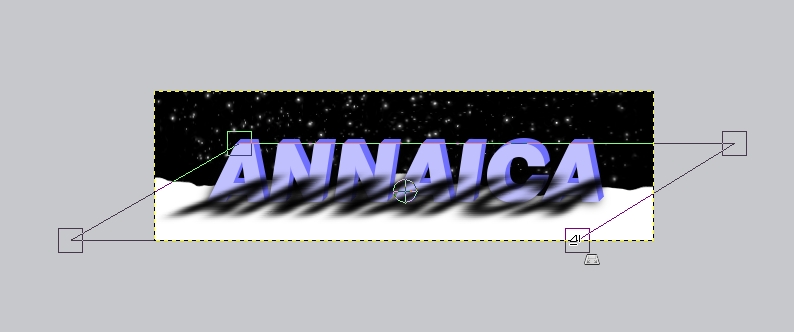
Now let’s make the shadow appear to lean away from the text. Select the Perspective tool and click on the image to activate it. You will see the blurred shadow layer appear in the foreground. Drag the top left corner down to the top corner of the first letter. Now drag the top right corner down and to the right until the line across the top is perfectly straight and horizontal, and the distance of the offset to the right matches the distance of the offset we made at the top left. On the bottom corners we just need to try and move both corners to the left about the same amount as we moved the top corners.
Look at the screenshot below to help you understand this step if you are new to the perspective tool. Once you get it about even looking, click the “Transform” button in the Perspective dialog box.
Now click on View>Zoom>400% and select the move tool. Make sure the “Move Active Layer” button is ticked and move the shadow layer up and to the right until you can barely see it below the text like so. Right click and select Image to Layer Size.
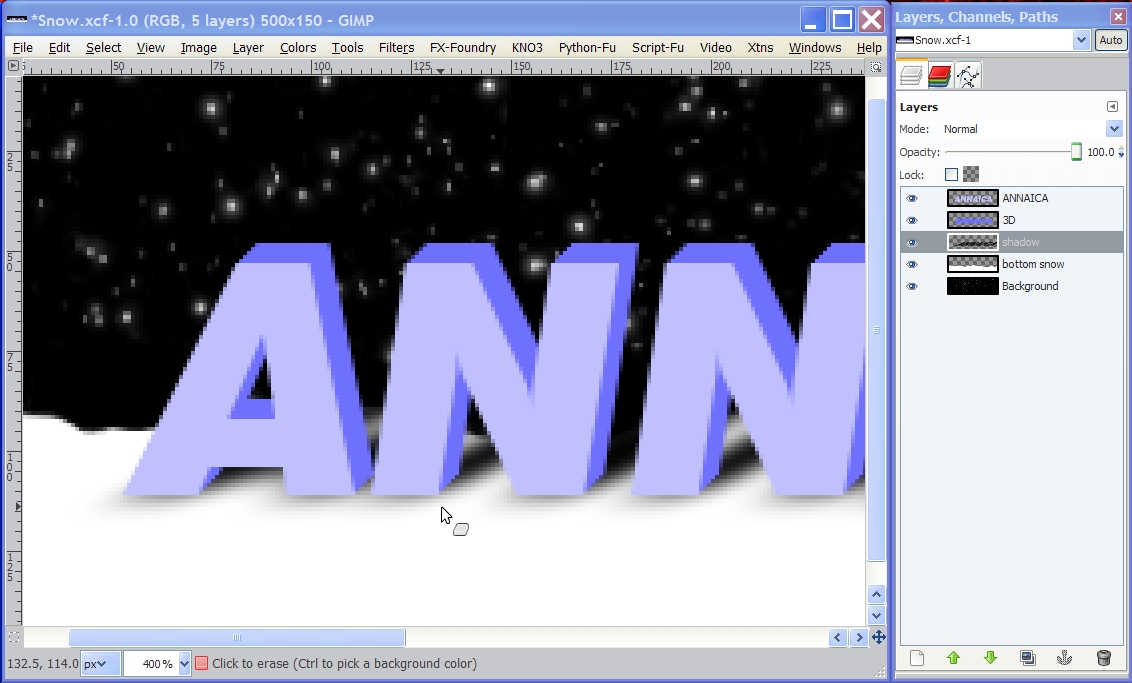
Now select the eraser tool and the fuzzy circle brush to carefully erase just the portion of the shadow that is visible below the letters being careful not to erase the parts showing underneath or to the right of the letters. You can also click on one end and while holding down the shift key, move to the other end and click again to erase a straight line.
Step 10.
Select the top layer and right click, create a new transparent layer and name it “front snow”. This will be the snow piled up in front of the letters. Set your FG color to white (FFFFFF). Use the paint brush tool and a circle brush to paint in a few little humps of snow in front of the letters.
Now that we have this part done, it looks like I didn’t get the bottom snow layer high enough. So let’s adjust the bottom snow layer a bit to let the shadows show up more and give the image more depth. Select the bottom snow layer in the layers dialog, to make it active, and use the paintbrush tool to paint in a little more snow behind the letters. You may find it easier to use the move tool to move the whole layer up a little and then right click, Layer to Image Size, and just paint in the bottom area with white.
There, that looks better. Now right click anywhere in the layers dialog and select Merge Visible Layers.
Step 11.
Now let’s add a little more depth to the snow layers. Create a new transparent layer and call it “snow shadows”. Set your FG color to a light gray color (BEBEBE). Select the airbrush tool, a fuzzy circle brush set at .70, and paint in a few shadows similar to this.
They will be very faint so zoom in if you need to. You may want to experiment a few times until you are satisfied. Working on this separate transparent layer makes it easier to start over if you need to.
Once you are satisfied with the shadows, go to Filters>Blur>Gaussian Blur and set the values to about 5 just to smooth out the brush strokes a bit. Merge this layer down.
Step 12.
Create a new transparent layer and place it at the top in the layers dialog and name it “snow caps”. Using the paintbrush tool and a circle brush set at about .30 to .40 and start painting in some snow on top of the letters, then go back with a very small brush size and paint in the icicles.
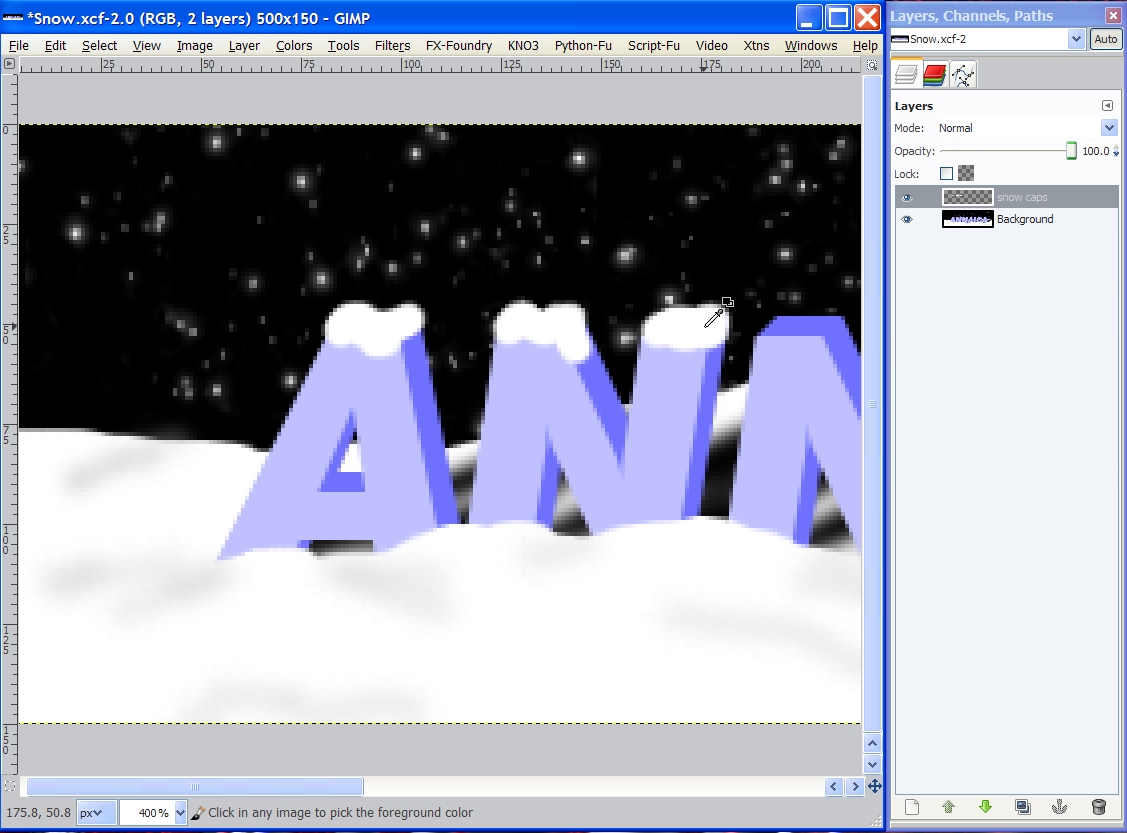
Paint in your shadows on a new transparent layer and blur them just like we did for the snow, then merge the shadow layer down into the snow caps layer.
Step 13.
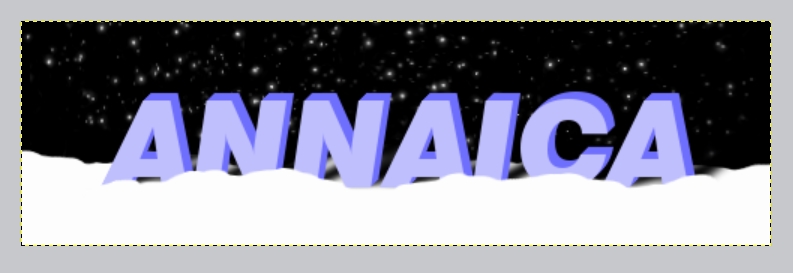
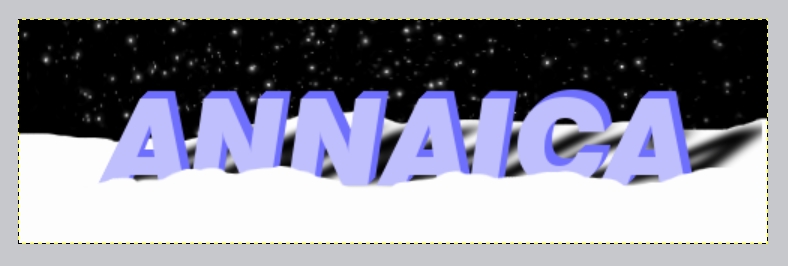
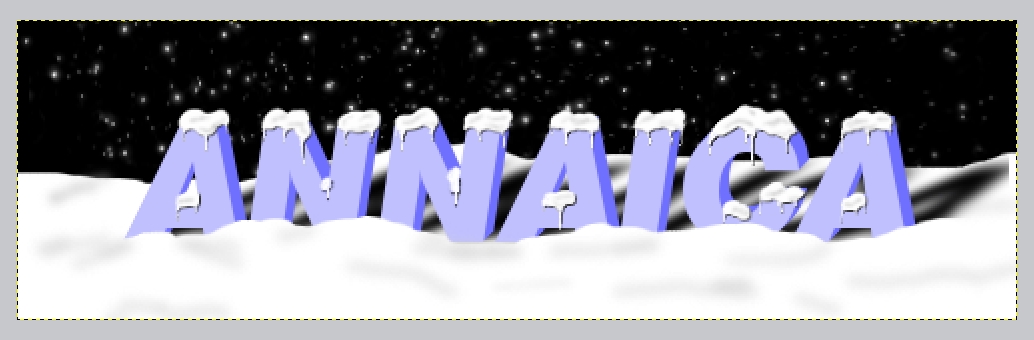
To finish off this tutorial, we need to add one more touch by giving the snow on top some depth. Go to Filters>Map>Bump Map and use the settings below.
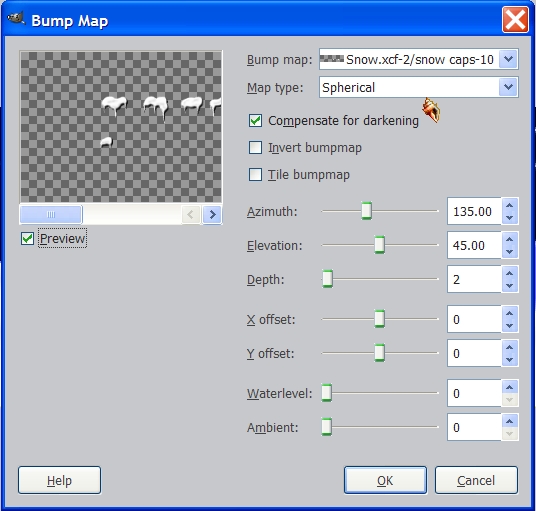
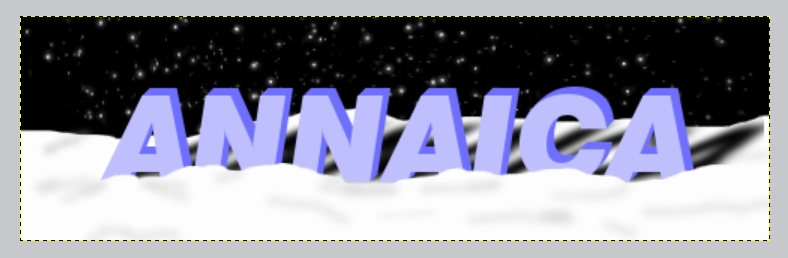
Now you have a completed sig with snow all around and on top of the letters.
Another option would be to add some texture to the 3D letters, or to make the letters look like semi-transparent blocks of ice, but that’s another tutorial.
I Hope you enjoyed this tutorial. Now go play in the snow!