There are probably at least a dozen different ways to make glitter and I used the basic process from a tutorial on making stars for a space background to make this one. This is my result after considerable experimentation and trying to remember and recreate what I had done before, accidentally deleting all my work and starting over from scratch. At long last I think I have the procedure down to only a dozen steps or so, and a very close replication of my original work. You can download all 22 of my glitter patterns, the .xcf file and everstuff here.
http://www.mediafire.com/file/7xn3b1t48 ... Glitter.7z
Step 1.
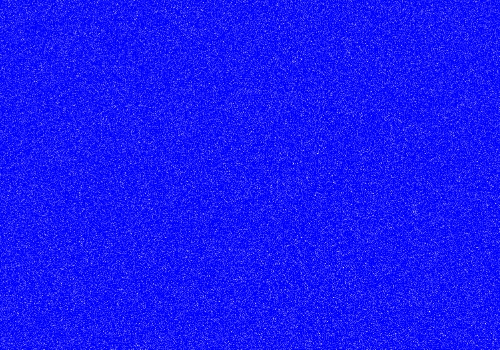
We will be making a pattern that we will ultimately save to be used in future creations, so we need an image sized in increments of 128 pixels. This is the ratio that Gimp uses to repeat a pattern. Let’s use a bit larger pattern size of 512 x 512 pixels. We need a higher resolution so our pattern looks good at most any scale, so set it at 600 ppi or higher. Open a new image and fill it with Blue (0000FF). Right click on the blue layer in the layers dialog, and select Add Alpha Channel. Rename this layer “blue”.
Step 2.
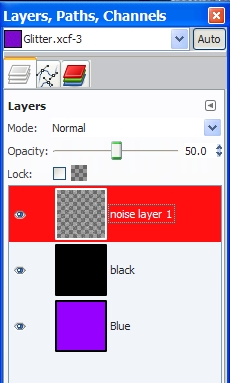
Create a new layer above the blue layer named “black” and (you guessed it) fill it with Black (000000). Duplicate the black layer one time and name the duplicate “noise layer 1”. Set the Opacity of the original black layer to 20%. This will darken our colors just a little.
Step 3.
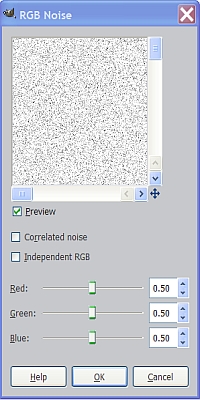
Click on noise layer 1 in the layers dialog to make it the "active" layer again. Go to Filters>Noise>RGB Noise and uncheck the “Independent Noise" box. Set all the values to .50 and click OK.
Next, go to Colors>Levels and set the left output level to 50 and the right output level to 150 then click OK.
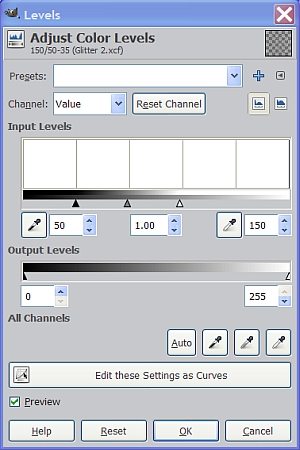
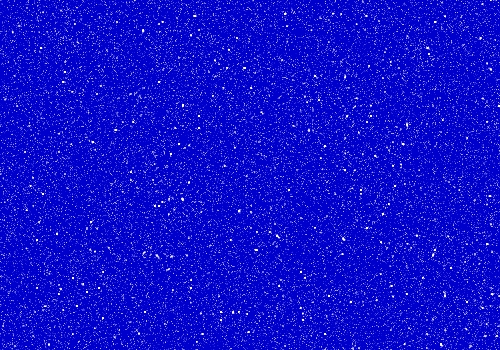
Your image should look something like this, except that it will be perfectly square.
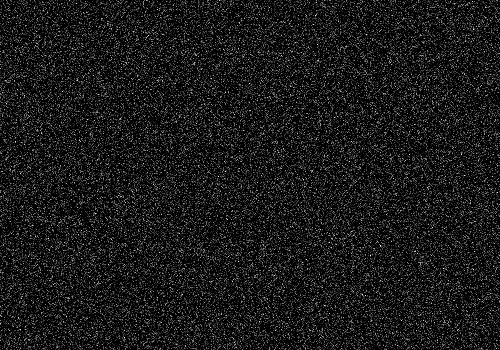
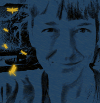
Now select the Brush tool and set the layer mode to Color Erase. Make sure your FG color is set to Black (000000) and “erase” the black from your image. The blue layer should become visible as you erase and the noise will remain intact. Your noise layer should look something like this.
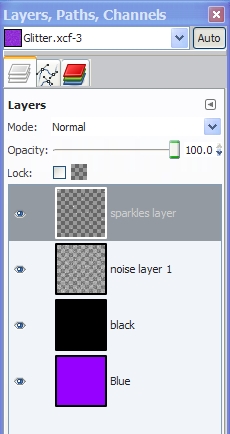
Set the Layer Opacity at 70%. You should now have three layers.
We will pretty much follow this same procedure several times using different settings so I’ll only show some of the screenshots for a few of the following steps.
Note: Each time we create a new layer, Gimp will position it above the last active layer. If for some reason it is not, make sure that each new layer is above all the others, as you create them, before proceeding.
Step 4.
Create another new layer and name it “noise layer 2” (your FG color should still be black). Go to Filters>Noise>RGB Noise and create your noise just like in Step 3 again. Go to Colors>Levels and this time set the levels at 100 for both output values. Keep the Opacity for this layer at 100%.
Step 5.
Create a new layer named “noise layer 3”. Go to Filters>Noise>RGB Noise and create your noise just like in Step 3 again. Go to Colors>Levels and this time set the left output to
100, and the right output level to 150. Use the brush tool set to Color Erase again to erase the black color.
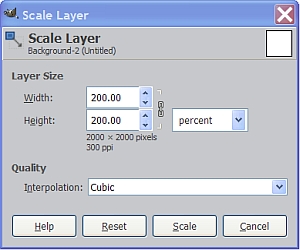
Now go to Layers>Scale Layer and in the drop down box on the right, set the mode to “percent”, then enter 200 for the value to make your layer 200% bigger.
After scaling the layer, be sure to resize it by going to Layer>Layer to Image Size. You can do the same thing by right clicking on the layer and then select Layer to Image Size. Either way works the same.
This will effectively make all your dots twice as big and crop the layer back down to same size as the other layers. Keep the Opacity for this layer at 100% as well.
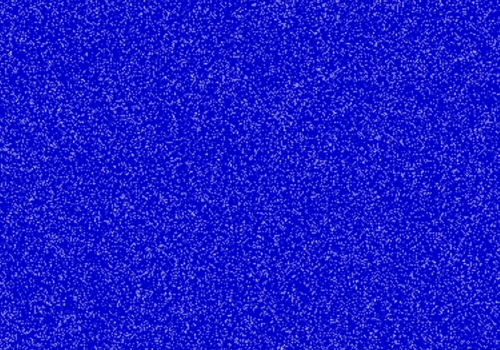
If you tick the eye in front of layer 2 to turn off the visibility, you will see the bigger dots from noise layer 3 more clearly.
I will shorten the wording on the following steps now that you understand the basics. You can always refer to Step 3 again if you forget anything.
Step 6.
New layer named “noise layer 4”
RGB Noise
Colors>Levels – left at 50 & right at 100
Brush tool set to Color Erase, erase the black color
Layers>Scale Layer at 200%
Layer to Image Size
Set Layer Opacity to 50%
Step 7.
New layer named “noise layer 5”
RGB Noise
Colors>Levels – left at 100 & right at 100
Brush tool set to Color Erase, erase the black color
Layers>Scale Layer at 200%
Layer to Image Size
Set Layer Opacity to 50%
Step 8.
New layer named “noise layer 6”
RGB Noise
Colors>Levels – left at 50 & right at 150
Brush tool set to Color Erase, erase the black color
Layers>Scale Layer at 300%
Layer to Image Size
Set Layer Opacity to 25%
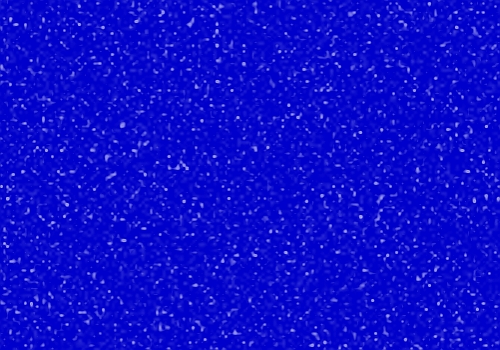
I have turned off the visibility on layers 1 thru 3 so you can see the results of steps 4, 5 & 6.
Step 9.
New layer named “noise layer 7”
RGB Noise
Colors>Levels – left at 50 & right at 150
Brush tool set to Color Erase, erase the black color
Layers>Scale Layer at 300%
Layer to Image Size
Set Layer Opacity to 25%
Step 10.
Now we need to do a few other additional steps -
Go to Layers>Transform>Flip Vertically then again only this time Layers>Transform>Flip Horizontally. Select the Move tool and make sure to tick the little circle in the tool dialog that says “Move the active layer”. Click on your image to activate the tool, then using your arrow keys, move the layer 10 pixels up and 10 pixels to the left. (each time you press an arrow key, the image will move 1 pixel). You will see a dotted line appear around the top and left borders indicating the location of the edges of noise layer 7. Go to Layer>Scale Layer and scale your layer to 101%, then Layer>Layer to Image Size. Set the layer Opacity to 25% and we’re finished with this step.
Step 11.
New layer named “noise layer 8”
RGB Noise
Colors>Levels – left at 50 & right at 150
Brush tool set to Color Erase, erase the black color
Layers>Scale Layer at 300%
Layer to Image Size
Layers>Transform>rotate 90 clockwise
Set Layer Opacity to 50%
Here are layers 7 & 8 with the larger dots, lower opacity and all the other layers turned off.
Step 12.
We’re almost done but we still need a few bigger dots.
New layer named “noise layer 9”
RGB Noise
Colors>Levels – left at 100 & right at 200
Repeat the previous step, only this time use these settings –
Colors>Levels – left at 50 & right at 100
Now continue as before -
Brush tool set to Color Erase, erase the black color
Layers>Scale Layer at 400%
Layer to Image Size
Keep the layer Opacity at 100%
You may have a few blotchy looking dots at this size but you can use the eraser tool and a small circle brush to easily clean it up if you need to.
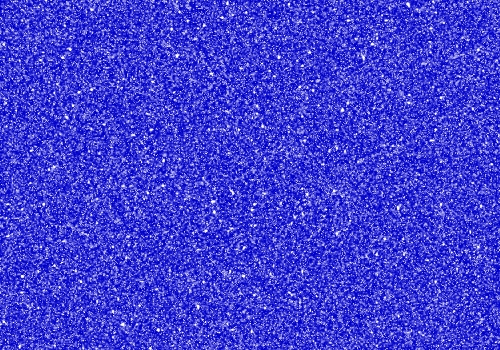
This is what layers 7 & 8 look like with layer 9 added. You can really see the big dots here.

Now turn on the visibility for all the other layers and we have our basic glitter pattern!
Step 13.
You can stop there but what’s a glitter pattern without a little sparkle? I have included a Glitter Sparkle pattern file to use for this step. I just took about five different sparkle brushes and made some random sparkles on a transparent layer. If you would like to make your own sparkles, you can find several of these types of brushes at Deviantart.com or you may like these:
http://graphicssoft.about.com/od/photos ... rakawn.htmDownload the Glitter Sparkle pattern provided, and place it in your Gimp user/patterns folder and refresh your patterns.
To refresh your patterns, click on the Bucket Fill tool and in the dialog , tick the little circles where it says “Pattern Fill” and “Fill Whole Selection”.
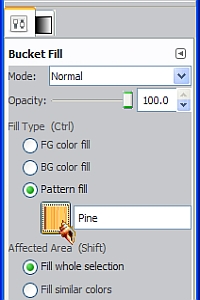
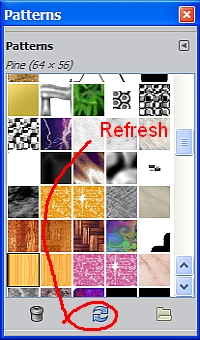
Now click on the pattern sample and when the little window pops up, go all the way down to the far right hand corner at the bottom and click on the bucket icon.

When the next window pops up, go down to the bottom of that window, and click on the two little arrows to refresh your patterns.
Now we can use our new pattern without having to close and reopen Gimp. Create a new transparent layer at the very top above all the other noise layers. Go to the Bucket Fill tool dialog and select your new Glitter Sparkles pattern, and fill the transparent layer with the sparkles pattern.
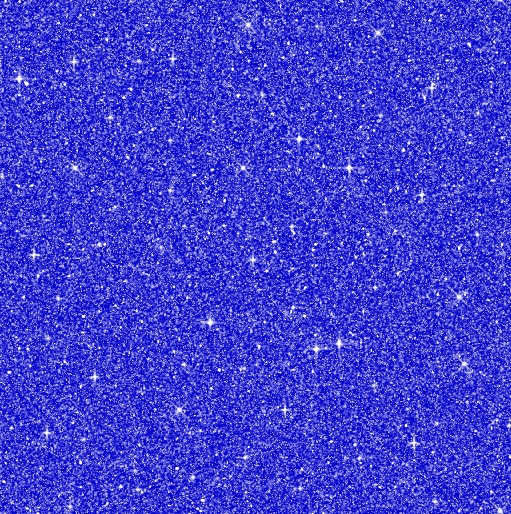
Now, doesn’t that look better?
You can make any color glitter you want by simply adding a color layer above the blue one and saving it with or without the sparkle layer turned on. For really light colors like yellow, gold and silver you will need to turn down the opacity of the black layer to about 10 %. Without some darkening, you won’t be able to see the pattern.
Step 14.
That's a lot of layers! Let's make this easier. Turn off the visibility of the blue, black and sparkles layer and make sure all the noise layers are visible. Right click anywhere in the layers dialog and select Merge Visible Layers.
You should now be back down to only four layers.
Turn the visibility of the other layers back on and we’re ready to save our Glitter pattern. For those who don't already know, I'll show you how.
Go to File>Save As and enter the name of your pattern (I used “Blue Glitter”) and type in “.pat” after it. In the drop down menu at the bottom select “Gimp pattern (*.pat)” as shown here.
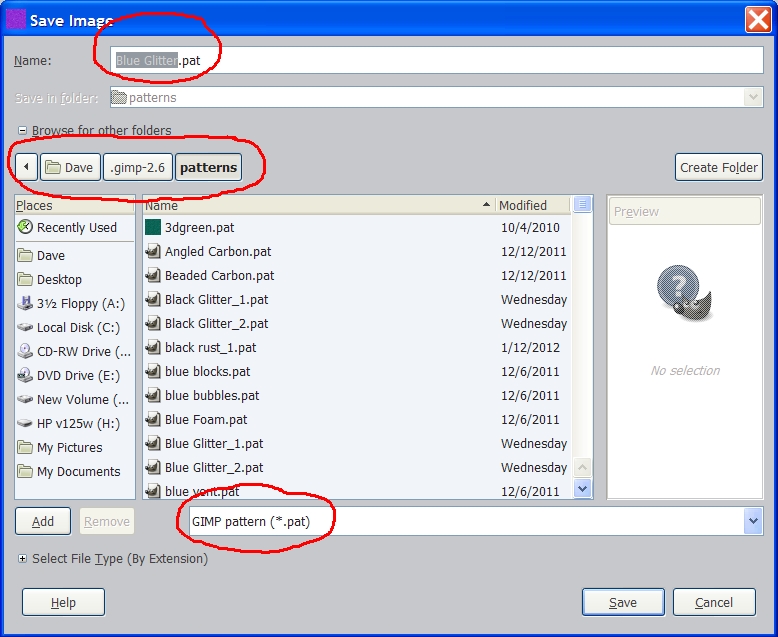
Navigate to your Gimp user folder and click OK. Since you still have four layers you'll get another dialog about not being able to handle transparancies. Just make sure the "Merge Visible Layers" is ticked and hit the "Export button". Go back and refresh your patterns and You're done. Now you can go make all kinds of things with glitter.
I hope you enjoyed this tutorial, it’s long enough!