I found this tutorial about how to manually lomoize an image.
http://chetanism.blogspot.com/2009/01/add-colors-to-your-pics.htmlHere is the text of the tutorial. I've added some notes of my own to it.
- Open your image in GIMP.
- Select whole photo using 'Select | All'
- Shrink the selection by 75 pixels My note: This depends upon the size of your image.
- Feather the selection by 300 pixels (Select | Feather) This too depends upon size
- Invert the selection (Select | Invert)
- Create a new transparent layer and select it
- Take the gradient tool, set shape to 'Radial', and add a white to black gradient from center of photo to the bottom side. You can use other colors in your gradient to get interesting effects, too.
- Set the gradient layer mode to overlay. Try other layer modes.
- If the border looks too dark, reduce the opacity of the gradient layer or ifs less dark then duplicat the gradient layer (make sure the duplicate layer is also set to overlay mode). I got the following result after duplicating the layer.
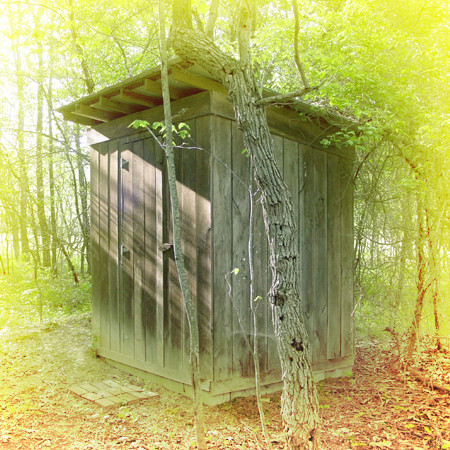
This is easy to do and quite fun.
For the gradient I used gold (FFDA800) for the FG color and medium brown (A26E2B) for the BG color and set the layer mode to Dodge.