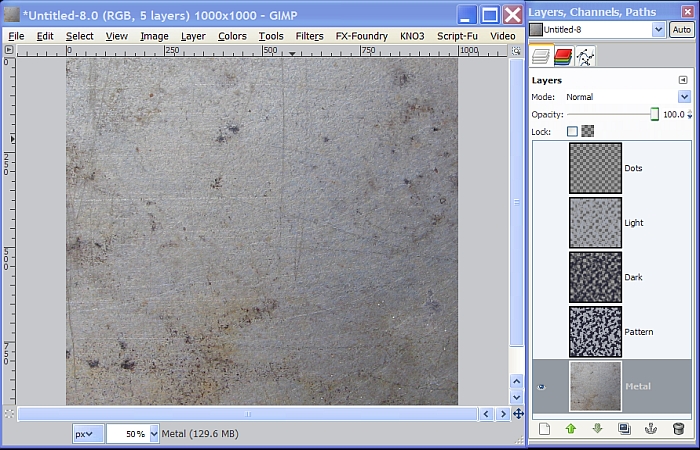
Distressed Metal
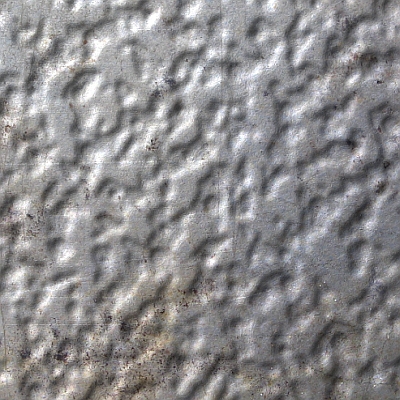
This segment will show you how to create distressed metal that has a kind of patina finish to it and a little bit of that “hit by a hailstorm” look. You won't need anything special to complete this tutorial except a metal image like this one.
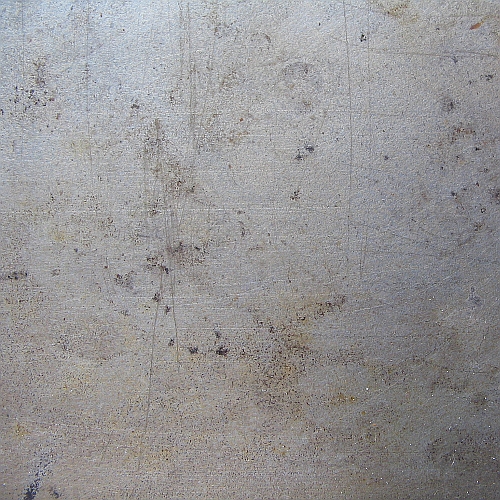
You can download this image at Deviant Art. Here’s the link:
http://nekoflamealchemist.deviantart.co ... 3#/d1yc4xdStep 1.
Open a new white background image 1000 x 1000 pixels and use 1200 for the resolution. Name this layer Pattern.
Step 2.
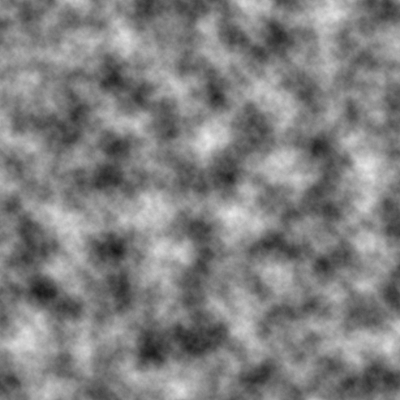
Go to Filters>Render>Difference clouds and use the maximum for all settings. Here is what your clouds should look like.
Step3.
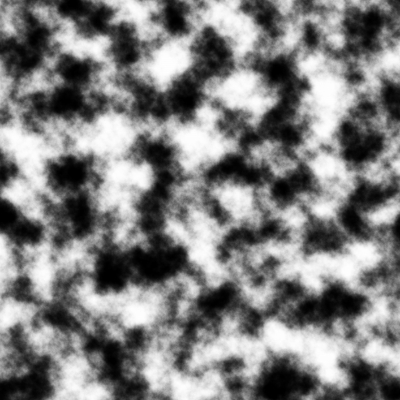
Next, go to Colors>Auto>Equalize and you get something like this.
Step 4.
We need to separate the colors even more so go to Colors>Threshold and use the default settings.
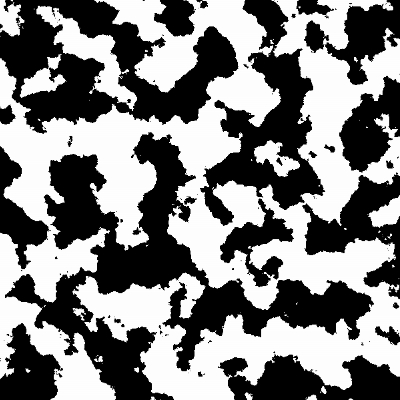
Step 5.
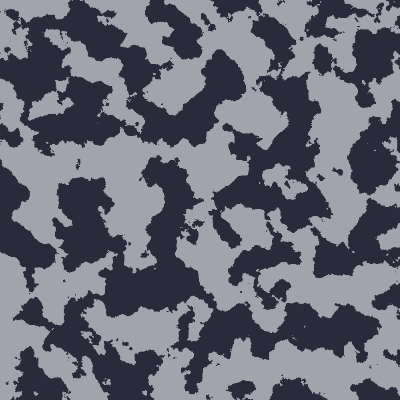
Use the Select by Color tool to select the dark areas. Set your Foreground color to 2B2B3B and your Background color to A2A5AE. Drag the FG color over to your image to apply the color to the dark areas, and then deselect it. (Select>None)
Step 6.
Now we do the same thing with the light areas, only this time we use the Background color and apply it.
Step 7.
Now that we have our colors, we need to separate them into two new layers. Using the Select by Color tool again, first select the dark areas. Go to Edit>Copy then Edit>Paste as>New Layer, then Select> None. The new layer will show up in the layers dialog as “Clipboard” so let’s rename it “Dark”, then apply a Gaussian blur at 25.
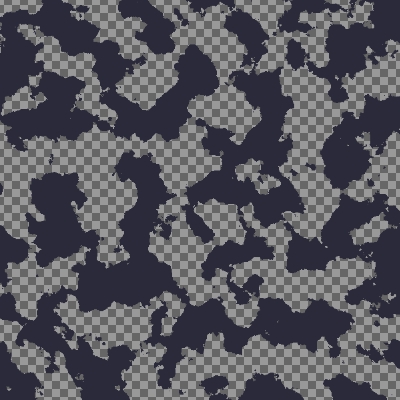
Step 8.
Click on the Pattern layer to make it the active layer again and repeat the process described in Step 7 above, for the light areas, and rename the layer “Light”.

Your layers should now look like the image below.

Step 9.
Create a new transparent layer and position it at the top of the layer stack. Name this new layer “Dots”. Set your FG color to 808080. Using a Circle brush and varying the size according to the area applied, paint different sized circles in the largest of the dark areas like so.
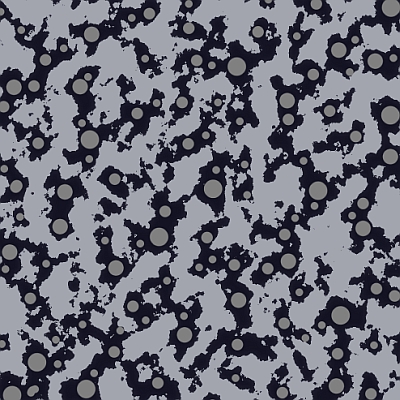
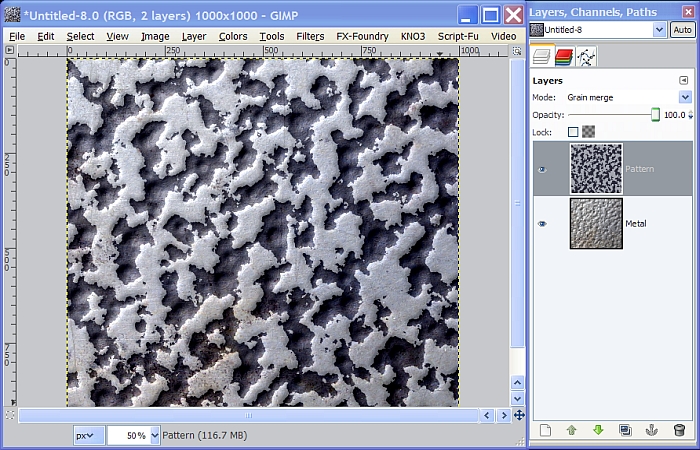
When you are satisfied with your Dots layer, apply a Gaussian blur using 25 for both settings. Set Pattern layer mode to Grain Merge, and turn off visibility of all layers.
Step 10.
Open the metal image you downloaded as a new layer, placing it below the Pattern layer, and right click on it in the layers dialog to select Add Alpha Channel. Now right click on it again and select Layer to Image Size. Rename this layer Metal for short. Here’s what your layers should look like.
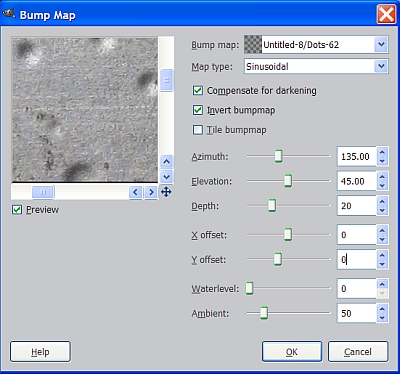
Now we need to bump map the metal image 3 times using our three other layers. Here are the settings you need to use for each bump map process. Perform the three bump maps in the order they are shown here.
Dots layer bump settings:
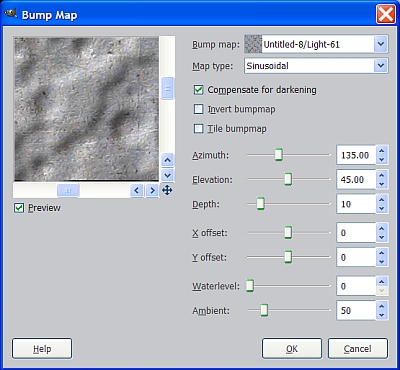
Light layer bump settings:
And finally, Dark layer bump settings:
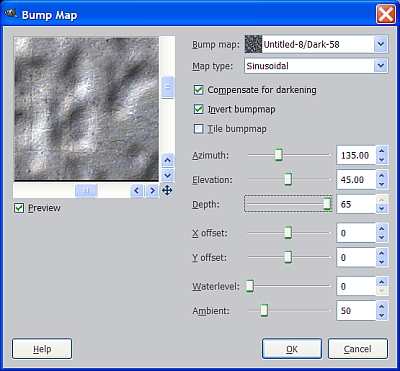
Note: if you want a softer, more subtle effect, make the depth on this one about 10.
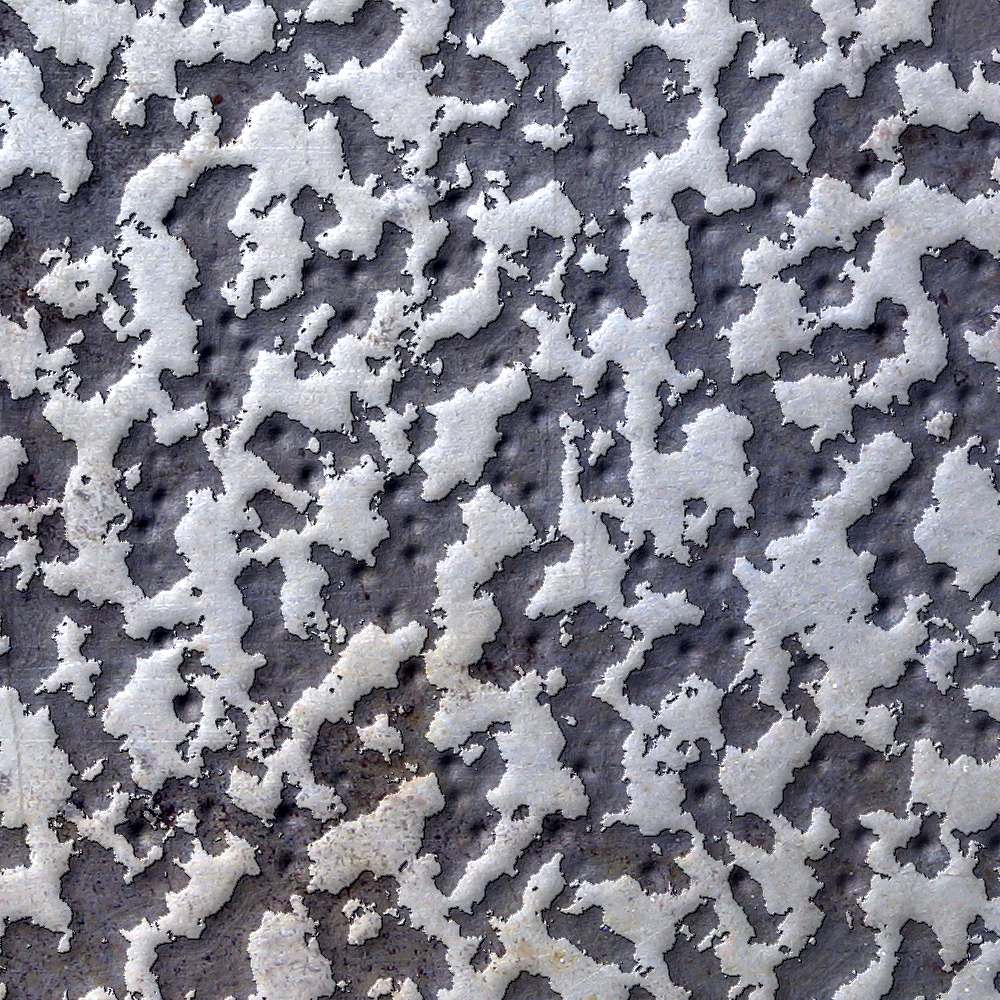
Our Metal image should now look like this after the 3 bump map operations.
Step11.
We can now delete the Dots layer, and the Light and Dark layers, and turn on the visibility of the Pattern layer. You should now see a pretty decent image of our distressed metal.
Right click anywhere in the layers dialog and select Merge Visible Layers. Apply a slight Gaussian Blur at about 2 or 3 to soften it up a bit.
Step12.
Create a new transparent layer and call it Highlight. Reset your FG/BG colors to the default black and white and reverse the colors so that white is the FG color. Select the Blend tool and select Foreground to Transparent as the gradient. Check the little box to the right to reverse the gradient so that the white color is on the left. Place your cursor at the top left corner and drag down diagonally to the bottom right corner to apply the gradient. Adjust the layer Opacity to 25% and you have your highlight.
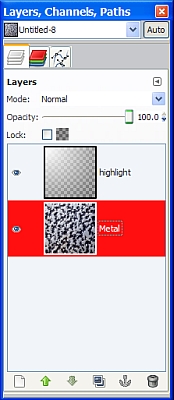
Right click on the Highlight layer and select Merge Down.
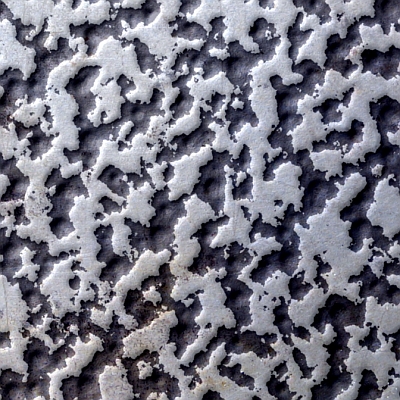
Here’s our final image with the subtle highlight.
I hope you enjoyed this tutorial. Next in our
Metal Wurx series is how to make pitted bronze metal.