Creating Engraved Text - using Gimp 2.6.10
Open Gimp and create a new document -white bg - 700x300 pixels in size. make it invisible.
Make sure your foreground color is black and background is set to white.
Create a new layer call it plate, and make it transparent.
Select the rectangular select tool, make sure rounded corners, antialiazing, and fixed SIZE are selected (tool options area)
Set rounded corners to 25 - set size to 575x225,
Drag your mouse across the transparent plate layer.A selection will appear, center it on the layer, and fill with this color 636363.
Go to Select/none to clear the selection.
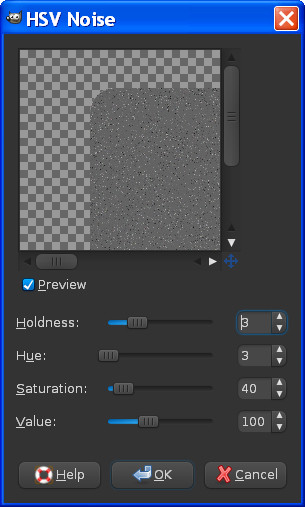
Go to Filters/Noise/HSV Noise and put in these settings
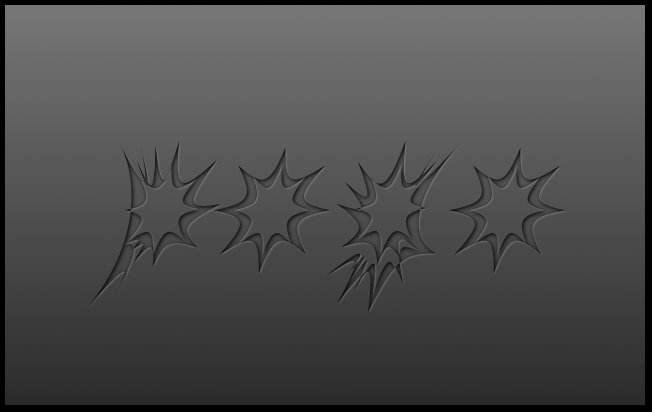
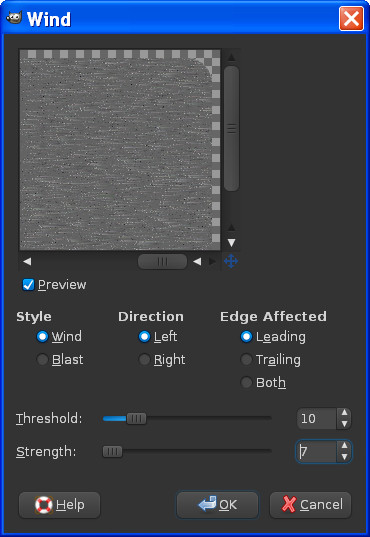
Right click alpha to selection plate layer - Go to Filters/Distorts/Wind - put in these settings.
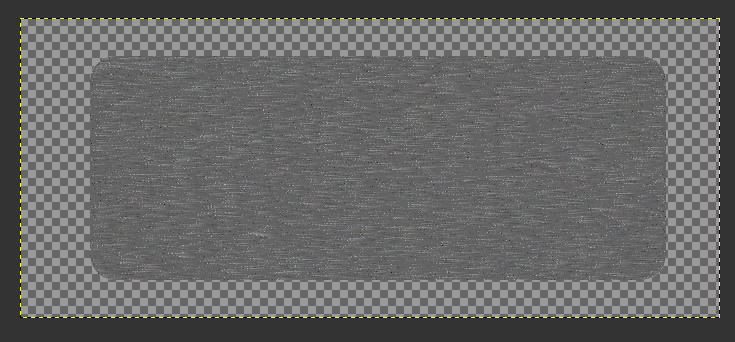
go to Select/none your image should look something like this now..
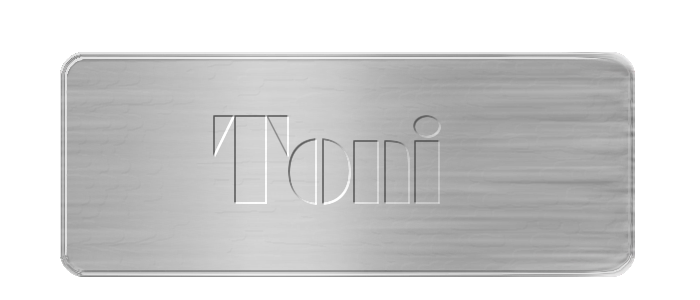
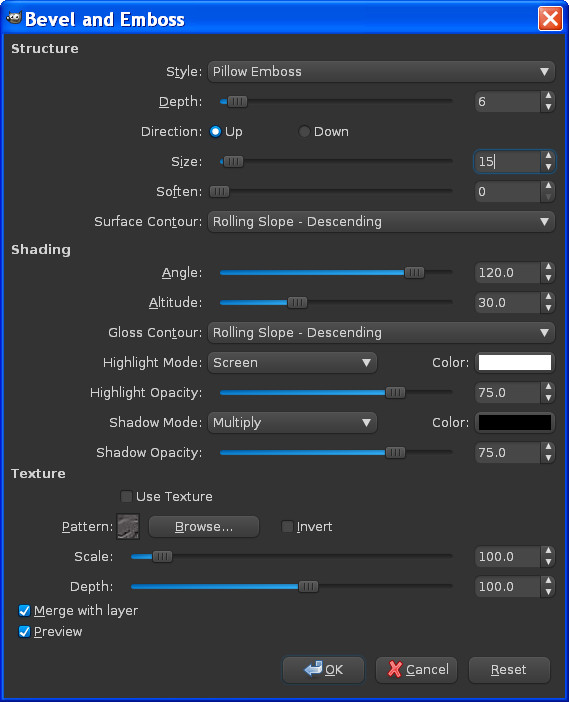
select plate layer right click alpha to selection - go to Layers/Layer Effects/Bevel and Emboss - put in these settings.
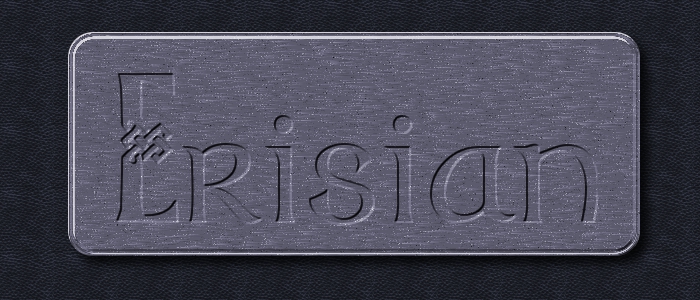
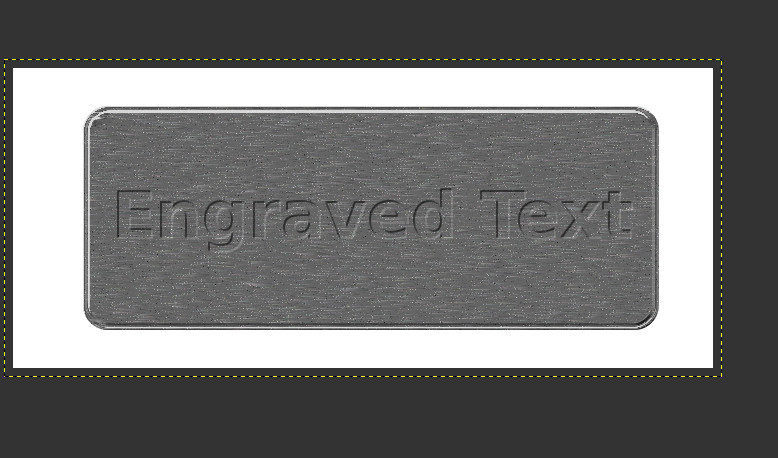
Now we have our steel plate....lets engrave it. =)
Make the bg layer visible again
Select the type tool - choose a font i used marlet Medium - type something on your plate - i typed Engraved Text - color the text black
Duplicate this layer color it 636363
make sure the gray layer is on top
move the gray type up and over 3 pixels
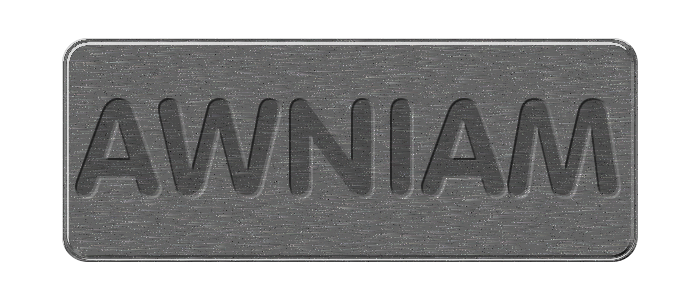
select the plate layer - go to Filters/Map/Bump Map - put in these settings

click ok
delete the type layers
You can add a shadow or whatever you like.
Done - hope you enjoyed the tutorial. =)