I can't remember where I found this one originally but I've added a Draconian twist to make the satin really shine.
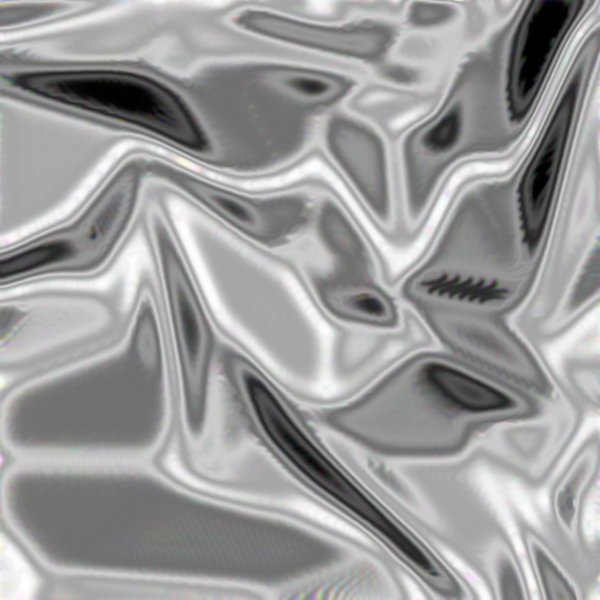
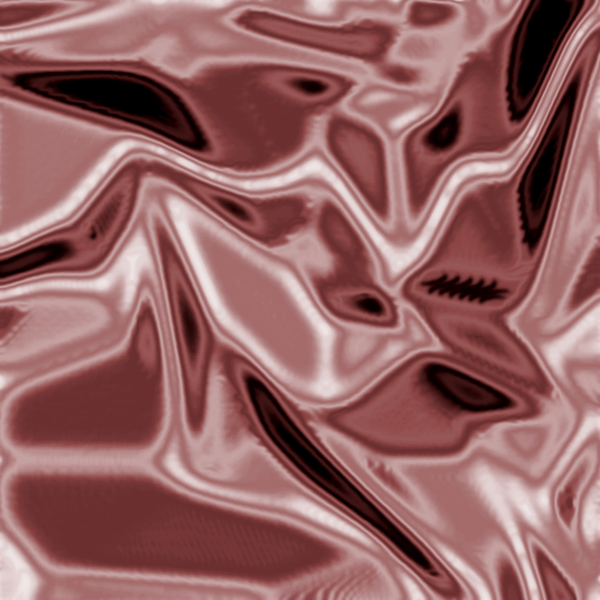
1. Create a new 600x600 document, select the gradient fill tool and in tool options change the mode to difference. Make sure fg to bg RGB is selected. Create a new white layer, name it "Material" and repeatedly run your gradient fill over it at different angles until you achieve something like the image below.

2. Open Filters>Blur>Gaussian Blur and set it to 30 pixels x and y and click OK. Open Filters>Edge Detect>Edge and click OK. You will have an almost totally black image. Select Colours>invert then colurs>levels and push the left input (top) slider towards the right until you have a good contrast. Open Filters>Blur>Gaussian Blur and set the x and y values to 8 and click on OK.

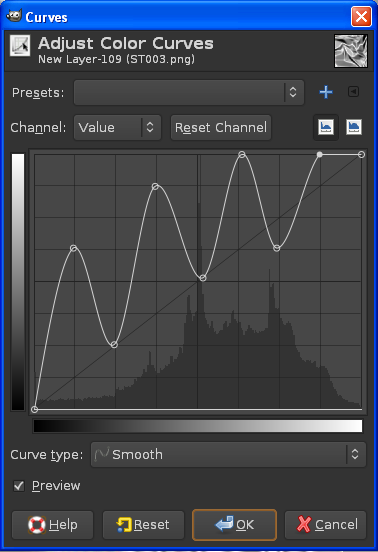
3. Here's the Draconian bit. Duplicate the layer then open Colours>Curves and copy this curve.

4. Reduce the opacity a little until you have a nice soft satin look then merge the layer down.
5. Use Colours>colourize to colour your satin.
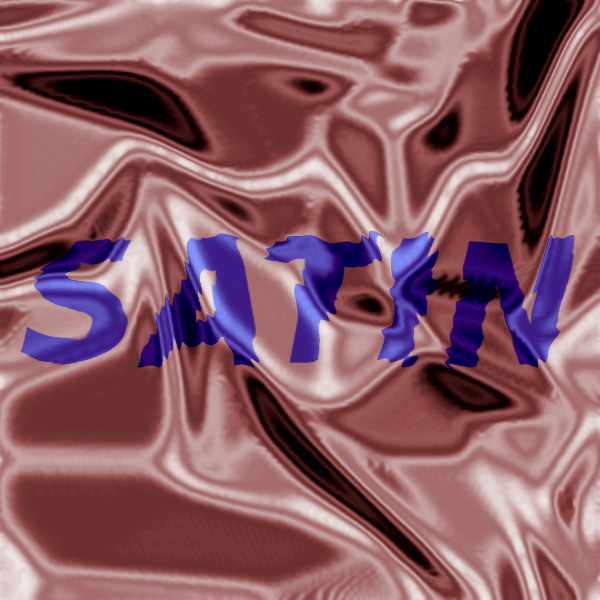
6. You might want to add some text or a design. Type some text in a bold font and a colour of your choice and size and position it. Right click the layer and choose Layer to image size.
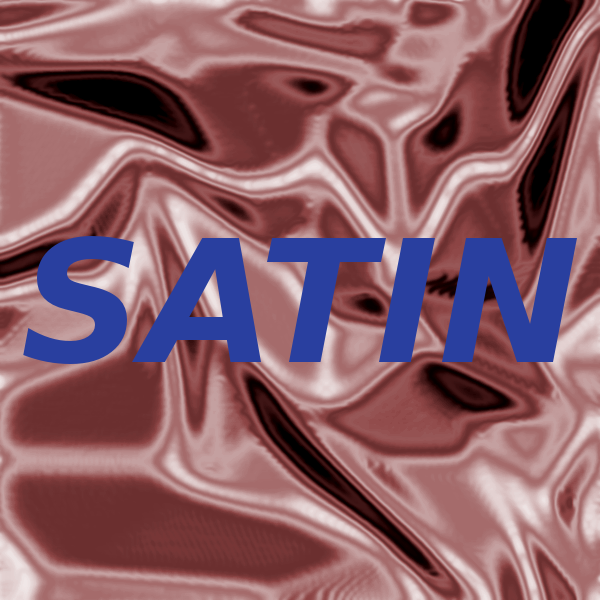
7. Open Filters>Map>Displace and make sure both maps are set to the material layer. If the text looks too broken up, try reducing both values to about 10. Put your layer into Grain Merge mode and make any final adjustments you need to make.

I hope this is useful to you.