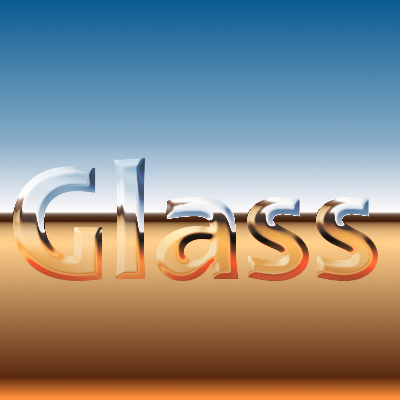
Glass Text Tutorial
There are probably hundreds of tutorials on glass text but this method is one I discovered by accident when I was trying to do something entirely different.
You will need to have Python installed:
http://www.python.org/getit/and the bevel python plugin in your plugins folder:
http://registry.gimp.org/taxonomy/term/122Step 1.
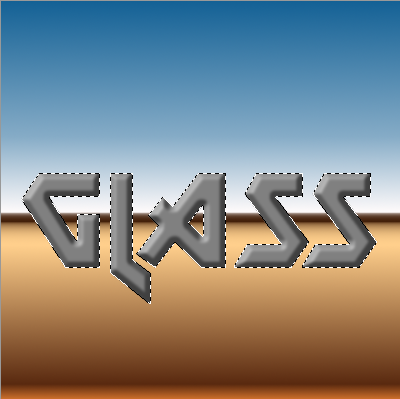
You can either use a background of your choice or you can follow me in creating one. Open a new document - any size you like. I'm using 400 x 400. Select your gradient fill tool and in tool options find the gradient called Horizon 1. Hold down your Ctrl key and drag your mouse from the top of the page to the bottom.

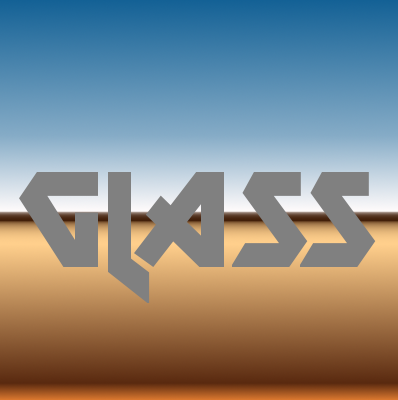
Step 2.
Change your foreground colour to mid grey - 808080, select your text tool and type your text on the page using a fairly bold font. Size and position your text however you like it then choose Layer>Layer to image size. Rename the layer Text.
Step 3.
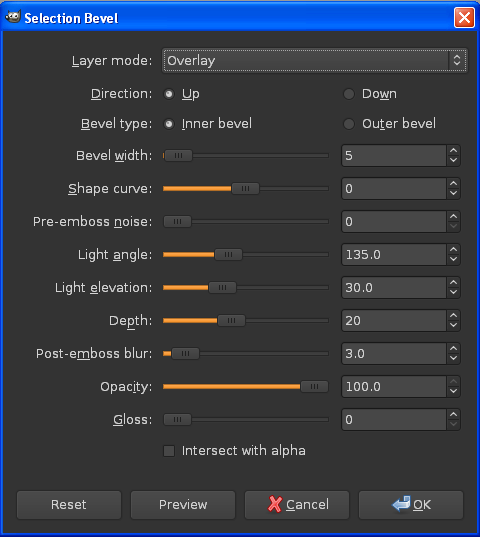
Right-click the text layer and choose Alpha to selection then open Filters>distorts>bevel and making sure the layer mode is set to overlay, type in the following values and click on OK. Unless I tell you to, do not remove this selection until the end of the tutorial.
Step 4.
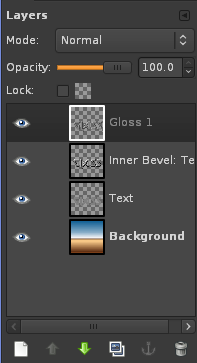
Make your Background layer invisible then choose edit>copy visible and edit>paste into. This will create a floating selection that we turn into a normal layer by clicking on the new layer icon at the bottom of the layers dialog. Rename this layer Gloss 1 and make your background visible again. You should now have four layers.
Step 5.
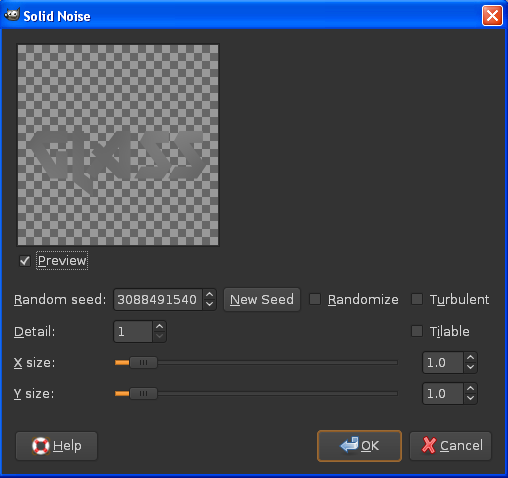
Duplicate your gloss layer then add another transparent layer above it and call it Solid Noise. You should now have six layers. Open Filters>Render>Clouds>solid noise, set both values to 1 and keep pressing New Seed until you have fairly even clouds. Click on OK. Put your solid noise layer into grain merge mode then right-click and merge down with your Gloss 1 copy layer. You should now have five layers. Your image won't look much different yet.
Step 6.
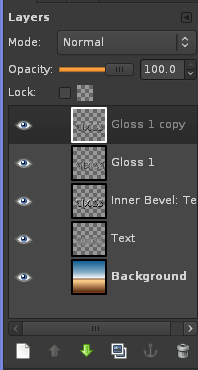
With your Gloss 1 copy layer still selected, open Colors>curves and copy the following curve then click on OK. You might want to play with the opacity at this stage - I didn't - either way, merge this layer down with your Gloss 1 layer leaving you with four layers.
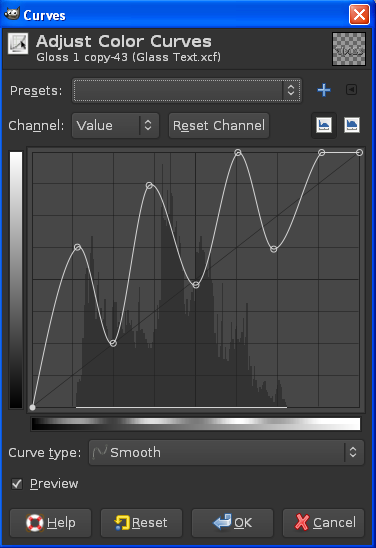
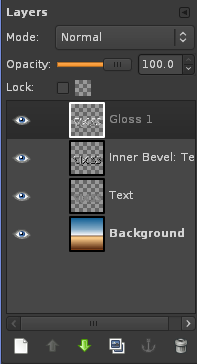

Step 7.
Right-click your text layer and delete it. Put your Gloss 1 layer into Burn mode and reduce the opacity to 55.

Step 8.
Duplicate your Gloss 1 layer, put it into screen mode and change the opacity to 25
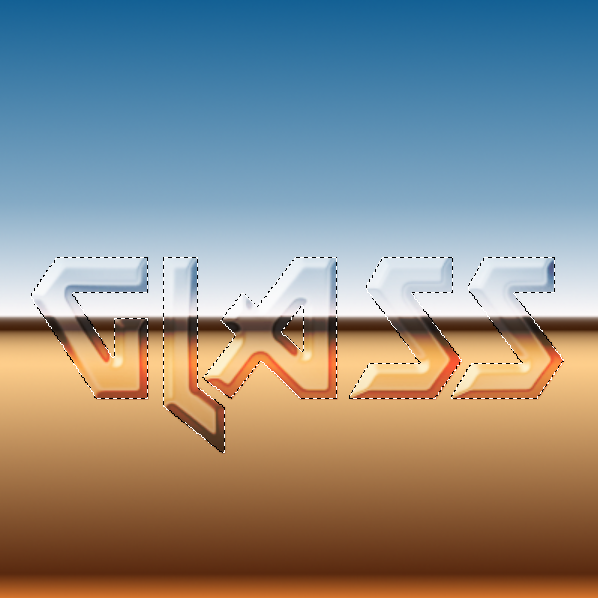
Step 9.
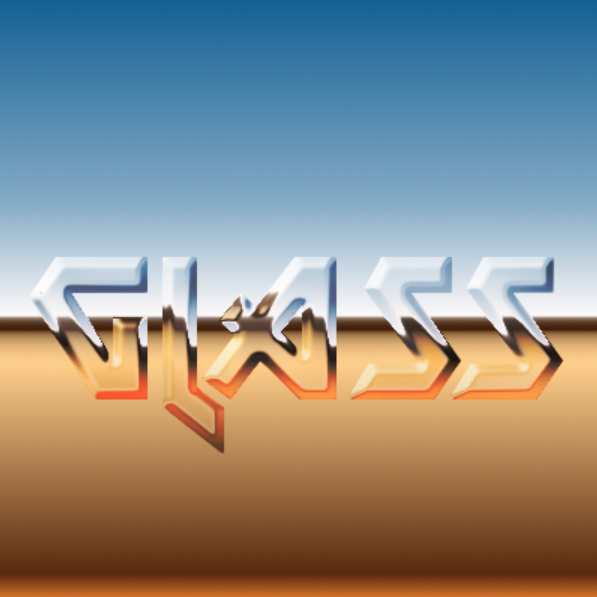
Now for some distortion. Remove your selection (select>none) Select your background layer then open Filters>Map>Displace and set both maps to your inner bevel layer then click on OK.
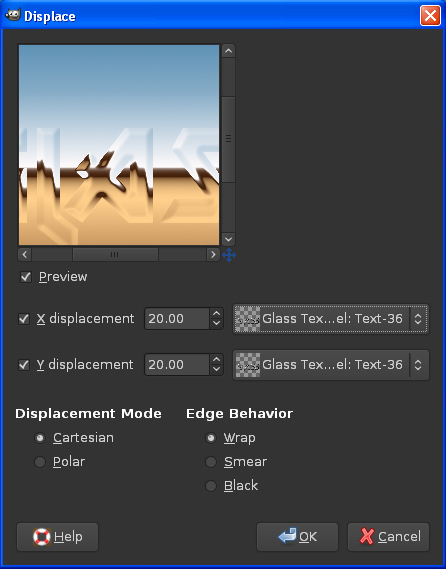
Hope this is useful to you.