Requirements:
*GIMP 2.8
*Optional: Some extra gradients such as in GPS (Gimp Paint Studio) or that can be found in deviantArt.
*Patience with my probably poor English
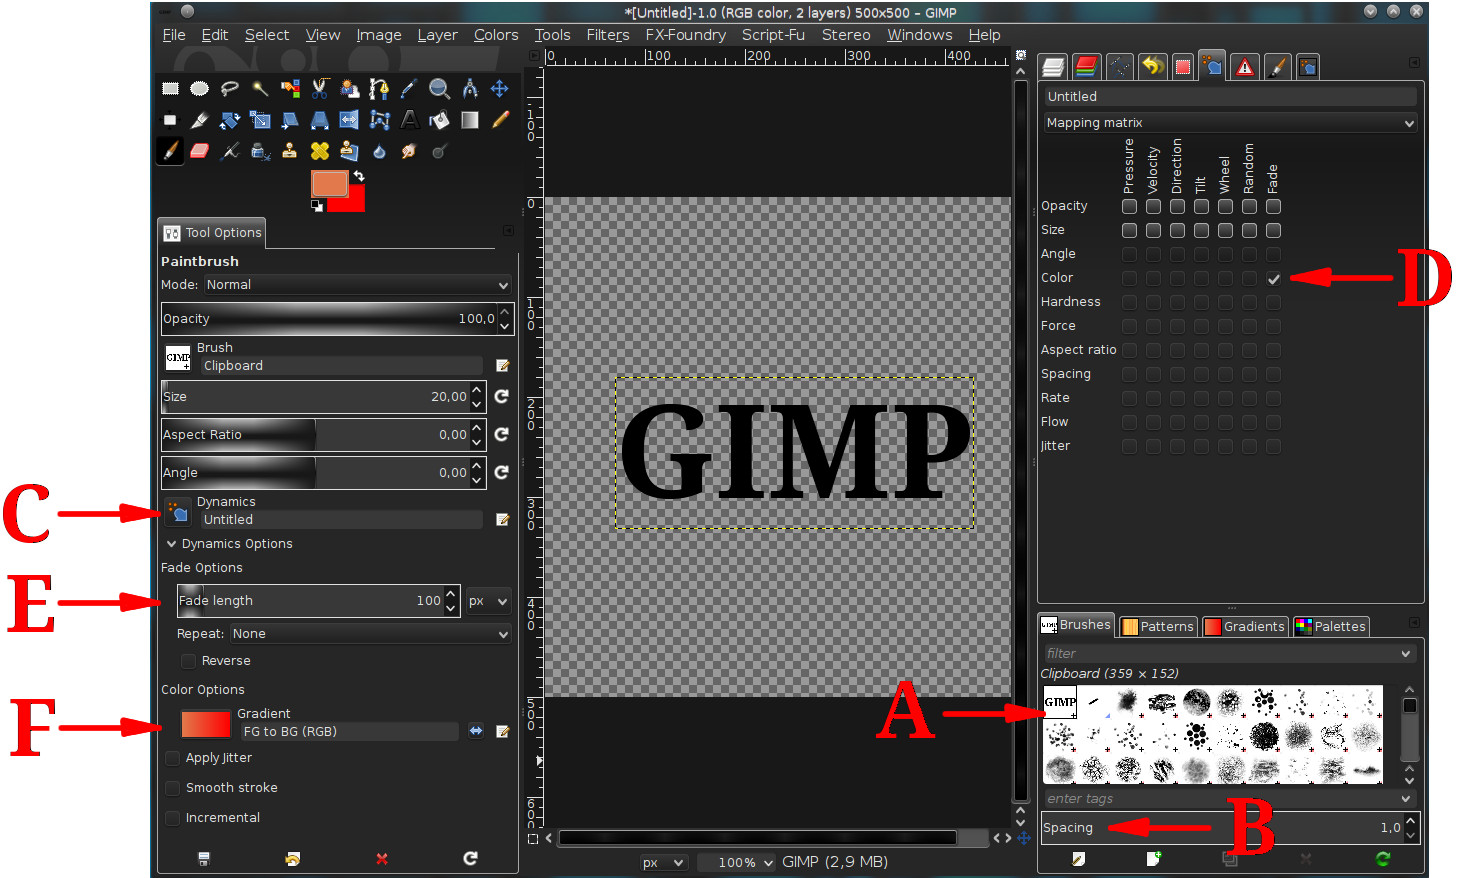
Well, I start showing the workspace we will use in GIMP:
As first step we open a new image with transparent background and 500px x 500px size. There we put the text to be used as a template. Remember that the size can not exceed the previously mentioned. Use a big font size and bold style, as seen in the picture above.
Now select the tool "Move Tool" and click on the text. With right click "Edit" > "Copy". You now can see in (A) that the first brush is the text copied to the Clipboard. It will stay there unless you copy something new to the clipboard.
Now open a new image with a white background for better visualization, and large size (1000 x 1000 for example). Put a new transparent layer over the white background (Layer > New Layer).
Now let's configure GIMP as shown in the image. We chose two colors on front and back. Select "Paintbrush Tool" and select the text copied to the clipboard as a brush (A). In "Spacing" down to a minimum value as shown in (B). Click on the dynamics button (C), and in the opened window click on the button in down right corner:"Open the dynamics selection dialog". You will see a new tab on the top right of GIMP screen called "Paint Dynamics" and click on the second button down: "Craete a new dynamics". You will see a new tab that is the "Paint Dynamics Editor" and you can rename this new dynamic as you like. There check the color-fade as shown in (D).
Now you choose a large size of the "Paintbrush Tool" in size bar (300 or more, for example). Paint the text stored in the clipboard with a left mouse button single click, as shown in the following image:
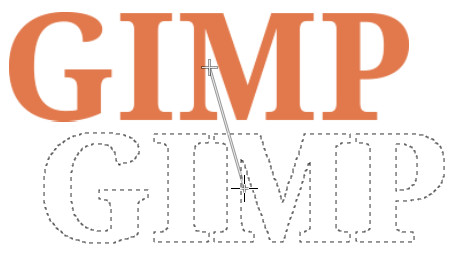
Press and keep pressing the Shift key, move a small displacement and then make a single click again. You now can get designs like those shown below:
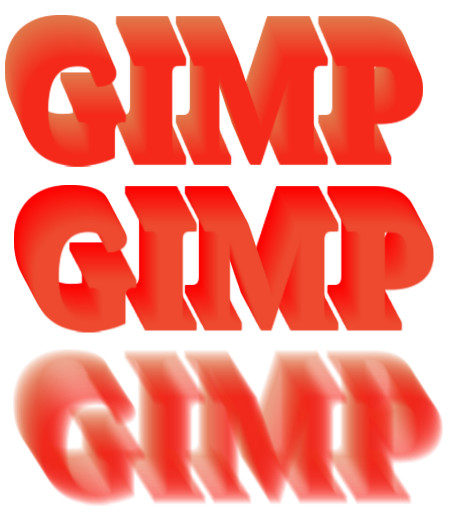
You can invert the colors, or use "Airbrush Tool" instead of "Paintbrush Tool" as the last text design.
You can also play with the values of "Fade length" (E), or choosing different gradients in (F). You can get designs as shown below:
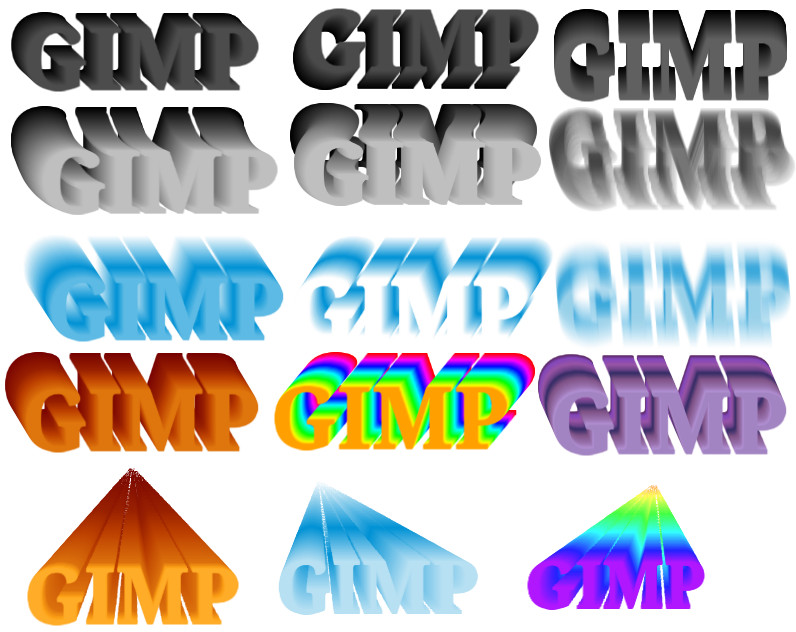
For the last three designs I've also checked the size-fade box on the "Paint Dynamics Editor". If you check this box, when you paint you must first make a very small displacement with the left mouse button pressed and then release the button. Then hold down the Shift key on the keyboard and do what was said above.
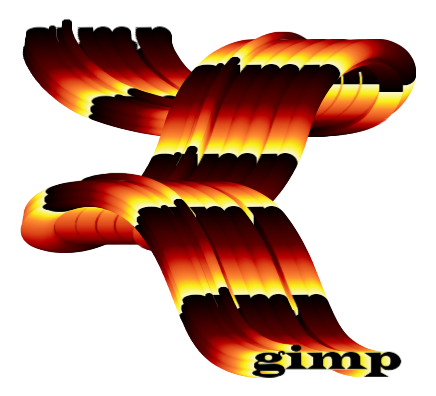
You can use any drawing as a template instead of text. While it not exceed 500px x 500px size. For example below I used the drawing of Wilber:
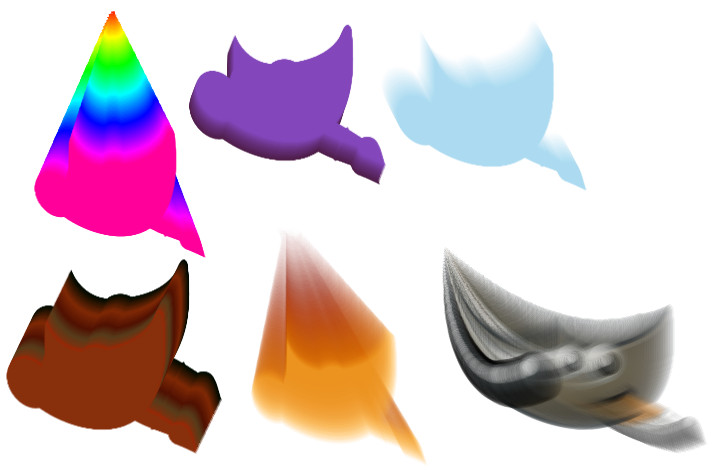
For the last design I have uncheck the color-fade box and check the size-fade box. Also I made a curved path with "Paths Tool". Then Edit > Stroke Path. Stroke with a paint tool > Airbrush. Check the box "Emulate brush dynamics".
Well, the possibilities are endless. You can use Perspective Tool or also apply filters as Bevel or lighting effects.
Here I used perspective text as stamp template (first image):
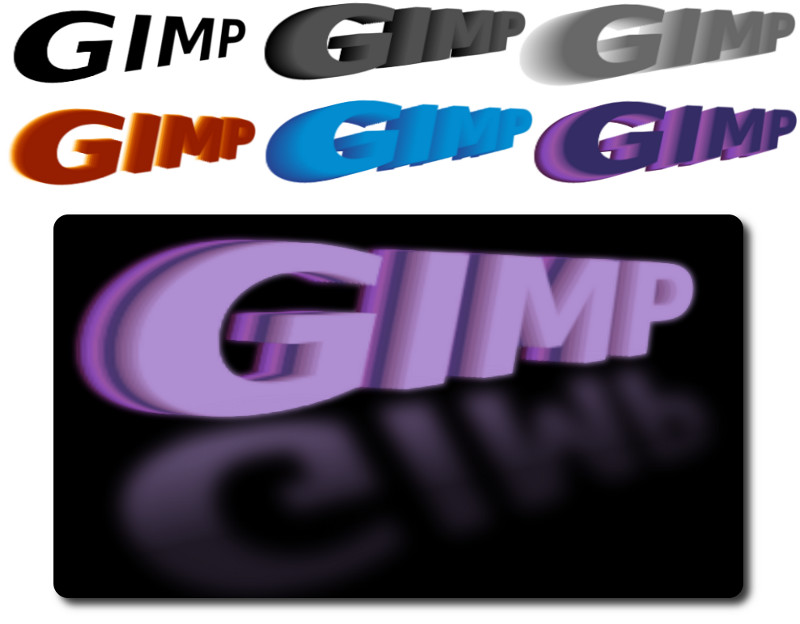
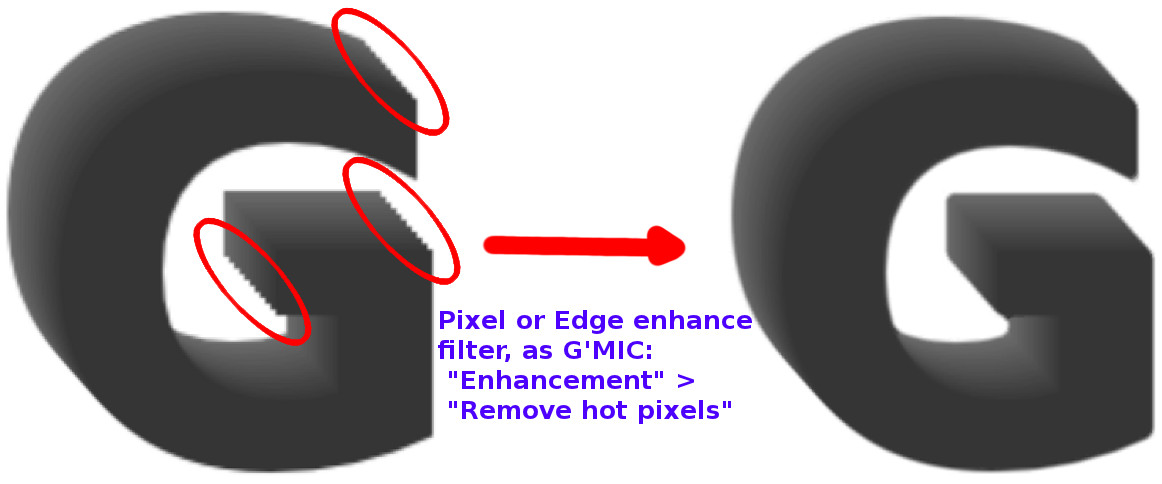
Finally mention that if you use a very large brush size you can get imperfections, mainly on the edges, such jagged edges. You can easily correct that applying filters or any method to enhance hot pixels or edges, such as the filter "Enhancement" > "Remove hot pixels" in G'MIC:
I'm sure you can find many new designs
 Tags: gimp photoshop 3D text extrusion