This is one way to do a pixel stretch. The results may be used in the same way any pattern can be used.

Open the image you want to use to do a pixel stretch. You can make your pixel stretch any size you want but if you are using it for a pattern, I'd suggest around 200 to 400px square. It does not need to be large because it will be seamless.
Any image with several colors can be used such as photos and drawings. If you are using a flattened image such as a jpg (layer name will be bold), be sure to add an alpha channel first, and Image > Mode = RGB. Be sure to duplicate the image (Ctrl + D) so you that you have one for the pixel stretch.
I used the Noise filter to do this pixel stretch. It's handy and quickly available. My image is 500x250 pixels and I filled it with a color.
Filters > Noise > RGB noise. Move the three color sliders all the way to the right to 1.00, and be sure Independent RGB is checked. Repeat if you want heavier noise.

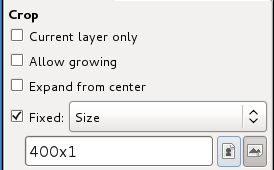
With your image open, click the Crop tool

and in the Crop Tool Options click Fixed and in the dropdown, choose Size. I made my size 400x1. Click in your image and you will see the selection line. Move it around to where the color seems best to you if you are using another image. Once you have it where you want it, let up on the mouse button. Everything is dark, click in the rectangle and it will crop.
You will see only a dotted line in your image window.
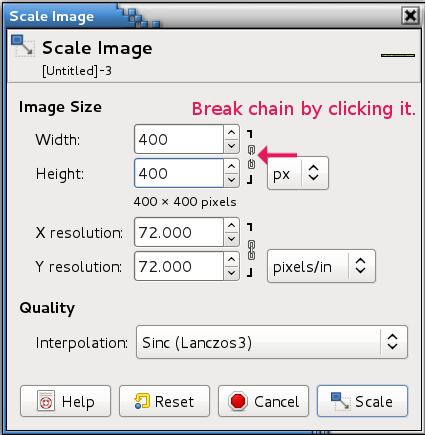
Image > Scale Image. Break the chain in the dialog by clicking it. Make both measurements 400. Click OK. For some reason, GIMP may cut off 1 pixel when you autocrop. Go ahead and make the measurements 400 or whatever width you set the selection.
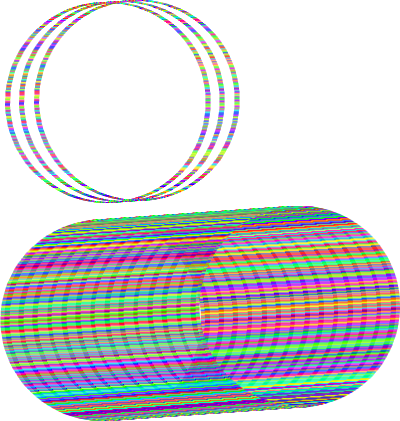
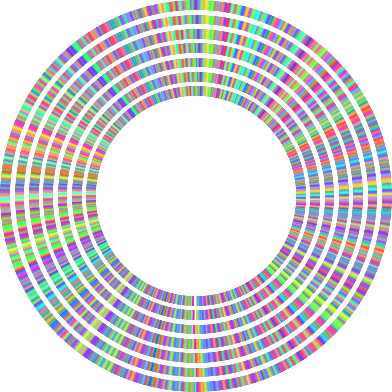
Your results are ready to use.
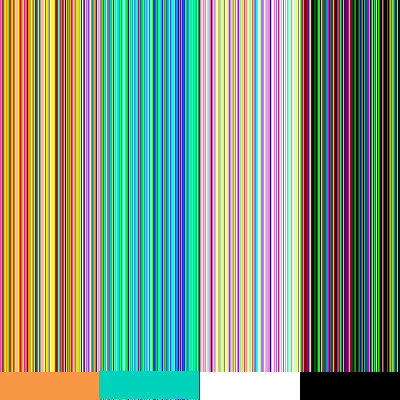
When you do stretches using noise, the background color sets the predominant color. The image below shows 4 different colors and the color patches at the bottom show the original color of the image.
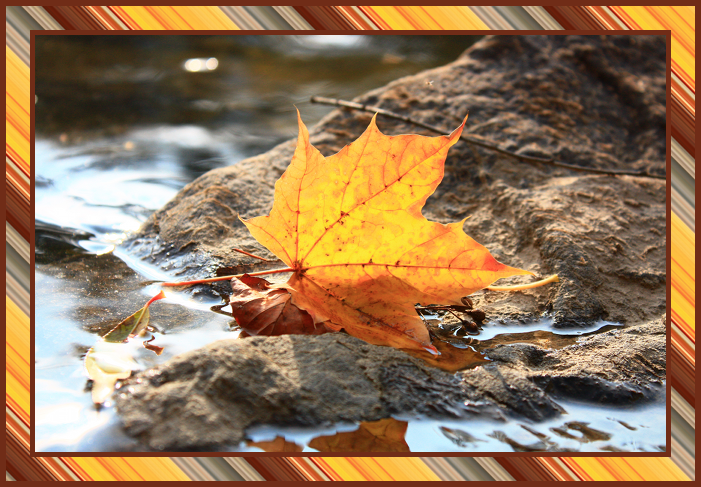
Example of using a photograph for a pixel stretch to make a matching frame.
Download a pdf document of the tutorial.