As requested, this is my first tutorial ever

It will create a symmetric diamond flower as seen in my "Technogardener" picture here:
http://www.gimpchat.com/viewtopic.php?f=11&t=5442 Start with a document of any size you like best, i chose 600x600 and set the dpi to 300 in case i might want to print it in the future.
Create guides at 50%, both vertically and horizontically and make sure they are magnetic.
Now we need to create a shape that we can rotate.
You can make one with the path tool or use the shape-path script.
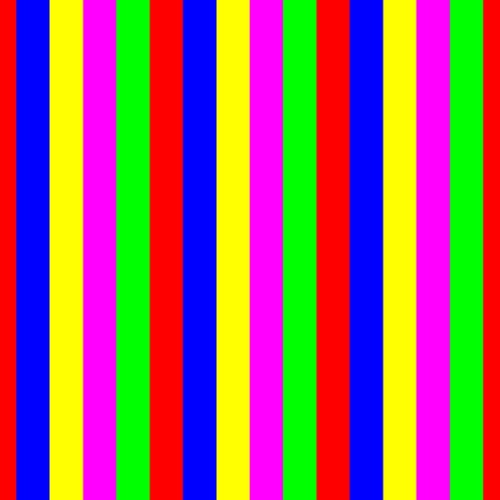
For this example i'll use the shape-paths script and create a Polygon with eight sides.
Type in your center coordinates (300 in my case),
choose a radius (that is half the size of the shape you want to make) (115 in my case)
and the number of sides (8).
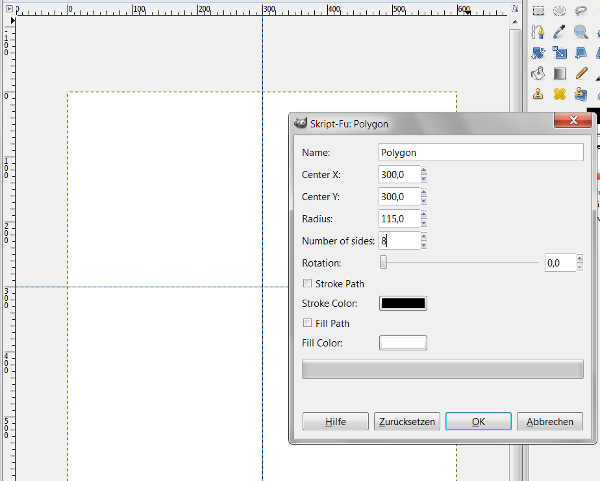
Press okay – apparently nothing will happen, but if you have a look in your paths tab, you will find a polygon.
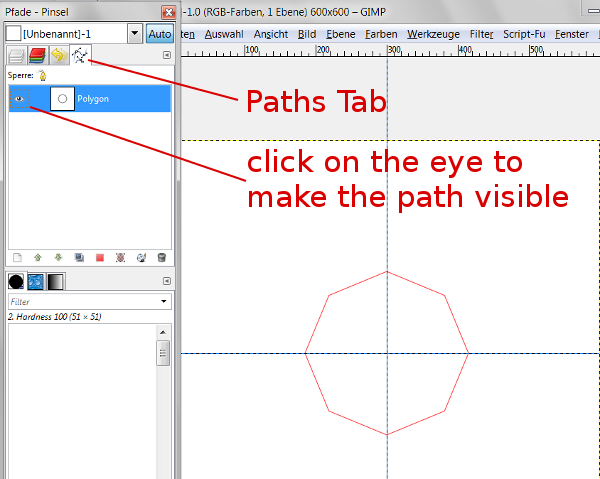
Next you use the move tool and choose the path option so that you can move your path around.
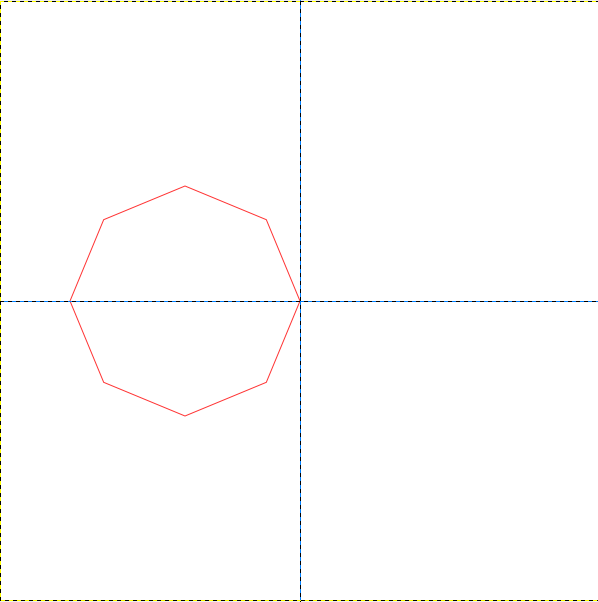
Move the polygon, so that the right point is aligned with the centre of your canvas, which should be easy because of your magnetic guides.
Now you have two possibilites:
You can rotate the path by duplicating it and then rotating it with your rotate tool set on paths until you have rotated enough polygons so that you get your flower shape.
Or,
and this is what we will do in this tutorial, stroke the path on a new transparent layer.
I used the color black with a line size of 2.
Turn off the path visibility, when you are done.
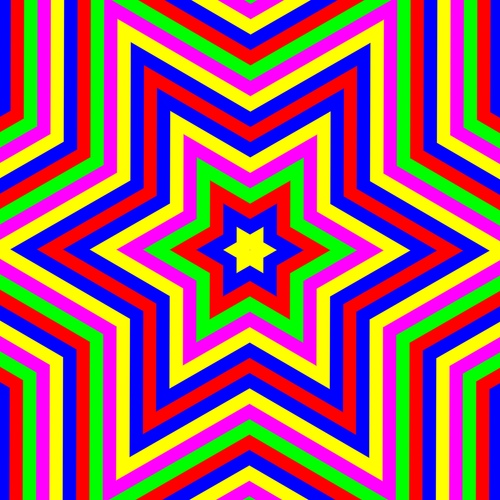
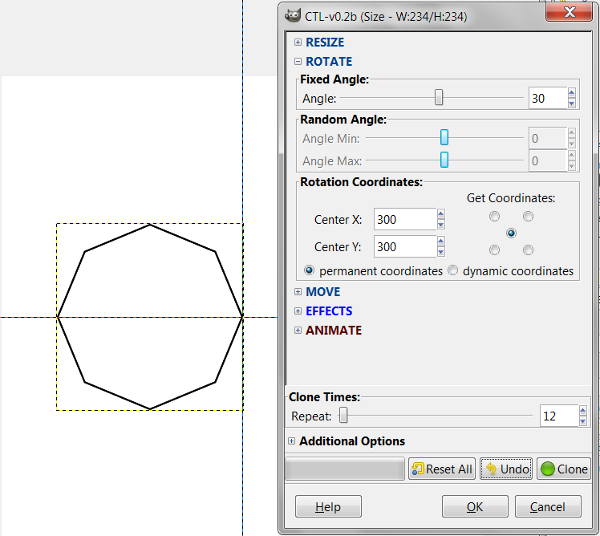
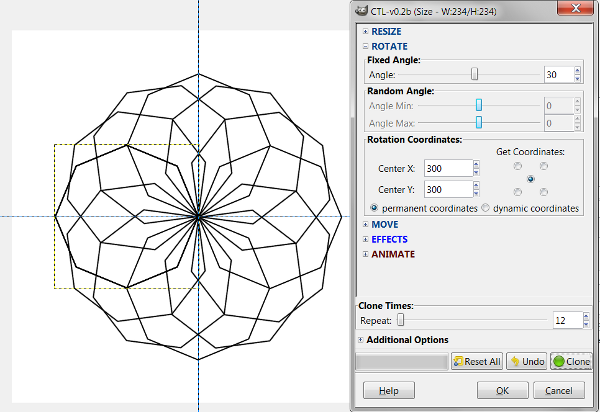
Go to Layers → CloneLayer Tool and choose Rotate.
For Angle use 30° and Clone 12 times, make sure you chose under Additional Options 'Grouping Cloned Layers' (which should be the default).
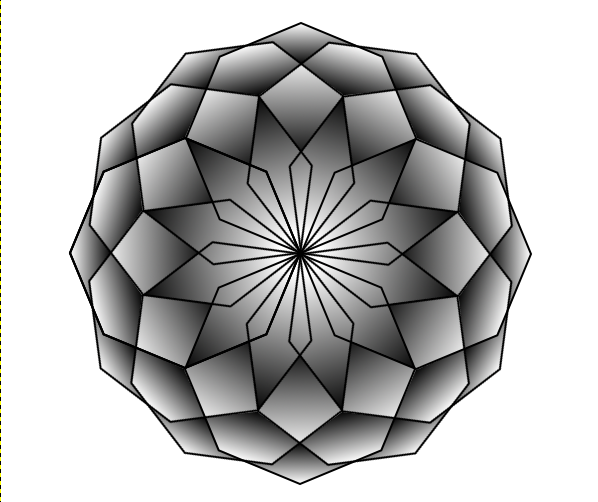
This creates your flower shape.
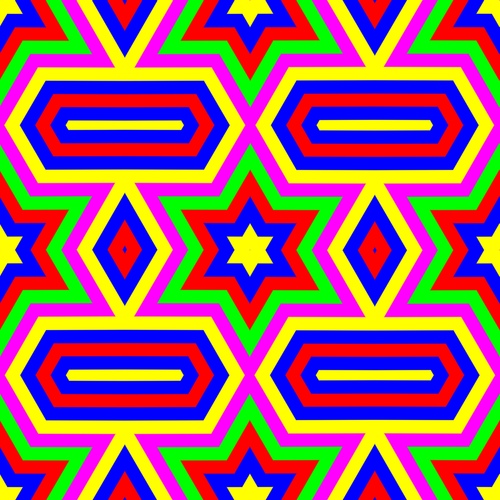
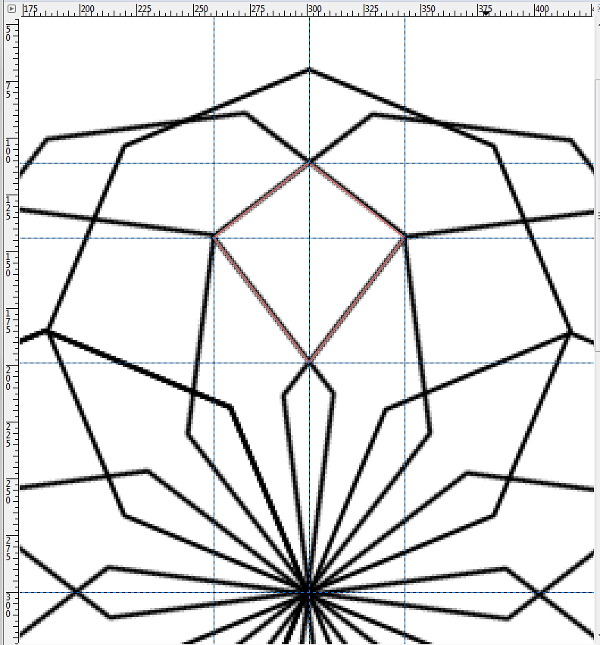
Next create a new transparent layer, choose the path tool, zoom in to 400% and draw a path in between the black lines for one facetted shape.
You can do this by hand and a good eye or with the help of some magnetic guides.
Click selection from path and then on your new transparent layer, fill the selection with a black to white gradient on linear.
You might want to play around with your start and ending point so that you get a nice looking gradient.
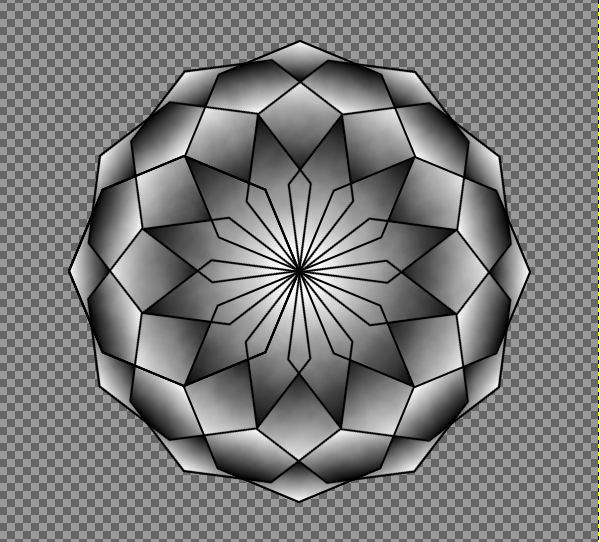
On your gradient layer, apply the CloneLayer Tool with the same settings as before and then put your LayerGroup you just created under the stroked flower shape.
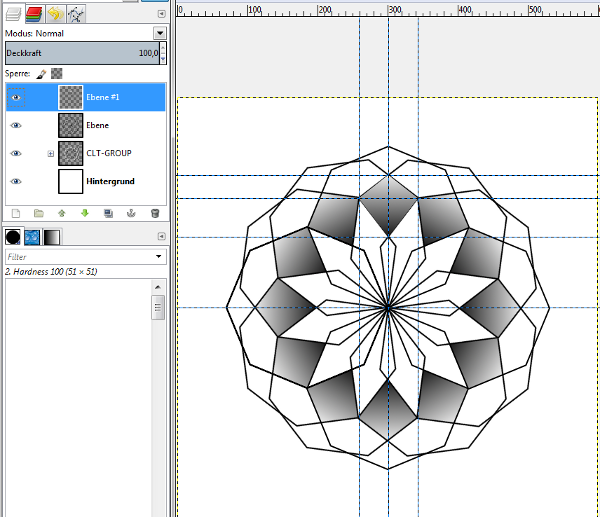
Repeat that process for another facet, till everything is filled.
If you like you can reverse the gradient for a nice effect.
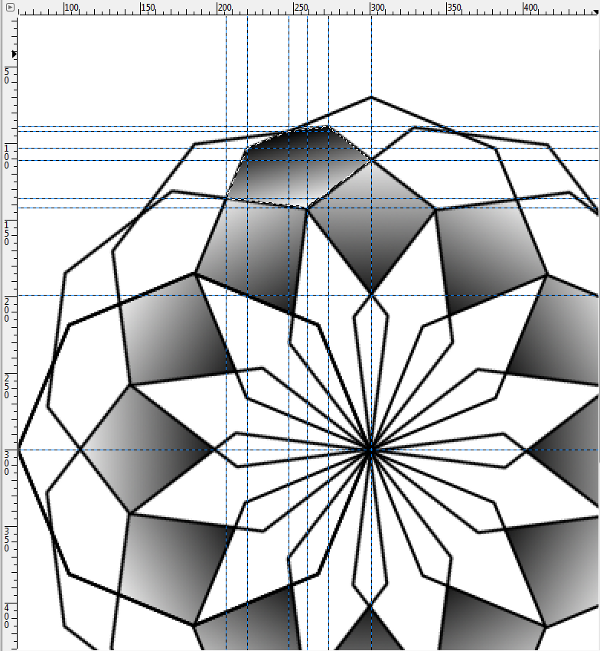
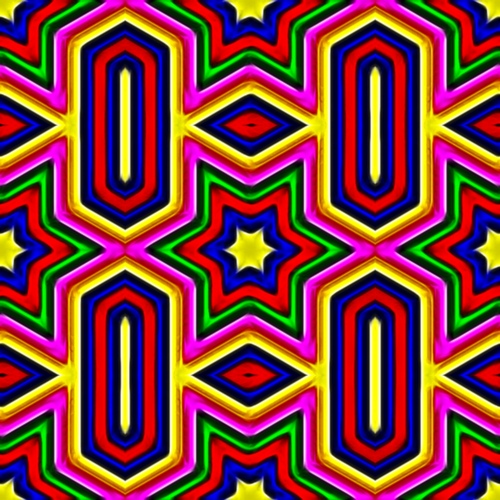
If you want a less cleaner look you could create a new layer from visible (just the gradient flower, no background) → alpha to selection → Difference Clouds (Details: 3; X/Y: 16) on 'Overlay' with Opacity 27%.
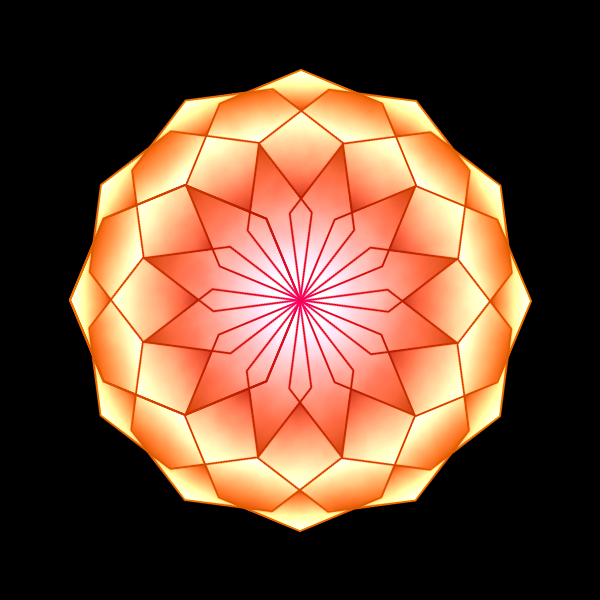
To colorize your flower, click alpha to selection, then go to your gradient tool, choose a gradient you like and choose Colors → Map → from Gradient on a new transparent layer.
For my final picture i used the gradient 'Blue Green', inverted the colors and then set the layermode to 'Addition'


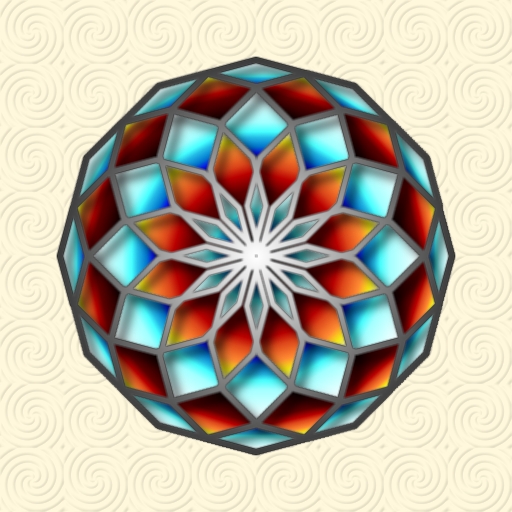


 - a well made and so, so, so inspiring tutorial! i've already had lots of fun with it, and i'm definitely working on it some more. first i just made a flat flower shape, then i thought the shape reminded me of a cut glass bead i once bought, so i tried to turn it into a cut glass bead - worked pretty well, i think.