Snow Brush
This has to be the easiest tutorial I’ve ever made. Instead of using Noise and Motion Blur to make snow, why not just make your own snow brush? Here’s how I did it.
Step 1.
Open a new image 5 pixels wide x 15 pixels high. Zoom in to 1600% to make it easier to see what we are going to be doing.
Step 2.
Fill the Background layer with your black FG color, then create a new layer above it named “Snow”.
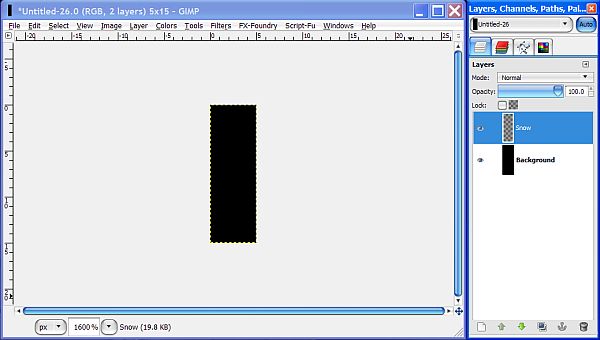
Step 3.
Use the Rectangle Select tool to create a selection from top to bottom of your image that is only 1 pixel wide. Move it to the exact center if you need to.
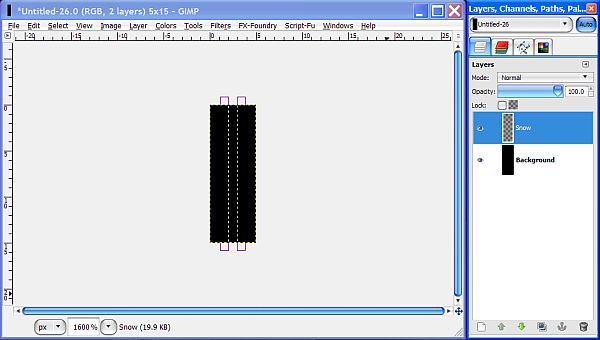
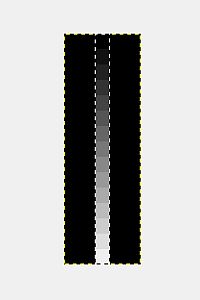
Step 4.
Select the Blend Tool and set the gradient to FG to transparent. Now reverse your FG/BG colors so that white is the FG color. Check the little box next to the Gradient to reverse it so that the transparency is on the left and the white is on the right. Stroke the selection from top to bottom using the control key to get it perfectly straight.
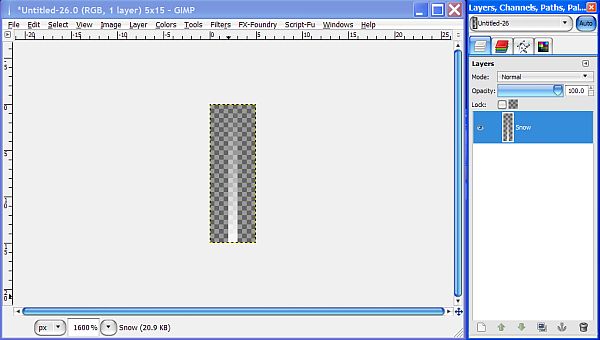
Step 5.
Turn off the selection (Select>None) and delete the black background layer and you’re brush is finished.
Save it as a .gih brush and place your new brush in your Gimp “User” Brushes folder, then refresh your brushes.
Step 6.
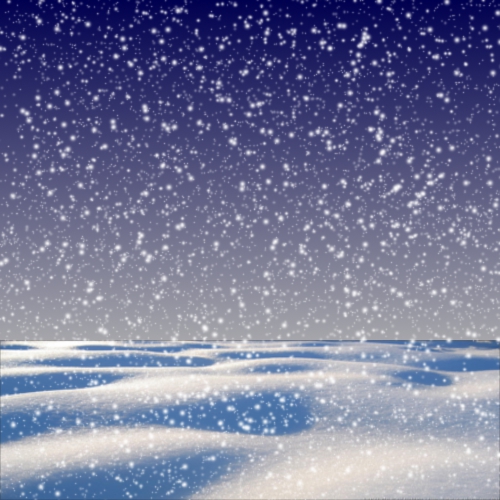
Open a new image, say 500 x 500 or something and give it a dark color. I like Blue so
we’ll go with 000050. Select your Paintbrush Tool and navigate to your new Snow brush and set the size to 4. This will make a good sized snowdrop to experiment with.
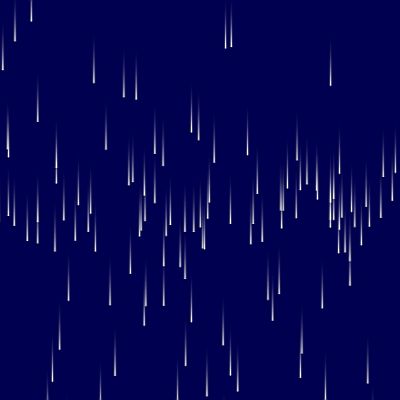
In the tool dialog, check the box for Apply Jitter and set the Amout to 10. Now, stroke straight across your image horizontally to paint in some snow. Here’s what we get.
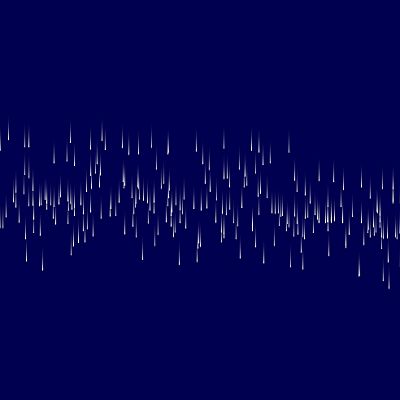
Go to Edit>Undo Paintbrush and then change the Jitter amount to 30 and stroke your image again and see what happens.
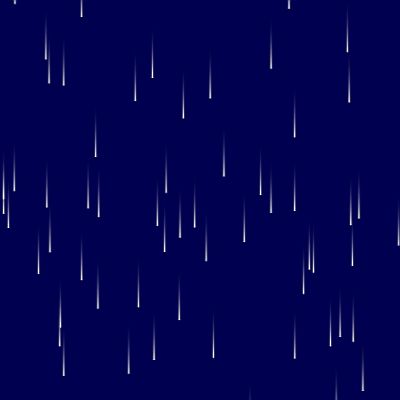
Go to Edit>Undo Paintbrush again and this time set the size to 2 and the jitter to 5 then try your brush again.
Now our snowdrops are much smaller, but we have a lot of blank space. Do the Undo thing again and this time set the Jitter to about 40 and try again.
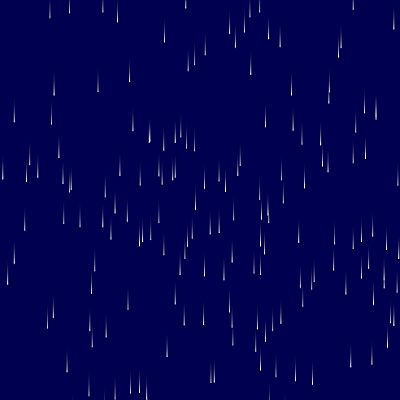
By simply adjusting the size and the Jitter, you can make some really believable snow effects. If it looks too sparse to you still, rather than stroking the whole image (poor results and too many overlaps) just make some short strokes in the blank areas to help fill in where you think it needs it.
With just a little practice and just a few strokes, you’ll be making snow like a pro and saving some time as well. Now let's take a look at a really simple image to illustrate how to use the snow brush effectively.
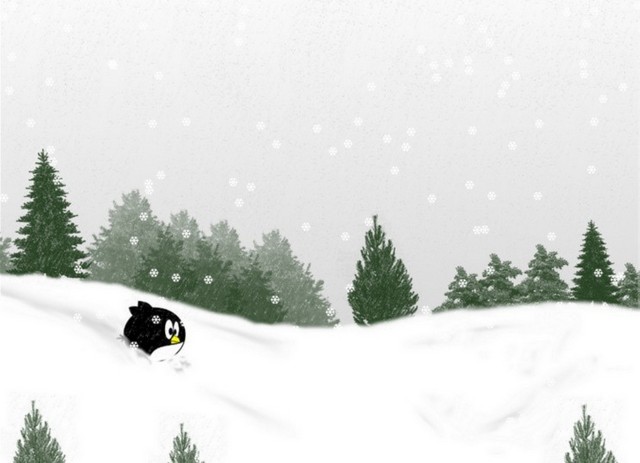
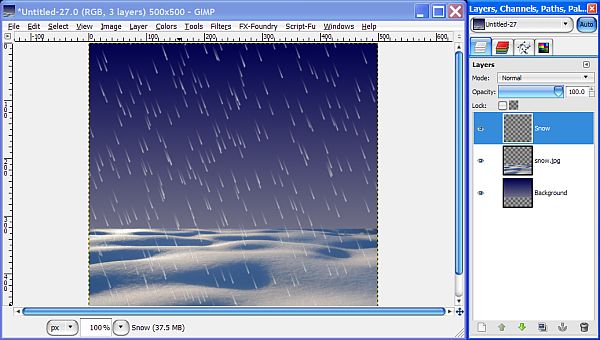
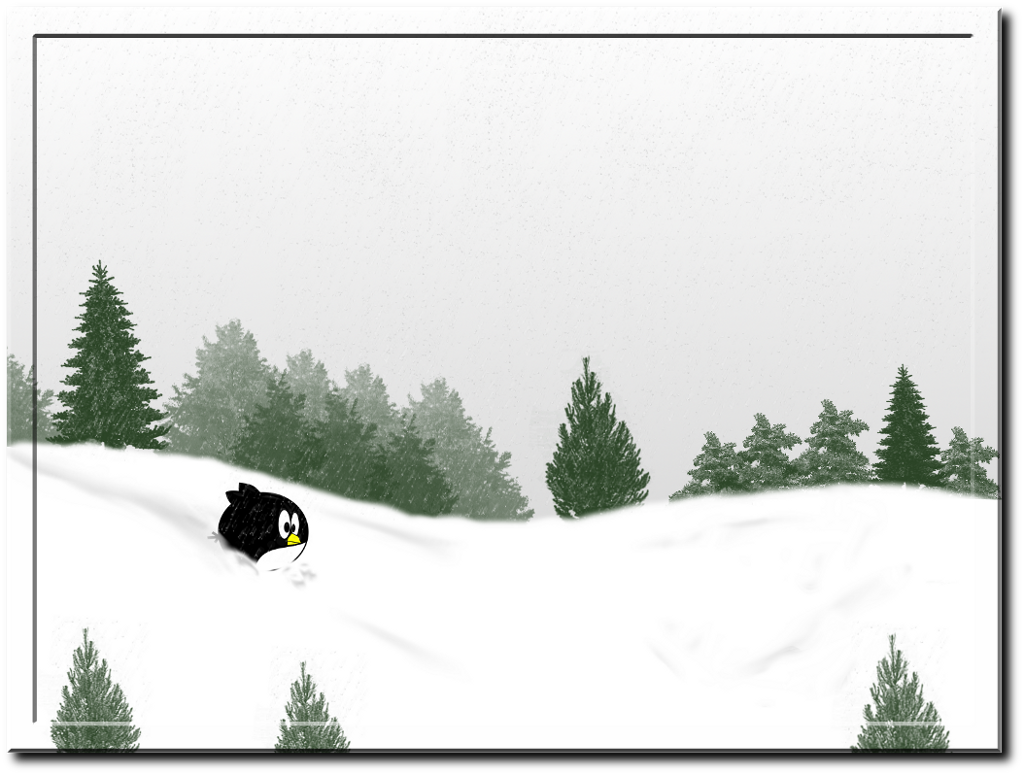
In the screenshot below I created a background gradient layer, brought in an image of some snow near the bottom, adjusted the curves to darken it a bit, then created a layer for my snow above the other layers. I used my new Snow brush to paint in some snowfall, tweaked it a bit here and there, adding some snowfall to the blank spaces, then applied a blur of 1 to soften the effect.
Next I scaled the snow layer about 120% then used the Rotate tool to get a -20 degree angle, then Layer to Image size.
Hope I made that clear enough and I didn't confuse anyone.
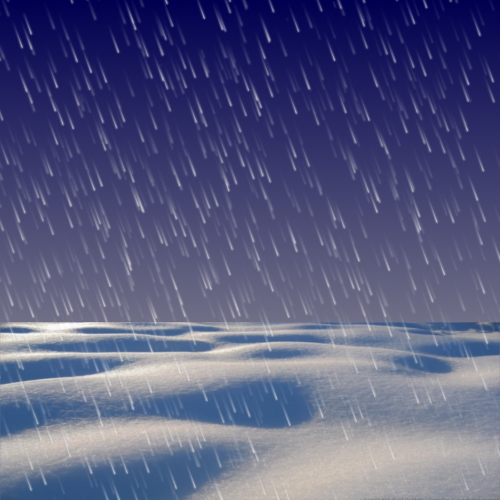
To make your snow even more realistic, you can add more depth by creating another layer, or maybe even two, and set the Opacity to different amounts.
Here’s the image with two added layers. Wow. It’s really coming down out there now!
I hope you enjoyed this tutorial. Now go play in the snow!


 lovely!!!


 You're easily impressed. You'll get over it as soon as the turkey comes out of the oven if not before.


.gif)