When using the Heal Selection or the Smart remove selection (both filters are Resynthesize filters, same thing except they have different names), use Unsharp Mask to improve your results.
Original image is
here.
My image was scaled after I finished to 50% size.
First, select what you want to remove from the image by using the Lasso tool. Save that selection to Path so you don't lose it in the process - it's easy to do. Select > To Path.
My selection stroked with white:
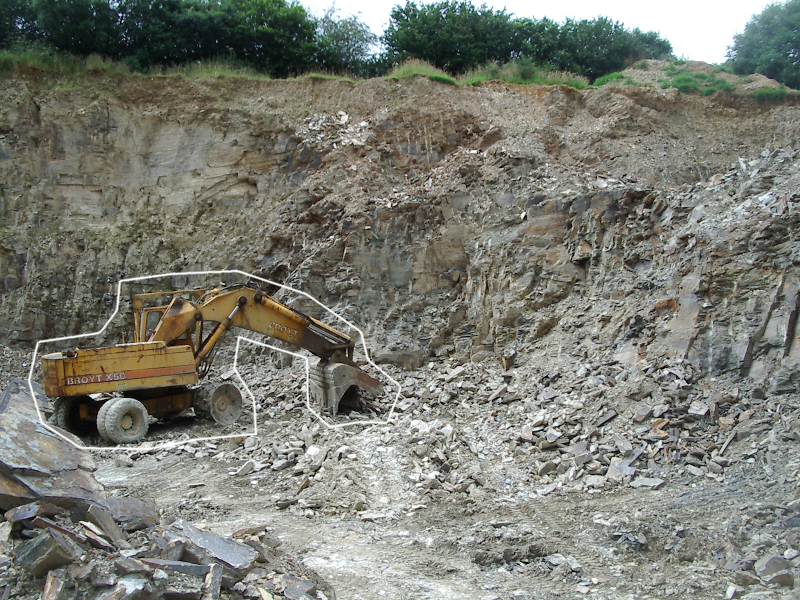
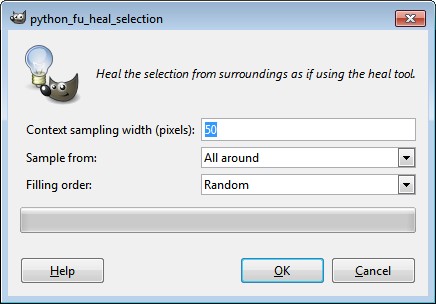
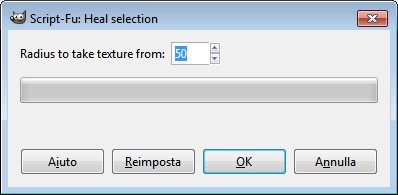
With the selection going, go to
Filters > Enhance >
Smart remove selectionOR (depending on your version)
Filters > Enhance >
Heal SelectionIf you have a large image and there's plenty of room around the selection, try the default radius of 50. This is experimental. I used 50 in this image. Click OK.
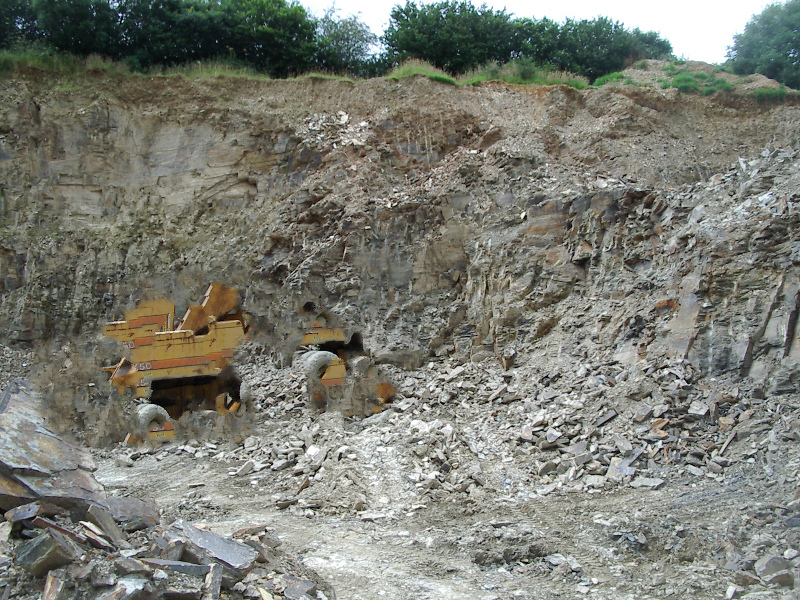
Wait for Resynthesizer to finish processing your image. I felt the results were a bit blurry.
My results with selection stroked with white:

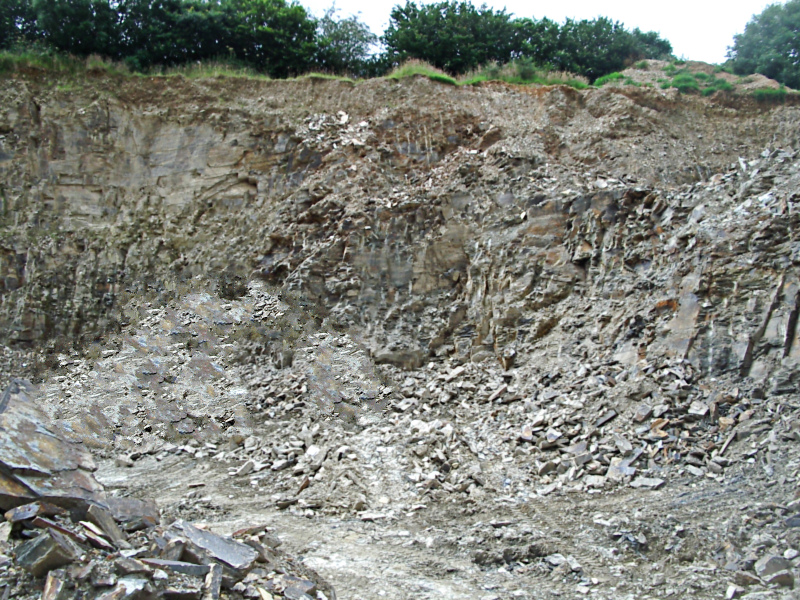
With the selection still running, Filters > Enhance > Unsharp Mask. Be very gentle with the controls in the Unsharp Mask dialog. I made the amount very small. That's another place to experiment when doing your image.
My results with selection stroked with white:

My final results without the selection stroked:


 Thank you, Molly.


 Erisian.

