After doing this great video tutorial by tutor4u, found here,
Video tutorial by tutor4u I decided to make a text tutorial for those that prefer text.
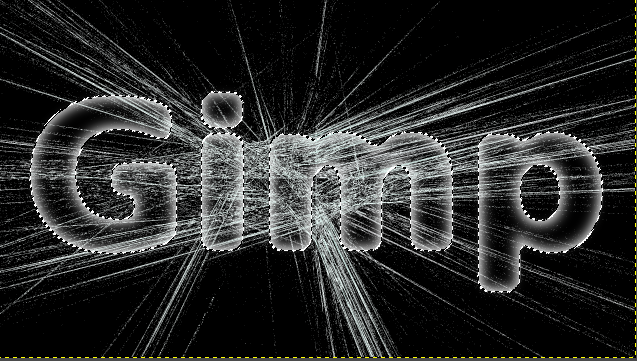
This is my results, as I modified it a bit with less snow.

I recommend that you watch the video first so that you can actually see the steps.
Start with an image 2560 x 1440 - fill with black
Text - To add text, click text tool.

To change Font size, click on this button below.
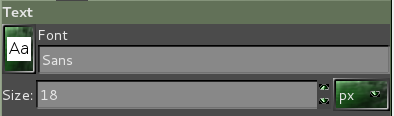
and select Sans Bold Font, (or another fat font of your choice) size 800 pixels. color, white, (click the curved arrow,
to swap foreground color from black to white.

Click on Canvas, type text. Click move tool

, and drag text into the center of your canvas, or use the alignment tool

.
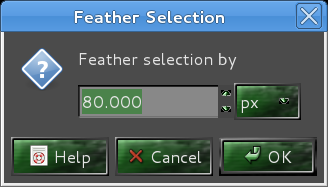
To round the corners to make the text thicker, click text layer > alpha to selection, this will outline the text. Click > select > Feather and type in 800 for the pixel amount

Turn off text layer by clicking the eye next to the layer.
Create new layer pressing this button

Click on bucket tool

, make sure foreground is set to white and make sure whole selection is selected then click inside selected area.
Now we want to select the very outside of the text. To do that, select the by colour tool,

click backgroud area, go up to select and choose invert, then fill in with white (again with your bucket tool)

Turn off the original layer by clicking on the eye button
Now we want the feather selection we had before...turn on the bottom text layer > alpha to selection, click on Select > feather and make sure it is set at 80, click OK
Now click on top layer and click delete, select NONE

Now we are going to add cracks in the ice by going to the flame filter. Set foreground to white. Create new transparent layer and call it Cracks. Click on the filters menu, Render > Nature > Flames. Move brightness slider to maximum 5.00
Click Edit button and on drop down menu, click bent
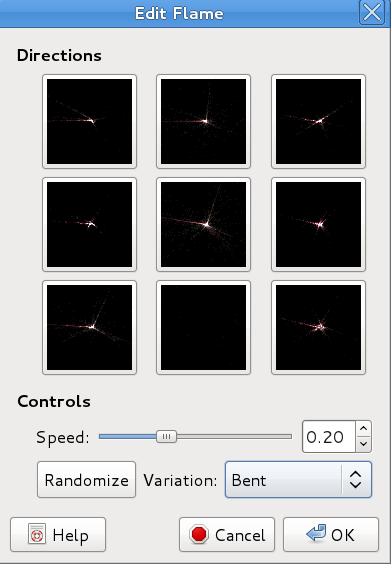
Click randomize button and keep clicking until you see one that you like, click OK. Click on Camera tab - move zoom tool to about 1 (one), click OK
Click Filters menu > Edge Detect > Sobel OK
Click Colors Menu > Invert. Now we have a layer to use for the cracks in the ice
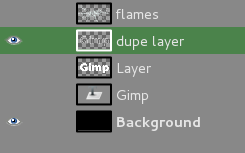
We are going to copy this layer to the text layer by using the clone tool.

Select third layer from top, (under the dupe layer) right click > alpha to selection. Click on clone tool
Select top layer with the cracks.
In tool options, set brush to hardness .075, increase brush size to about the width of the text. Find a spot you like for the clone source and hold Ctrl, then click on that spot. Turn off layer with the cracks by clicking the eye, select the text layer below the crack layer.
Start painting on this layer with the clone tool.

Select NONE.
Now we will add some snow caps.
Add new transparent layer and name it snow caps, click the free select tool,

Draw outline of snow cap on the
G 
Click on bucket tool make sure FG is on white and fill cap with white.
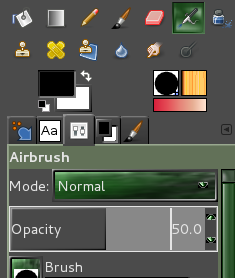
Now we will add a shadow under the snow caps by using the airbrush tool

Change foreground to black change opacity slider to 50% reduce the size of air brush a bit by using the size slider. Place a few bits of shadow under the snow cap, then select NONE.
Repeat these steps with all the letters, then select NONE
Now we will change the background color using a gradient. Click on blend tool

Set gradient from FG to BG, double click the FG color and type in 145ed7 OR a color of your choice. The FG color is now blue and the BG should stay white. Select your bottom Black layer. Use your cursor, click and pull down from top of arrow to bottom as seen below.

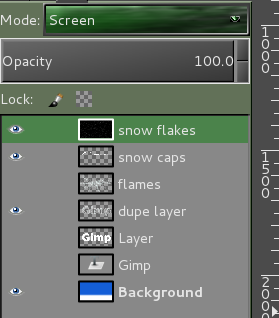
We are almost done, if you want snow, add a new layer and call it snow flakes, move this layer to the top by holding shift down and the little green up arrow. Now fill this new layer with black by using the bucket tool
Go to Filters > Noise > Move valve slider all the way to the right, (I didn't quite move mine that far because I wanted less snow), your choice. Press OK
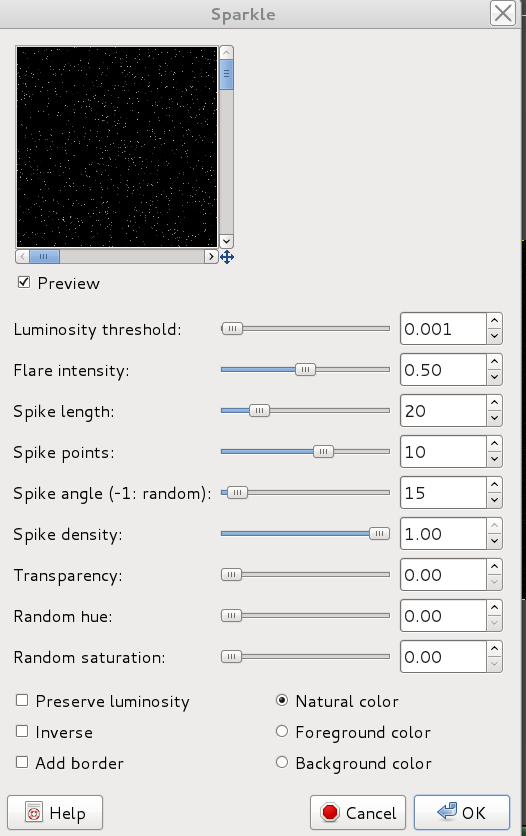
Now click Filters > Light & Shadow > sparkle, set spike points to 10 to make some of the snow flakes brighter, Click OK
Set layer mode to Screen
That's it folks
PDF attached below.


 Molly
Molly


 Nice results Molly. Yours too he4rty.